🎉 Party Mini Sandwiches: Quick Crowd-Pleasing Appetizer That Delights Every Guest 🥪
1. Introduction – party mini sandwiches
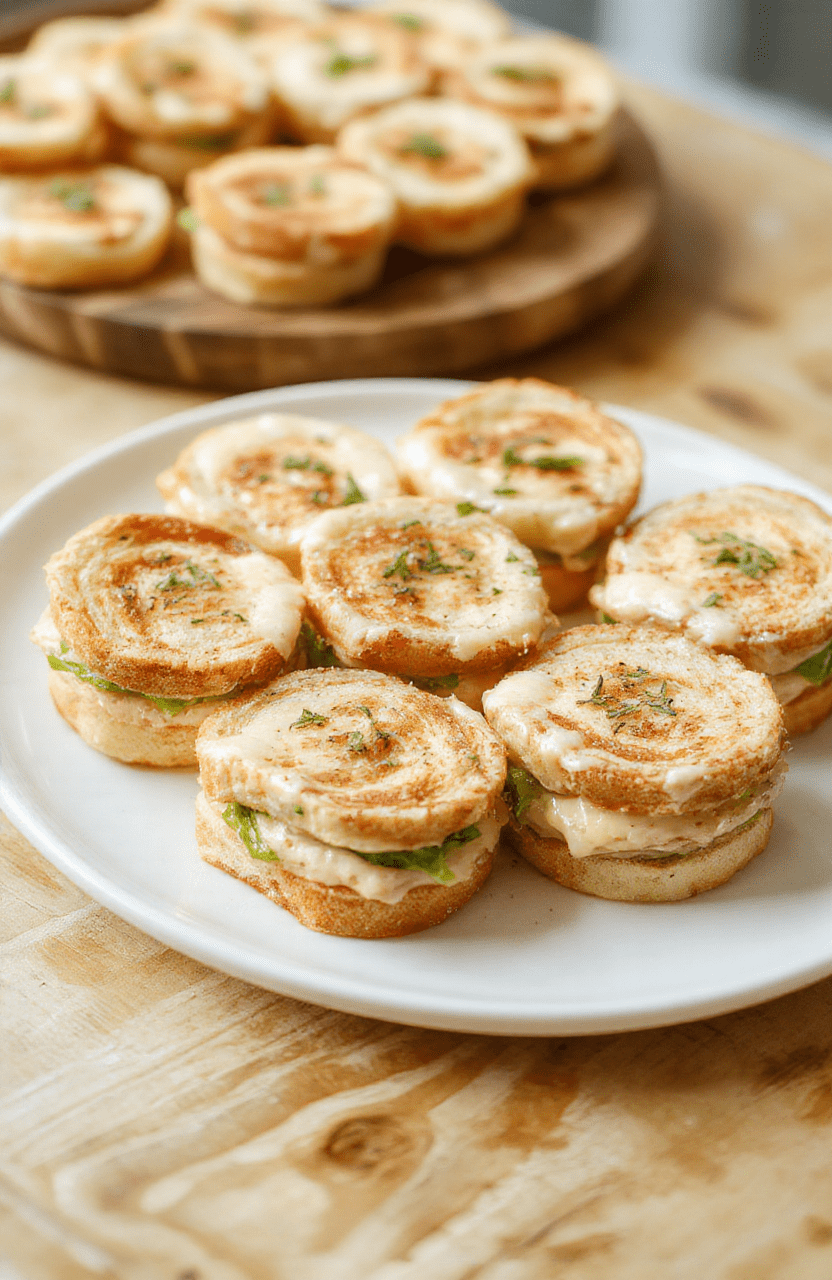
There’s something magical about bite-sized bites that disappear faster than you can say “more, please.” These party mini sandwiches are the crowd-pleasing snack that elevates any gathering with flavor and ease. Think soft, toasty buns, a creamy spread, and a savory filling that stays juicy without being soggy. They’re perfect for prep-ahead hosting and travel well to potlucks or game nights.
If you love easy appetizers, you’ll appreciate how adaptable these are. For inspiration on quick, comforting bites, you can also explore our creamy chicken Alfredo pizza and other simple snacks. A few ingredient swaps can keep these sandwiches exciting every time you serve them.
2. Why You’ll Love This Recipe
- Ready in 30 minutes or less, making it ideal for last-minute gatherings.
- One-bite bites that are easy to share and transport.
- Extremely customizable with pantry staples and crowd-friendly fillings.
- Make-ahead friendly: assemble, chill, and slice just before serving.
- Versatile for kids and adults alike, with plenty of flavor from herbs and cheese.
3. Ingredient Notes
Choose mini slider buns or small dinner rolls that stay moist but not soggy. A light creamy spread—cream cheese, mayo, and a touch of Dijon—acts as the glue that holds everything together without overpowering the fillings. For fillings, go with thinly sliced deli meats like turkey or ham, plus a sharp cheese that melts nicely yet stays sliceable.
High-quality ingredients matter here: fresh buns, well-seasoned spread, and crisp vegetables make a big difference. If you want extra brightness, add a few thin pickle spears or crisp lettuce leaves just before serving. For readers who love variety, check out our other quick treats like oatmeal crepes or protein muffins for future party menu ideas.
4. Kitchen Tools You Need
Having the right tools speeds up assembly and keeps the results neat. A sharp knife and a sturdy cutting board let you trim fillings evenly. A small spatula helps spread the cream layer smoothly across each bun.
To achieve extra-crisp buns and evenly warmed fillings, consider these tools:
- For quick crisping and reheating, the Compact 6-in-1 Digital Air Fryer by Amazon Basics makes small batches sing.
- The Ninja Foodi Smart XL Indoor Grill & Air Fryer Combo is great for finishing sandwiches with a light toast and gentle melt.
- A reliable pan and utensils set, like the T-fal 14-Piece Hard Anodized Nonstick Cookware Set, helps with prep and cleanup.
- Store leftovers securely using a set such as the JoyJolt Airtight Glass Food Storage Set.
5. How to Make Party Mini Sandwiches
Phase 1: Prep the Buns
Toast or warm the buns just until the edges are lightly golden and aroma fills the room. This not only adds flavor but also helps the buns withstand the spread without becoming mushy. Have all fillings sliced and ready so assembly goes smoothly.
Phase 2: Create the Creamy Filling
Mix a light cream-cheese base with a bit of mayonnaise, a whisper of Dijon, and fresh herbs. The goal is a smooth, spreadable layer that adds tang without overpowering the sandwich. Taste and adjust salt and pepper to balance the filling’s brightness.
Phase 3: Assemble and Chill
Spread a thin layer on each bun, layer with meat and cheese, then cap with the top bun. If making ahead, cover and chill for up to 24 hours. Just before serving, you can run a quick 2-minute pass in the air fryer to rewarm and re-crisp the outsides.
6. Expert Tips for Success
- Toast the buns lightly to help them hold up to the filling and spreads.
- Use a thin layer of spread to prevent sogginess; a thick layer makes the sandwich heavy.
- Keep fillings cool until assembly to maintain fresh flavor and texture.
- Cut the sandwiches in uniform sizes for an appealing, party-ready presentation.
- To keep things neat for guests, secure each mini sandwich with a small toothpick and a decorative pick if desired.
7. Variations & Substitutions
- Vegetarian option: swap meat for grilled peppers, zucchini, or roasted mushrooms with provolone or cheddar.
- Gluten-free: use gluten-free slider buns or cucumber rounds as “cups” for a low-carb twist.
- Spicy kick: mix in a little sriracha mayo or add pepper jack for extra heat.
- Cheese-forward: try a mix of Swiss and cheddar for a melty, sharp bite.
8. Storage & Reheating
Store unassembled components separately in the fridge for up to 24 hours. Assemble just before serving for best texture. If you need to warm leftovers, a quick 2–3 minute pass in an air fryer or oven at a gentle 350°F (175°C) will re-crisp the buns without drying the filling.
9. FAQ
Can I make these ahead? Yes. Prep the filling and buns ahead, then assemble just before serving to keep texture crisp and flavors fresh.
What fillings work best? Classic deli meats, mild cheeses, and a bright herb spread are foolproof. You can also rotate in roasted veggies for a vegetarian version.
Are gluten-free options possible? Absolutely. Use gluten-free slider buns or cucumber rounds as cups for a refreshing gluten-free take.
How many should I serve per guest? Plan about 2–4 mini sandwiches per person, depending on other hors d’oeuvres available.
10. Conclusion
These party mini sandwiches are a reliable crowd-pleasing starter that’s as practical as it is delicious. With simple ingredients, smart prep, and room for creativity, they’ll shine at any gathering. Ready to wow your guests with this easy deliciousness? Give them a try and tailor the fillings to your crowd’s favorites.
Print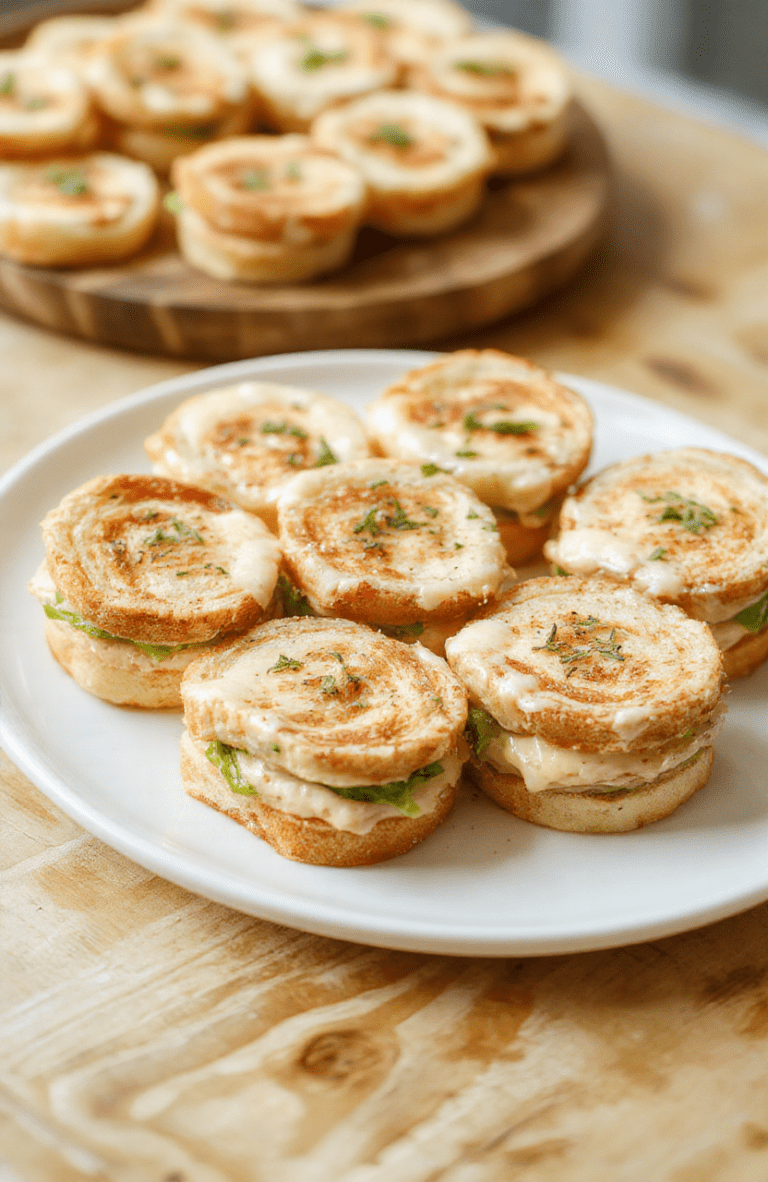
Party Mini Sandwiches Quick Crowd-Pleasing Appetizer
Simple, no-fuss assembly of bite-sized sandwiches ideal for parties. Tender bread, deli turkey, cheese, crisp lettuce, and tomato, plus a creamy herb mayo, come together in minutes for a visually appealing appetizer.
- Total Time: 15 minutes
- Yield: 24 sandwiches 1x
Ingredients
- 12 mini slider buns or small sandwich rolls
- 8 oz sliced deli turkey or ham, folded
- 6 slices Swiss or cheddar cheese, folded
- 1 cup shredded lettuce or baby greens
- 1 small tomato, thinly sliced
- 1/4 cup mayonnaise or herbed mayo
- 1 tablespoon Dijon mustard
- 1 tablespoon chopped fresh herbs (optional)
- Salt and pepper to taste
- Optional: pickle slices or cucumber ribbons
- Fresh parsley or chives for garnish
Instructions
- Spread mayo and Dijon on cut sides of buns.
- Layer turkey, cheese, lettuce, and tomato on the bottom halves.
- Top with pickles or cucumber ribbons if using; season with salt and pepper.
- Cover with the top halves and secure with toothpicks.
- Arrange on a platter and garnish with herbs.
Notes
- Make ahead: assemble and refrigerate up to 2 hours; keep mayo from soaking bread by assembling close to serving time.
- Variations: use chicken salad, tuna salad, or vegetarian fillings like hummus and roasted vegetables.
- Gluten-free option: swap buns for gluten-free slider buns.
- Allergen note: contains dairy and gluten.
- Prep Time: 15 minutes
- Cook Time: 0 minutes
- Method: Assembled
- Cuisine: American
- Diet: Non-Vegetarian
Nutrition
- Serving Size: 1 sandwich
- Calories: 180 Kcal
- Sugar: 3 g
- Sodium: 300 mg
- Fat: 9 g
- Saturated Fat: 3 g
- Unsaturated Fat: 6 g
- Trans Fat: 0 g
- Carbohydrates: 18 g
- Fiber: 1 g
- Protein: 9 g
- Cholesterol: 25 mg
