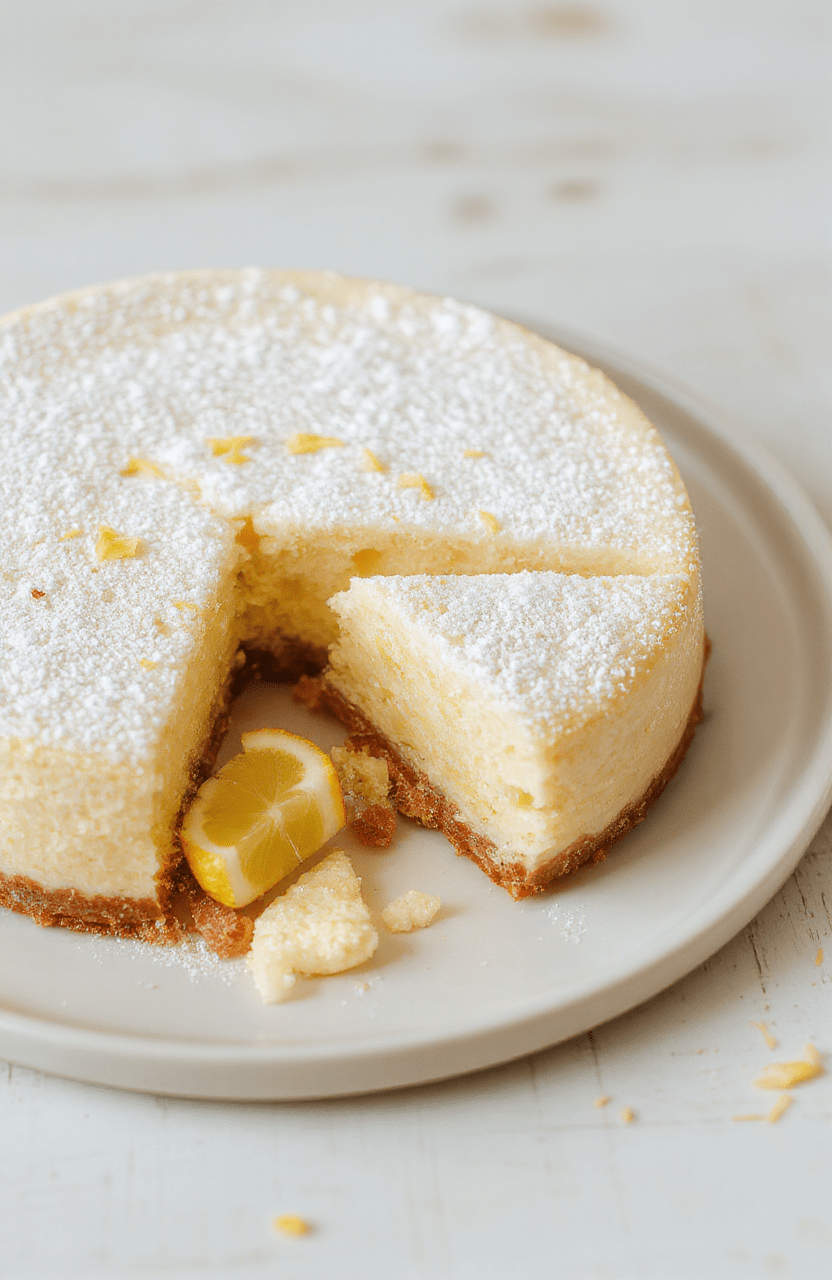
🍰 Light Japanese Cotton Cheesecake Airy Melt 🍊
1. Introduction
Experience the cloud-light charm of Japanese cotton cheesecake, a dessert that tips the scales toward airy while staying indulgent. Light as a soufflé, yet creamy as a classic cheesecake, this version layers a delicate whisked batter with a subtle vanilla aroma. In this guide, you’ll learn how to coax that buoyant rise and a creamy center into a single, melt-in-your-mouth slice. The result is a Japanese cotton cheesecake that feels graceful on the palate and impressive on the plate. For extra inspiration, explore some of our related recipes like a quick French classic and a comforting creamy pasta on the site. croque-monsieur pairs surprisingly well with a light dessert, and you can also enjoy a simple snack like creamy peanut butter oat cups on the same page.
2. Why You’ll Love This Recipe
- Ready in under 60 minutes with a forgiving batter that forgives a few small missteps.
- One-bite texture that’s light, airy, and impossibly soft in the center.
- Minimal crust, maximal cloud thanks to whipped egg whites and careful folding.
- Versatile serving: dust with sugar, a kiss of lemon zest, or a berry glaze for color.
- Perfect after-dinner treat or a refined brunch addition—great for entertaining.
3. Ingredient Notes
The key to a flawless cotton cheesecake texture is balancing airiness with creamy richness. Cream cheese should be at room temperature so it blends smoothly with the eggs. A small amount of melted butter adds tenderness, while a touch of yogurt or milk helps keep the crumb light. Sifted cake flour and a pinch of cornstarch keep the batter from becoming too dense, creating that signature cloud-like rise. If you like a hint of tang, a splash of lemon juice can brighten the flavor without overpowering the delicate sweetness.
Quality ingredients matter here. Use full-fat dairy for depth, and vanilla bean or high-quality vanilla extract for aroma. If you prefer a dairy-free version, swap in a neutral non-dairy cream cheese and a plant-based milk; expect a slightly different structure, but you’ll still enjoy a wonderfully airy result.
Internal links for a bite-sized inspiration: try a savory twist with a quick croque-monsieur, or explore a creamy treat such as our creamy peanut butter oat cups for a complete dessert-and-snack plan. Also, our fluffy oatmeal crepes offer a gentle breakfast companion to this dessert when you’re in a brunch mood.
4. Kitchen Tools You Need
A dependable toolset makes this airy cheesecake easier and more foolproof. Here are select tools that can help you achieve bakery-quality results at home:
- KitchenAid Artisan 5-Quart Stand Mixer — Whip egg whites to stiff, glossy peaks with ease. A stand mixer makes folding delicate meringue into the batter smooth and trouble-free.
- Compact 6-in-1 Digital Air Fryer by Amazon Basics — Not required for baking, but handy for warming slices without drying them out and for quick post-bake snacking.
- Ninja 12-in-1 Smart Double Oven with FlexDoor & Air Fry — Spacious and precise, great if you’re baking multiple desserts or need a reliable heat source for a water bath in a compact kitchen.
- Cuisinart 2-Quart Stainless Steel Ice Cream Maker — Optional for a frozen topping or a quick ice-cream pairing to contrast the soft texture of the cheesecake.
Having the right tools helps you control steam and heat more reliably, which is essential for the delicate lift of this dessert. If you’re new to these gadgets, start with a sturdy stand mixer and a checked oven temperature to ensure consistent results. For more kitchen gear ideas, you can browse our recommended gear list anytime.
5. How to Make Light Japanese Cotton Cheesecake Airy Melt
Phase 1 — Gather, temper, and prepare
Preheat the oven to a steady 325°F (165°C) and line a small springform pan with parchment. Have the egg whites in one bowl and the yolks in another. Temper the cream cheese with a bit of milk to ease blending, then whisk in the yolks, sugar, vanilla, and melted butter until smooth. You should see a pale, glossy mixture with no stray lumps.
Phase 2 — Whip the whites to glossy peaks
In a clean bowl, whisk the egg whites with a pinch of salt until they hold stiff, glossy peaks. The texture should resemble whipped cream that stands in soft, yet defined, peaks. Don’t overbeat or you’ll break the structure.
Phase 3 — Fold gently for lift
Sift the dry ingredients and fold them into the cream cheese mixture in batches. Then fold in a third of the whipped whites to loosen the batter, followed by the remaining whites. The batter should be airy and ribbons should fall slowly when you lift the spatula. This is where you’ll start to see that cotton-like texture forming.
Phase 4 — Bake in a water bath
Pour the batter into the prepared pan and set it in a larger baking dish filled with hot water to create a gentle steam environment. Bake for 45–60 minutes, until the top is lightly golden and the center still has a slight jig. A knife inserted near the edge should emerge clean, while the center remains soft.
Phase 5 — Cool and unveil
Turn off the oven and crack the door slightly to cool gradually for about 30 minutes. Then remove from the water bath and let cool completely on a rack. Chill in the fridge for at least 2 hours before slicing. When ready to serve, run a knife around the edge to release and cut into neat wedges that reveal a pale, airy crumb.
6. Expert Tips for Success
- Always start with room-temperature cream cheese and eggs for a smoother, uniform batter.
- Do not overfold the batter; you want a light, airy mixture that still holds its shape.
- Use a water bath to prevent cracking and to maintain moisture; the steam keeps the cake delicate and soft.
- Dusting with a little powdered sugar or citrus zest adds brightness without weighing it down.
- Ensure the oven temperature is stable—an oven thermometer is a wise investment for precise results.
7. Variations & Substitutions
If dairy or gluten is a concern, try a dairy-free cream cheese substitute and almond milk, but be aware the texture may shift slightly. For a gluten-free version, swap in a gluten-free cake flour blend with a touch more cornstarch to preserve lift. You can also experiment with citrus zest (lemon, yuzu) for a bright twist, or fold in tiny blueberry halves for a jammy surprise in every bite. For a richer bite, increase the cream cheese by a tablespoon or two and reduce the milk accordingly.
8. Storage & Reheating
Store leftovers covered in the fridge for up to 3 days. Cold slices are wonderfully sliceable, but you can reheat gently in an oven at 300°F (150°C) for 5–8 minutes to restore softness. If you’re using an air fryer, reheat on a low setting for a brief minute to avoid over-drying the cake.
9. FAQ
Q: What is Japanese cotton cheesecake?
A: It’s a super-light, airy cheesecake known for its cloud-like texture. The batter incorporates whipped egg whites to create a tender, melt-in-your-mouth crumb.
Q: Why is it called cotton?
A: The finished cake has a soft, cotton-like interior with a delicate, almost soufflé-like lift on the palate.
Q: Can I make this dairy-free?
A: Yes, with dairy-free cream cheese and a plant-based milk. Expect a slightly different texture but a lovely light crumb.
Q: How do I prevent cracking?
Use a water bath, bake at a steady temperature, and avoid opening the oven door during the first 30 minutes of baking.
10. Conclusion
This Light Japanese Cotton Cheesecake Airy Melt is a celebration of lift and cream in a single, delicate slice. By embracing a gentle folding technique, steady heat, and thoughtful ingredient choices, you’ll enjoy a dessert that feels both refined and approachable. Whether you serve it to guests or savor it with a quiet cup of tea, this Japanese cotton cheesecake delivers a moment of soft, aromatic bliss every time.
Print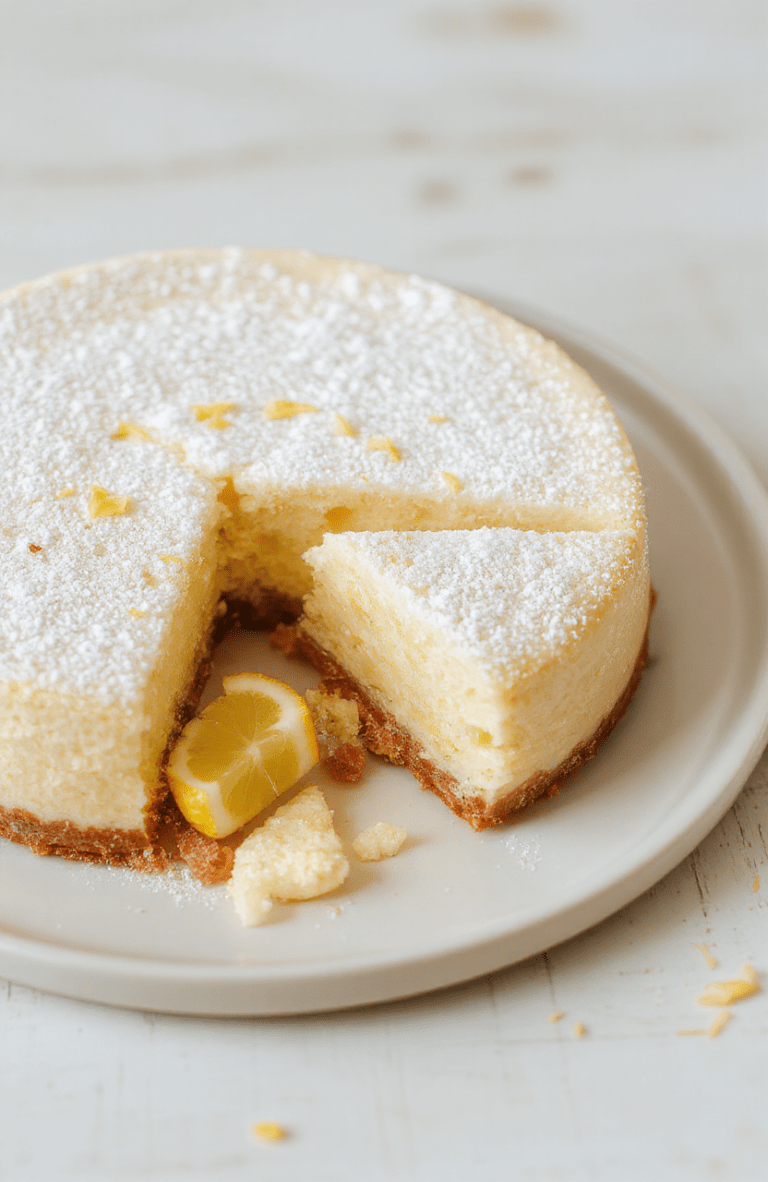
Light Japanese Cotton Cheesecake Airy Melt
- Total Time: 1 hr 5 mins
- Yield: 8 servings 1x
Ingredients
- 250 g cream cheese, softened
- 60 g unsalted butter, melted
- 60 ml milk
- 90 g granulated sugar, divided
- 1 tsp lemon juice
- 60 g cake flour
- 1 tbsp cornstarch
- 5 large eggs, separated
- Pinch of salt
- Powdered sugar for dusting
Instructions
- Preheat oven to 150°C (300°F). Line a 8-inch (20 cm) round pan with parchment paper and place in a deep roasting pan for a water bath.
- Beat cream cheese, melted butter, milk, lemon juice, and 60 g sugar until smooth and lump-free.
- Whisk yolks with remaining sugar until pale and thick, then fold into the cheese mixture.
- Sift in cake flour and cornstarch; fold until just combined.
- In clean bowl, whip egg whites with pinch of salt until foamy, then gradually add remaining sugar until stiff, glossy peaks form.
- Gently fold a third of the meringue into the batter to loosen, then fold in the rest in two additions until just blended.
- Pour batter into prepared pan. Place in water bath and bake for 60–70 minutes until the top is lightly golden and center barely jiggles.
- Turn off oven and leave cheesecake inside with door ajar for 15 minutes, then cool completely at room temperature. Refrigerate at least 4 hours or overnight before serving.
- Dust with powdered sugar before slicing and serving.
Notes
- Water bath helps prevent cracking and keeps the interior moist.
- Chill overnight for a denser, cloud-like texture.
- Best enjoyed with tea or a light fruit garnish.
- Prep Time: 15 mins
- Cook Time: 50 mins
- Method: Bake
- Cuisine: Japanese
- Diet: Vegetarian
Nutrition
- Serving Size: 1 slice (100 g)
- Calories: 270 Kcal
- Sugar: 15 g
- Sodium: 120 mg
- Fat: 18 g
- Saturated Fat: 11 g
- Unsaturated Fat: 5 g
- Trans Fat: 0 g
- Carbohydrates: 22 g
- Fiber: 0 g
- Protein: 7 g
- Cholesterol: 95 mg
