🍳🥞 Easy Gluten Free Crepes for a Light Delicate Breakfast 🥞🍳
1. Introduction
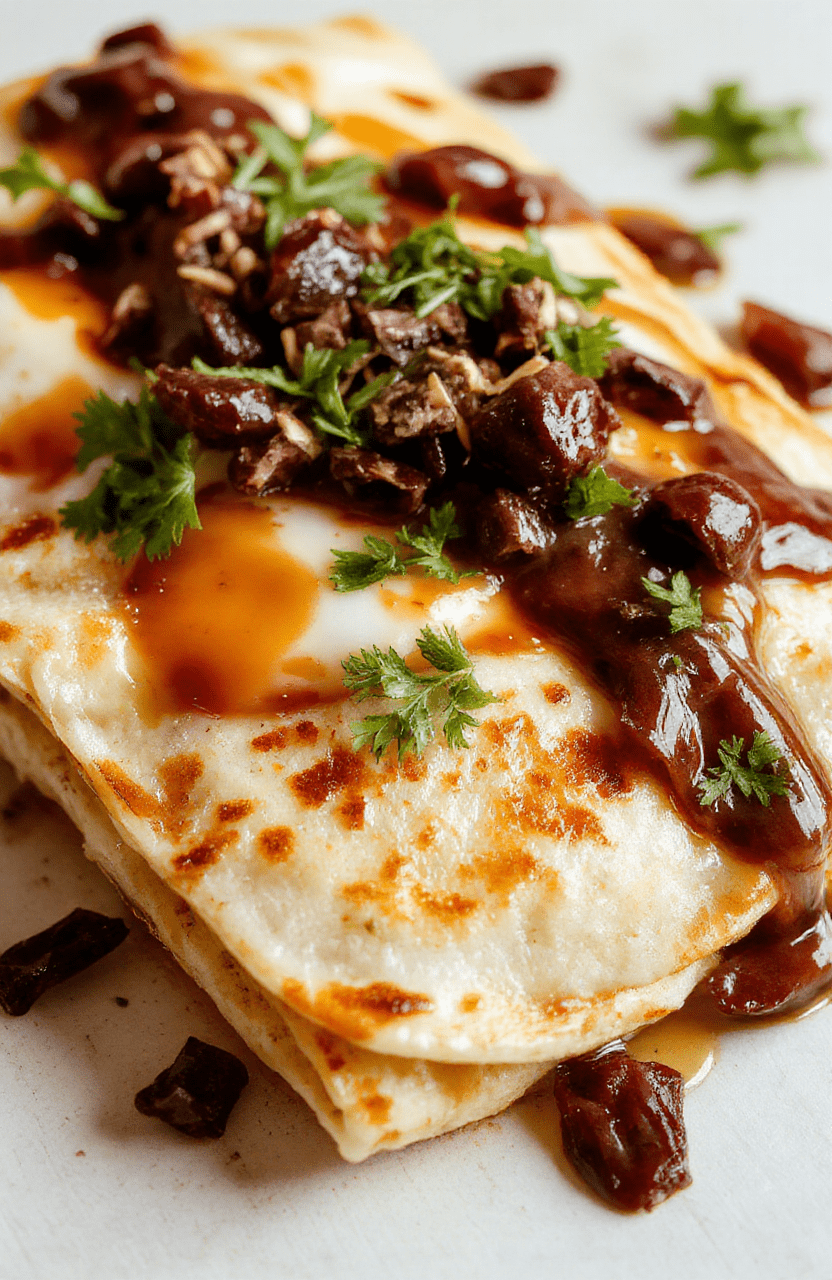
These Easy Gluten Free Crepes deliver a light, delicate bite that feels almost whisper-thin on the tongue. The aroma of warm butter and gently sweet batter fills the kitchen as they cook to a glossy, lacy edge. Made with a tried-and-true gluten free crepe batter, they fold smoothly around sweet or savory fillings for a breakfast that feels indulgent while staying light. With a brief resting step and a hot, well-greased pan, you’ll achieve flawless rounds every time.
Whether you’re chasing a gluten free breakfast or a celebratory brunch, this recipe makes it effortless to serve something elegant and satisfying. I’ll walk you through the technique, share expert tips, and show you how to tailor the batter to your pantry and tastes. Let’s start with what makes these crepes so reliable and tasty.
2. Why You’ll Love This Recipe
- Ready in 20-25 minutes. Quick, approachable, and perfect for busy mornings.
- Gluten free crepes that still feel delicate and versatile for sweet or savory fillings.
- Flexible fillings—think lemon-curd, berries, Nutella, ham and cheese, or sautéed mushrooms for a savory twist.
- Make-ahead friendly—batter can rest and crepes can be stacked for quick assembly later in the week.
3. Ingredient Notes
Choosing the right gluten free flour blend is key. A balanced mix of rice flour, tapioca starch, and a touch of xanthan gum helps mimic the stretch and tenderness of traditional crepes. Opt for a classic all-purpose gluten free blend or tailor it with your favorite brands for the best consistency.
Eggs contribute structure and richness, while milk (dairy or dairy-free) provides the creamy base. If you’d like extra lightness, a splash of sparkling water or club soda can help the batter puff ever so slightly as it hits the pan. A small amount of melted butter or neutral oil adds gloss and flavor to the finished crepe.
Quality ingredients make a noticeable difference. For a helpful comparison and a different take on thin pancakes, you can explore our Fluffy Oatmeal Crepes article which uses a similar technique with oats for a hearty texture.
4. Kitchen Tools You Need
While you can make crepes with a simple skillet, the right tools streamline the process and improve consistency. Below are reliable picks with links to high-quality gear that makes gluten free crepe duty a pleasure.
- T-fal 14-Piece Hard Anodized Nonstick Cookware Set — durable, even heating helps you achieve ultra-thin, tear-free crepes without sticking.
- KitchenAid Artisan 5-Quart Stand Mixer in Scorched Orange — a powerful helper if you want to whisk a larger batter batch or cream fillings in advance.
- Deluxe 33-Piece Silicone Utensil Set — flexible spatulas and spoons protect nonstick surfaces and stack neatly with your batter.
- JoyJolt Airtight Glass Food Storage Set — keep extra batter, fillings, or leftovers fresh for later.
5. How to Make Easy Gluten Free Crepes for a Light Delicate Breakfast
Phase 1: Make the Batter
Whisk together eggs, milk, a pinch of salt, and a little melted butter until smooth. Sift in your gluten free flour blend and whisk until the mixture looks like thin pancake batter, with no lumps. Let the batter rest for 10–15 minutes; this hydrates the flour and helps prevent tearing. The batter should flow slowly off the whisk when you tilt the bowl—think around the consistency of heavy cream.
Phase 2: Cook the Crepes
Heat a nonstick pan over medium heat and brush it lightly with butter or oil. Ladle a small amount of batter and tilt the pan to spread it into a thin, even circle. You’re aiming for a lacy, almost translucent edge. Cook until the edges start to lift and the bottom is lightly golden, about 60-90 seconds. Flip carefully and cook the other side for 30-60 seconds. Stack the finished crepes on a warm plate as you go.
Phase 3: Serve & Fold
Fill with your preferred sweet or savory options, then fold or roll. The aroma of melted butter and warm fillings will invite you to take a first dreamy bite. If you’re serving later, keep the filled crepes warm by covering with foil in a low oven (about 175°F/80°C) until ready to plate.
6. Expert Tips for Success
- Resting the batter improves tenderness and reduces tearing. Don’t skip it.
- Keep the pan well-seasoned with a light coat of fat to prevent sticking and to help browning.
- Dry whisk then whisk again after adding flour to avoid lumps; a few small clumps are easier to hide in a thin crepe.
- If your crepes look too thick, whisk in a splash of milk or water to loosen the batter slightly.
- For uniform crepes, use a consistent ladle size and rotate the pan to cover evenly.
7. Variations & Substitutions
Gluten free crepes are versatile. For dairy-free mornings, swap in almond or oat milk and a light olive or coconut oil instead of butter. For a savory version, skip sugar and add a pinch of garlic powder or finely chopped herbs to the batter, then fill with sautéed mushrooms and greens. You can also experiment with different gluten free flours, such as a millet or sorghum blend, to alter flavor and texture.
8. Storage & Reheating
Store cooked crepes stacked with sheets of parchment between them in an airtight container in the fridge for up to 3 days. To reheat, warm in a dry skillet over low heat, or nudge the microwave to a gentle 20–30 seconds per crepe. Freeze flat in a resealable bag for longer storage, and reheat from frozen in a hot, lightly oiled pan.
9. FAQ
Q: Are gluten-free crepes difficult to make?
A: Not with a balanced gluten free flour blend and a hot, well-greased pan. The batter should be thin and smooth, and resting helps prevent tears.
Q: Can I make crepes ahead of time?
A: Yes. Cooked crepes can be stored in the fridge for a couple of days and reheated, or you can refrigerate the batter for up to 24 hours before cooking.
Q: Which gluten-free flour blend works best?
A: A blend that includes rice flour and tapioca starch with a touch of xanthan gum gives the best stretch and tenderness for crepes.
Q: Can I freeze crepes?
A: Yes. Freeze blank crepes in a single layer, then stack with parchment between layers. Reheat in a hot pan or warm in the oven wrapped in foil.
10. Conclusion
Easy Gluten Free Crepes are a graceful, weeknight-friendly way to start the day. They’re light, delicate, and endlessly adaptable to your fillings and mood. With the right batter resting time and a properly seasoned pan, you’ll be turning out perfect, tender crepes that shine in both flavor and texture—every single time.
Print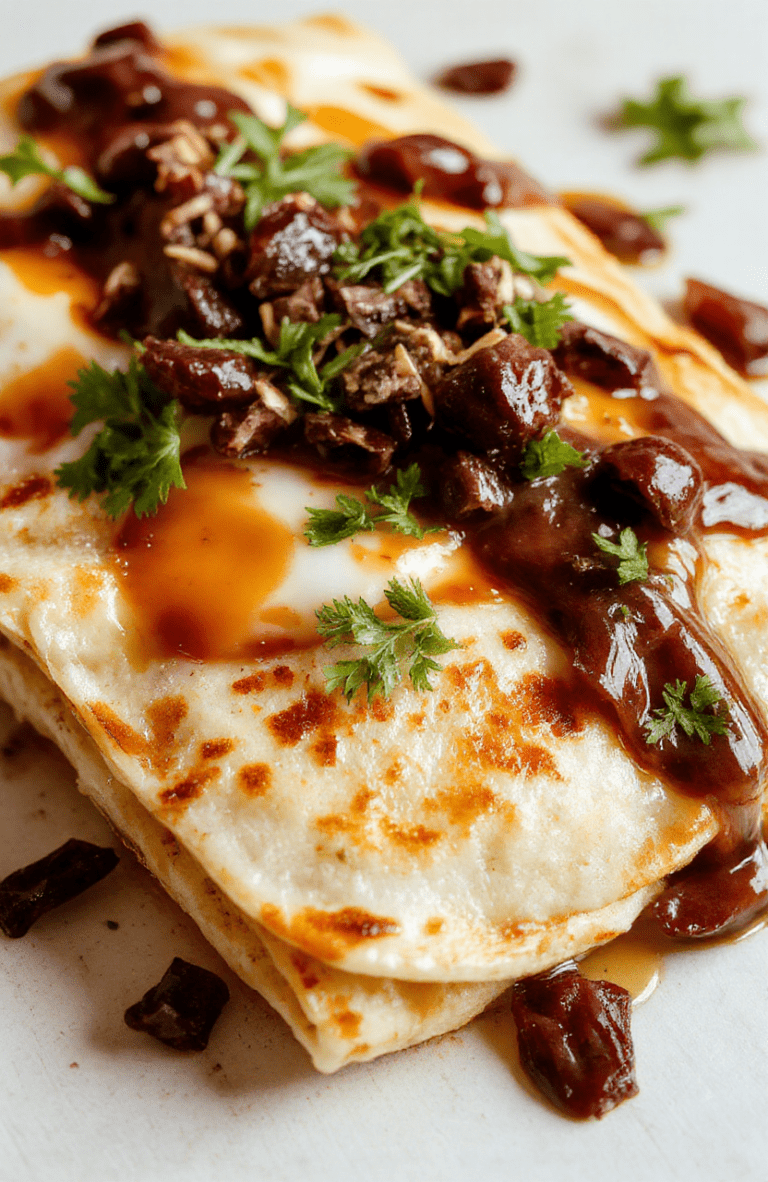
Easy Gluten Free Crepes for a Light Delicate Breakfast
Delicate gluten free crepes that are light, tender, and naturally versatile for sweet or savory fillings.
- Total Time: 20 mins
- Yield: 8 crepes 1x
Ingredients
- 1 cup gluten-free all-purpose flour
- 1 1/2 cups milk (dairy or non-dairy)
- 2 large eggs
- 2 tablespoons melted butter or neutral oil
- 1–2 tablespoons sugar
- 1/4 teaspoon salt
- 1/2 teaspoon vanilla extract
Instructions
- Whisk the gluten-free flour, salt, and sugar in a bowl.
- In another bowl, whisk milk, eggs, melted butter, and vanilla.
- Pour wet into dry and whisk until smooth. Let batter rest 15 minutes.
- Heat a lightly oiled nonstick skillet over medium heat. Pour 1/4 cup batter, tilt to spread thin. Cook 1-2 minutes until edges lift, flip and cook 30-45 seconds more.
- Repeat with remaining batter. Keep warm in a low oven if needed.
- Serve with berries, yogurt, or maple syrup.
Notes
- Resting the batter helps achieve thinner crepes and better texture.
- Adjust consistency with a splash of milk if batter seems thick.
- Use a nonstick pan and light oil to prevent tearing.
- Prep Time: 15 mins
- Cook Time: 5 mins
- Method: Stovetop
- Cuisine: French-inspired, Gluten-Free
- Diet: Gluten Free
Nutrition
- Serving Size: 1 crepe
- Calories: 110 Kcal
- Sugar: 2 g
- Sodium: 180 mg
- Fat: 4 g
- Saturated Fat: 0.5 g
- Unsaturated Fat: 3.5 g
- Trans Fat: 0 g
- Carbohydrates: 18 g
- Fiber: 1 g
- Protein: 4 g
- Cholesterol: 0 mg
