🎄 Creamy Red Velvet Cheesecake for Holiday Gatherings 🍰
1. Introduction — Creamy Red Velvet Cheesecake
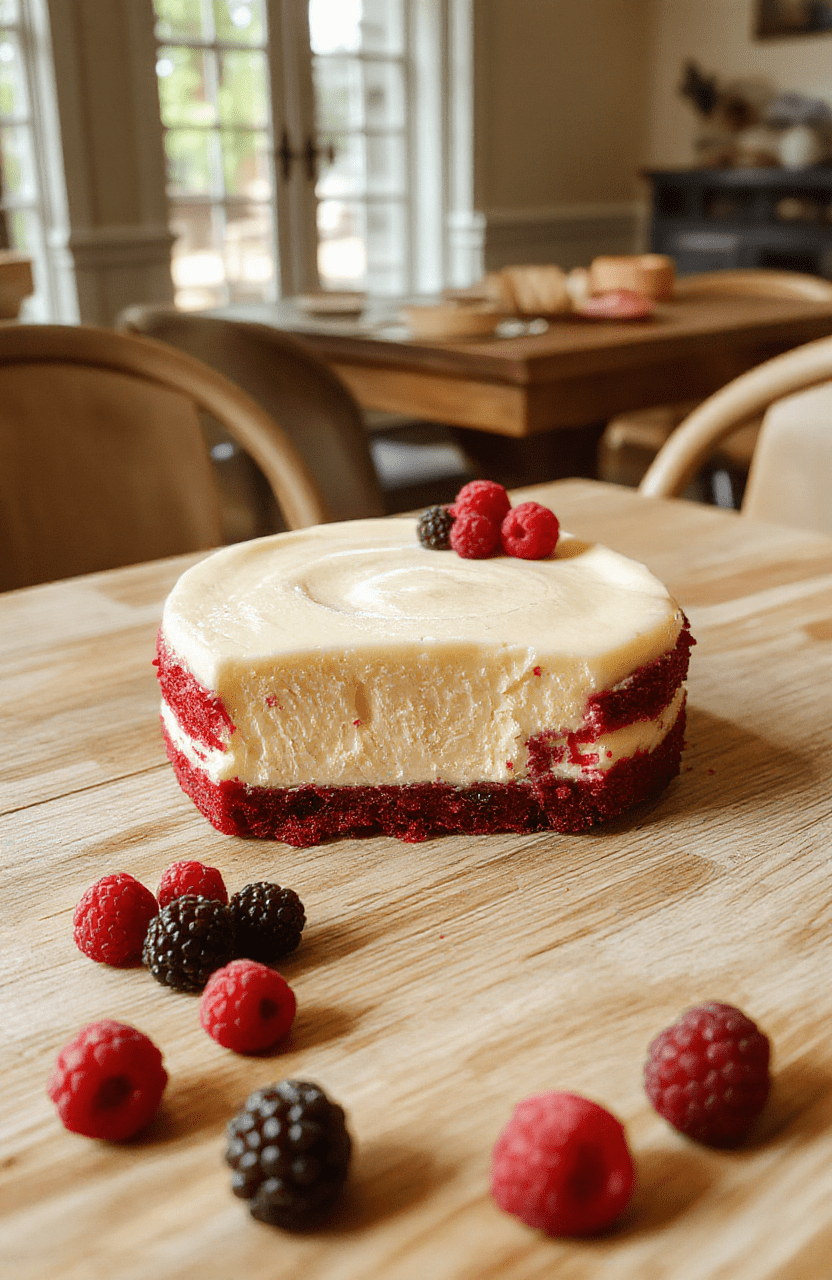
This Creamy Red Velvet Cheesecake is the centerpiece of any festive gathering. Velvet-smooth filling meets a tender, buttery crust, all crowned with a glossy red surface that catches the eye. Aromas of vanilla, cocoa, and cream cheese mingle as it bakes, then settle into a slice that feels luxurious on the tongue.
2. Why You’ll Love This Recipe
- Impressive, show-stopping dessert that looks as good as it tastes.
- Silky filling with a hint of chocolate that balances sweetness and tang.
- Make-ahead friendly—bakes ahead and chills overnight for deeper flavor.
- Pairs beautifully with berries, whipped cream, or a light chocolate ganache.
3. Ingredient Notes
Crust: A classic graham cracker crust keeps the base crisp and sturdy, so slices stay intact when plated. You can swap in crushed shortbread or festive peppermint cookies for a seasonal twist, keeping the butter and sugar balanced for a cohesive bite.
Filling: Use full-fat cream cheese and sour cream or Greek yogurt at room temperature for a creamy, lump-free batter. A touch of cocoa powder deepens the red velvet flavor and adds a sophisticated note without overpowering the cheesecake’s tang. For color, a small amount of red food coloring is optional if your cocoa is very dark—you want a rich, jewel-toned surface, not a brown one.
Flavor boosters: Vanilla extract, a pinch of salt, and optional lemon zest brighten the filling and prevent it from tasting flat. Eggs go in one at a time to maintain a smooth, barely-set center when cooled.
4. Kitchen Tools You Need
To turn this into a seamless holiday bake, a few trusty tools make all the difference. A quality stand mixer helps you achieve a velvety filling without overworking the batter. If you prefer a more built-in cooking setup, a reliable oven with even heating ensures uniform browning and a gentle bake. The right tools also reduce tension around the water bath, helping prevent cracks and shrinking.
- KitchenAid Artisan 5-Quart Stand Mixer in Scorched Orange — creams sugar and cream cheese to silky perfection, especially useful when you want a flawless, lump-free filling.
- Ninja 12-in-1 Smart Double Oven with FlexDoor & Air Fry — a reliable baking option if your main oven is occupied during holiday prep.
- Deluxe 33-Piece Silicone Utensil Set — plenty of heat-safe tools for spreading, scraping, and decorating without scratching nonstick surfaces.
- Ninja Mega Kitchen Power System — versatile for blending berries, whipped toppings, or quick dessert sauces to finish the cake.
5. How to Make Creamy Red Velvet Cheesecake
Phase 1: Prepare the crust
Preheat your oven to 325°F (165°C). Pulse graham crackers with a little sugar and melted butter until you have about 1 1/2 cups of coarse crumbs. Press the mixture into a 9-inch springform pan, building an even base. Bake for 10 minutes, then cool while you mix the filling.
Phase 2: Make the filling
In a stand mixer, beat 24 ounces of cream cheese with sugar until ultra-smooth and no lumps remain. Scrape down the bowl, then add sour cream, vanilla, and cocoa powder, mixing until well combined. Beat in eggs one at a time on low speed, just until incorporated. If using, fold in a few drops of red gel color until the shade resembles deep velvet—aim for a rich, red hue. You want a glossy, luxurious batter with just enough air to hold its shape.
Phase 3: Bake with a water bath
Pour the filling over the cooled crust, smoothing the top. Place the springform pan in a larger baking dish and add hot water to come halfway up the sides of the cheesecake. Bake for about 60–70 minutes, or until the edges are set with a slight jiggle in the center. Turn off the oven, crack the door, and let the cake cool gradually in residual heat to minimize cracks.
Phase 4: Chill and finish
Remove the water bath and cool completely on a rack, then refrigerate for at least 6 hours, preferably overnight. When ready to serve, run a warm knife around the edge and remove the springform ring. A light dusting of cocoa powder or a dollop of whipped cream enhances presentation and keeps the look clean and festive.
6. Expert Tips for Success
- Room-temperature ingredients mix more smoothly, yielding a silkier filling. Plan ahead to take cream cheese, sour cream, and eggs out 1 hour before baking.
- Prevent cracks by using a water bath and avoiding over-mixing the batter after the eggs are added.
- A slow, gradual bake at a steady temperature prevents surface cracking and ensures the center sets gently.
- For a perfectly glossy surface, cool the cheesecake completely before chilling, then refrigerate uncovered for an hour before covering.
7. Variations & Substitutions
- For a lighter texture, swap half of the cream cheese with part-skim Greek yogurt, then compensate with a touch more sour cream to maintain moisture.
- To make it gluten-free, use gluten-free graham crackers or finely crushed almond flour mixed with a bit of melted butter for the crust.
- Dark chocolate lovers can increase the cocoa by a tablespoon and add a thin ribbon of melted semi-sweet chocolate into the batter before baking.
- For dairy-free or vegan options, use a plant-based cream cheese and yogurt blend, plus coconut milk, and ensure your crust is dairy-free.
8. Storage & Reheating
Keep leftovers tightly covered in the refrigerator for up to 5 days. The flavors deepen with time, so a day or two of rest is ideal. To freeze, wrap portions tightly in plastic wrap and foil for up to 2–3 months; thaw overnight in the fridge and bring to room temperature before slicing for best texture. Reheat gently if you prefer a warmer slice—just a few seconds in the microwave will soften the center without melting the topping.
9. FAQ
Q: Can I make this ahead for a holiday party?
A:
Yes. You can bake the crust and filling a day ahead, then refrigerate the assembled cheesecake overnight. It tastes best after chilling, when the flavors meld and the texture firms up.
Q: I’m worried about cracking the top. Any tips?
A:
Use a water bath, avoid over-mixing after adding eggs, and allow a slow cool-down in the oven with the door ajar. The gradual temperature shift helps prevent cracks.
Q: Can I halve the recipe for a smaller pan?
A:
Yes, you can scale to a 6–7 inch pan, but you’ll need to adjust baking times slightly and monitor for doneness. A shorter bake plus a longer chill will help the texture stay creamy.
Q: Are there dairy-free or gluten-free versions?
A:
Absolutely. Use dairy-free cream cheese and yogurt substitutes, and swap the crust to gluten-free cookies or almond flour. The flavor remains rich with careful balancing of fats and moisture.
10. Conclusion
Enjoy this Creamy Red Velvet Cheesecake as your holiday showstopper or a luxurious weekend treat. Its velvety texture, chocolate undertones, and vibrant color make every bite feel festive and indulgent. If you’re looking for more no-fuss dessert ideas, check out our Creamy Peanut Butter Oat Cups for a quick, no-bake option: no-bake treats. For other quick-simmer sweets, our Healthy Chocolate Protein Muffins offer a tasty alternative: protein muffins.
Print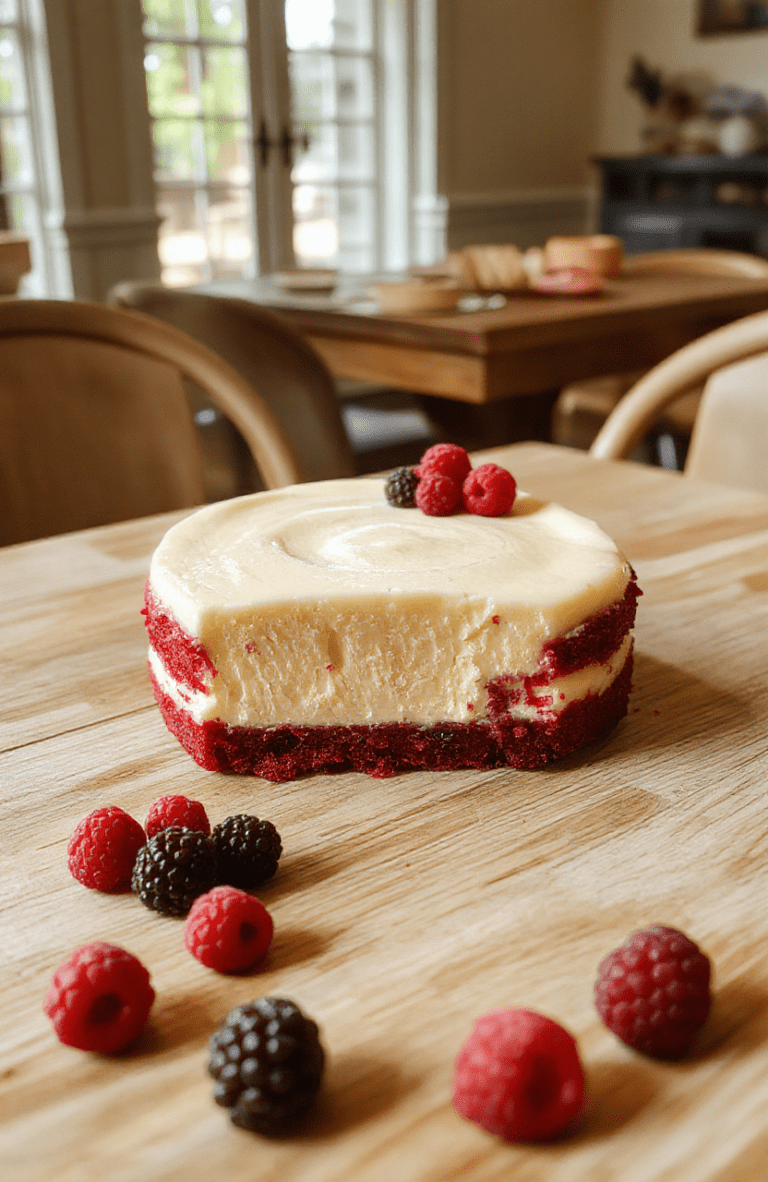
Creamy Red Velvet Cheesecake for Holiday Gatherings
A crowd-pleasing creamy red velvet cheesecake with a chocolatey crust and a velvety filling, perfect for holidays and celebrations.
- Total Time: 1 hr 20 mins
- Yield: 12 servings 1x
Ingredients
- Crust: 1 1/2 cups graham cracker crumbs, 1/4 cup granulated sugar, 1/3 cup unsalted butter, melted
- Filling: 24 oz cream cheese, softened
- 1 cup granulated sugar
- 3 large eggs
- 1/4 cup sour cream
- 2 tsp vanilla extract
- 2 tbsp unsweetened cocoa powder
- 2–3 tbsp red gel food coloring
- 1/4 tsp salt
Instructions
- Preheat oven to 325 F (165 C). Prepare a 9-inch springform pan with crust.
- Make crust: mix crumbs, sugar, and melted butter; press into pan; bake 8-9 minutes; cool.
- Beat cream cheese and sugar until smooth. Add eggs one at a time, then mix in sour cream, vanilla, cocoa powder, red coloring, and salt until just combined.
- Pour filling over crust; bake 50-60 minutes until center slightly jiggles. Turn off oven, crack door, and let cake cool gradually; refrigerate overnight.
- Serve chilled, optionally with berries or a light dusting of cocoa.
Notes
- Chill time is essential for clean slices; overnight chilling yields the best texture.
- Color intensity can be adjusted with more or less red coloring.
- Prep Time: 20 mins
- Cook Time: 1 hr
- Method: Baking
- Cuisine: American
- Diet: Vegetarian
Nutrition
- Serving Size: 1 slice
- Calories: 420 Kcal
- Sugar: 28 g
- Sodium: 320 mg
- Fat: 28 g
- Saturated Fat: 16 g
- Unsaturated Fat: 9 g
- Trans Fat: 0 g
- Carbohydrates: 38 g
- Fiber: 1 g
- Protein: 7 g
- Cholesterol: 95 mg
