
Pokémon Birthday Cake: A Fun and Colorful Celebration Delight 🎉🎂✨ The Ultimate Guide!
1. Introduction: Crafting the Perfect Pokémon Birthday Cake
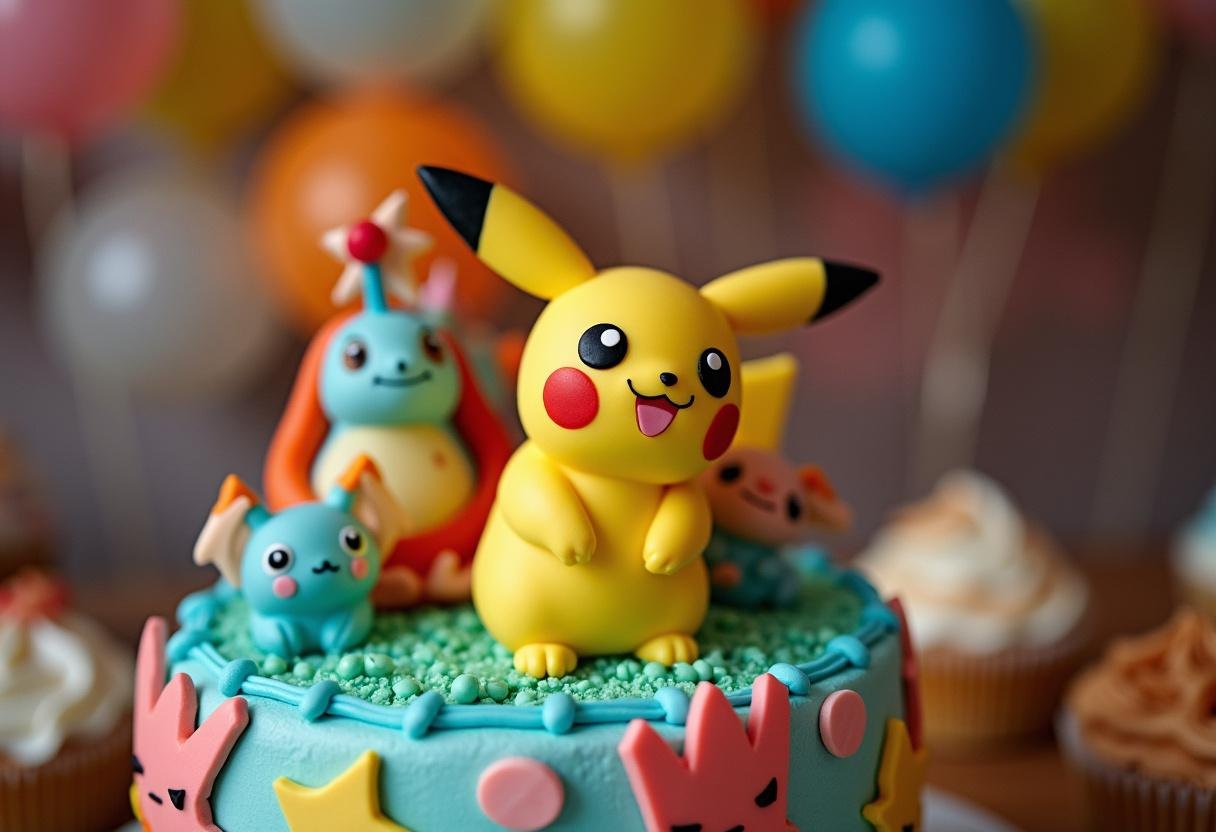
Are you ready to level up your baking skills and make this year’s birthday celebration truly unforgettable? A Pokémon birthday cake is the perfect centerpiece for any Pokémon-themed party, promising to capture the heart of any trainer! This visually stunning cake isn’t just a treat for the eyes; it also delivers on flavor, making it a guaranteed hit. Combining vibrant colors, intricate designs, and delightful flavors, this cake will bring smiles to kids and Pokémon fans of all ages. If you’re looking for equally enchanting treats, why not explore some Harry Potter themed desserts? Perhaps some Harry Potter Butterbeer Cheesecake Pops?
Let’s dive into the step-by-step guide to create this amazing Pokemon birthday cake! We’ll explore how to bake, assemble, and decorate a cake worthy of any Pokémon master. It’s more than just a cake; it’s a culinary adventure!
2. Ingredients: Gathering Your Pokémon Cake Essentials
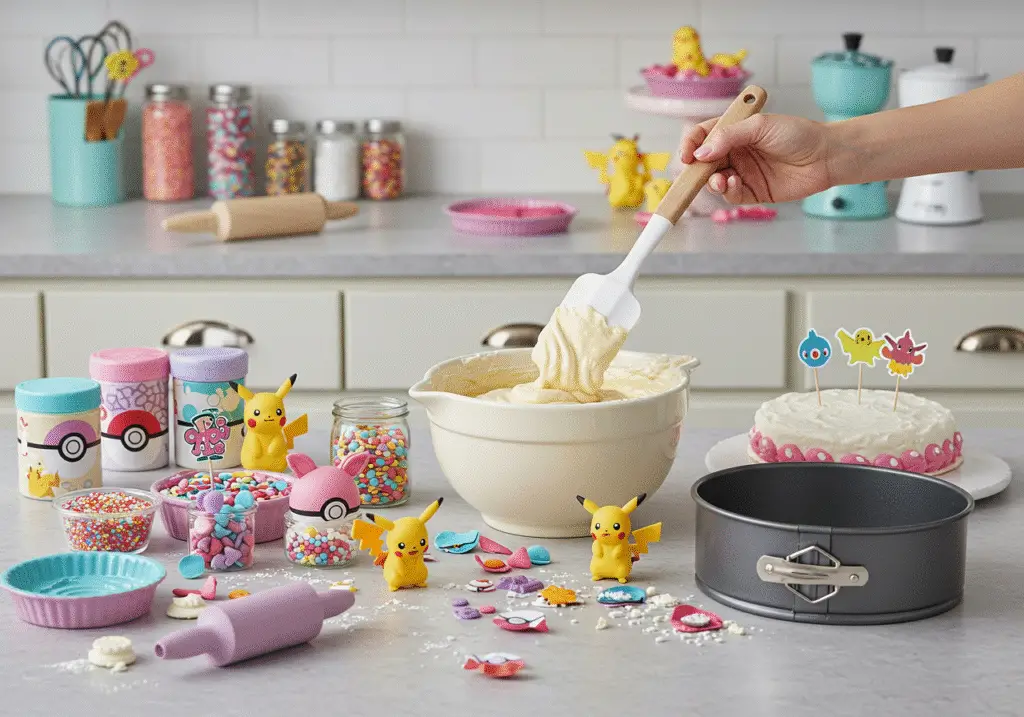
Before you embark on your baking journey, ensure you have all the necessary ingredients to create the perfect Pokémon birthday cake. Here’s what you’ll need:
- 2 cups all-purpose flour
- 2 cups granulated sugar
- 1 cup unsalted butter, softened
- 4 large eggs
- 1 cup milk
- 2 ½ tsp baking powder
- 1 tsp vanilla extract
- Food coloring (various colors for decoration, particularly red, white, and blue to mimic a Pokéball)
- 1 batch of buttercream frosting (consider making extra for detailed decorations)
- Pokémon themed cake toppers (edible images or figurines work great!)
Consider high-quality ingredients for the best flavor. Don’t hesitate to get creative with your Pokemon cake decorations!
3. Step 1: Making the Batter – The Foundation of Your Pokémon Cake
First things first! Start by preheating your oven to 350°F (175°C). This is crucial for ensuring even baking. In a mixing bowl, cream together the butter and sugar until light and fluffy. This step is essential for a moist and tender cake. Add in the eggs one by one, mixing well after each addition. Alternate adding the flour mixture and milk, beginning and ending with the flour. This technique prevents the gluten from over-developing, keeping your cake soft. Finish with the vanilla extract for a burst of flavor! If you love cheesecake, check out this cheesecake recipes.
4. Step 2: Baking the Cake Layers – A Pokéball Effect
Once your batter is ready, evenly divide it into three 9-inch round cake pans. You can add different food coloring to each layer to achieve that Pokéball effect! Ideally, one layer should be red, one white, and one plain (or slightly tinted blue or yellow to represent other Pokémon colors). Bake for 25-30 minutes or until a toothpick inserted in the center comes out clean. Allow the cake layers to cool completely in the pans before frosting. This prevents the frosting from melting and keeps the cake structurally sound. Maybe alongside with the cake you can serve some cupcakes!

5. Step 3: Assembling the Cake – Building Your Pokémon Masterpiece
It’s time to put your Pokémon birthday cake together! Start by placing the first layer (usually the red one) on a cake stand or serving plate. Spread a generous layer of buttercream frosting on top. Repeat with the second layer (the white one), using frosting in between each tier. Finally, top with the last layer and cover the entire cake with a final layer of frosting for a smooth finish. Consider using a crumb coat first—a thin layer of frosting that seals in any loose crumbs—before applying the final frosting layer. If you’re feeling brave, you may want to try this Slytherin Serpent Mint Chocolate Cheesecake.

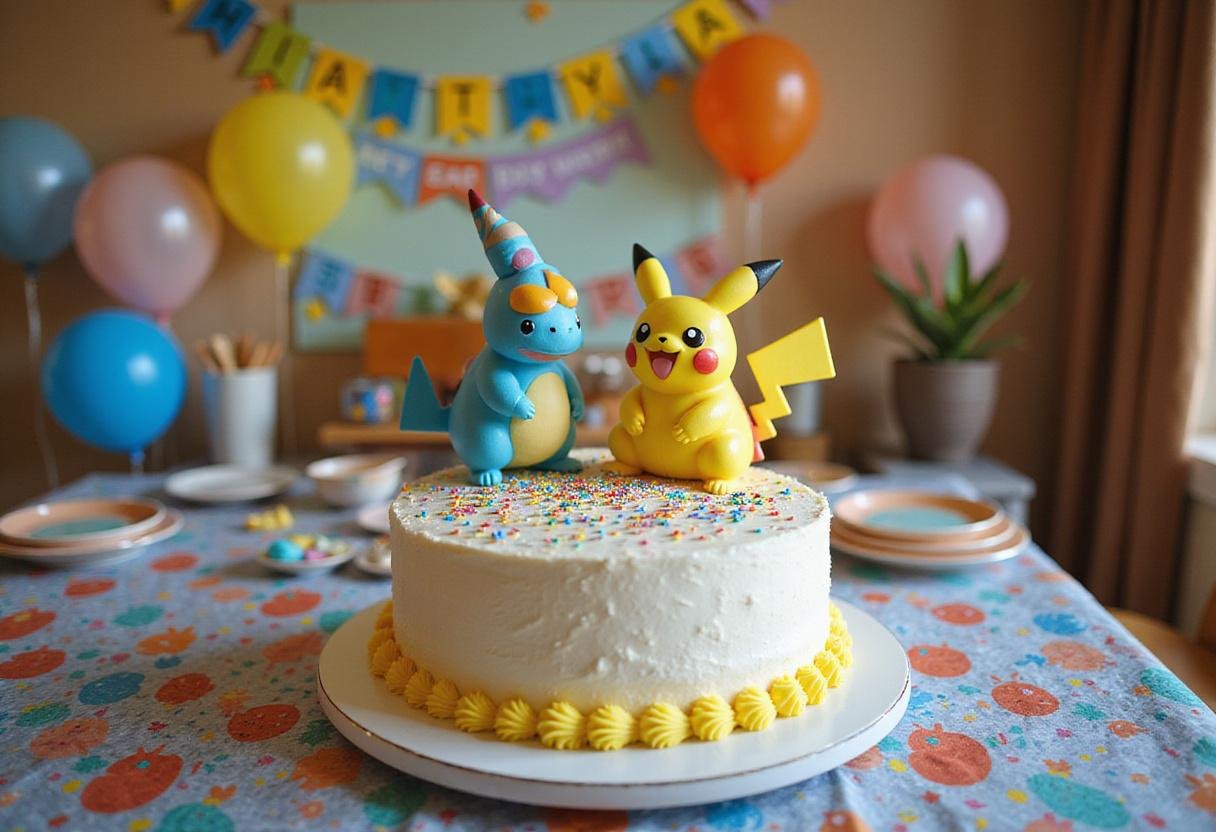
6. Step 4: Decorating the Cake – Unleashing Your Inner Artist
Now for the fun part – decorating your Pokémon birthday cake! Get creative with various colors of frosting, using piping tips to create fun designs. Consider creating a Pokéball design on the side of the cake using red, white, and black frosting. You can also pipe Pokémon characters or use edible markers to draw them on. Finally, add your Pokémon themed cake toppers to make it truly special. Your Pokemon birthday cake is now ready for the birthday celebration! Feeling adventurous? Have you seen this Enchanted Hufflepuff Butterbeer Cheesecake ?
7. Storage Tips: Keeping Your Pokémon Cake Fresh
Your beautiful Pokémon birthday cake can be stored in an airtight container at room temperature for up to 3 days, or in the refrigerator for about a week. The refrigerator will help maintain the frosting’s integrity, especially in warmer climates. If you have leftover cake, consider freezing individual slices wrapped tightly in plastic wrap and then in a freezer bag for future enjoyment! This prevents freezer burn and keeps the cake flavorful. You may also like this Golden Hufflepuff Lemon Lavender Cheesecake.
8. Serving Suggestions: Enhancing the Pokémon Cake Experience
Slice your beautiful Pokémon birthday cake and serve it alongside some fresh fruit (berries pair nicely) or a scoop of ice cream for an extra treat. Consider adding a side of whipped cream or a drizzle of chocolate sauce for added indulgence. Whether it’s at a birthday party or a casual get-together, this cake is sure to be a hit! For other ideas, you may be interested in this Hufflepuff Butterbeer Cheesecake
9. Conclusion: Celebrating with Your Pokémon Creation
A Pokémon birthday cake is not just a treat; it’s an experience that will create everlasting memories. With this recipe, you’re equipped to create a cake that’s as delightful to look at as it is to eat. Happy baking, and may your celebrations be as bright as Pikachu’s smile!
If you want more inspiration, you may like this Ravenclaw Starry Night Butterbeer Cheesecake.
10. Frequently Asked Questions (FAQs) About Making a Pokémon Birthday Cake
Q1: Can I make this Pokémon birthday cake ahead of time?
Yes, you can bake the cake layers 1-2 days in advance. Wrap them tightly in plastic wrap and store them at room temperature or in the refrigerator. Frost the cake on the day of the celebration for the freshest taste. More? Click here!
Q2: Can I use a different type of frosting for the Pokémon cake?
Absolutely! While buttercream is a classic choice, cream cheese frosting, whipped cream, or even a chocolate ganache can be used. Choose a frosting that complements the cake’s flavor and your personal taste.
Q3: How can I prevent the cake layers from drying out?
To keep your cake layers moist, wrap them tightly in plastic wrap while they are still slightly warm from the oven. You can also brush them with a simple syrup (equal parts sugar and water, heated until the sugar dissolves) before frosting.
Q4: Can I add fillings between the cake layers?
Yes, adding fillings such as fruit preserves, custard, or chocolate ganache can enhance the flavor of your Pokémon cake. Ensure the filling is not too runny, or it may cause the cake to slide.
Q5: How do I create a smooth frosting finish on my Pokémon birthday cake?
To achieve a smooth frosting finish, use a cake smoother or offset spatula dipped in hot water. Apply gentle pressure and rotate the cake stand to create an even surface. Chill the cake for 15-20 minutes after the crumb coat to firm up the frosting before applying the final layer.
Q6: What other themed cakes could I make?
Besides Pokemon, there’s a wide variety of thematic cakes to explore. Consider something creative, like this one!
Print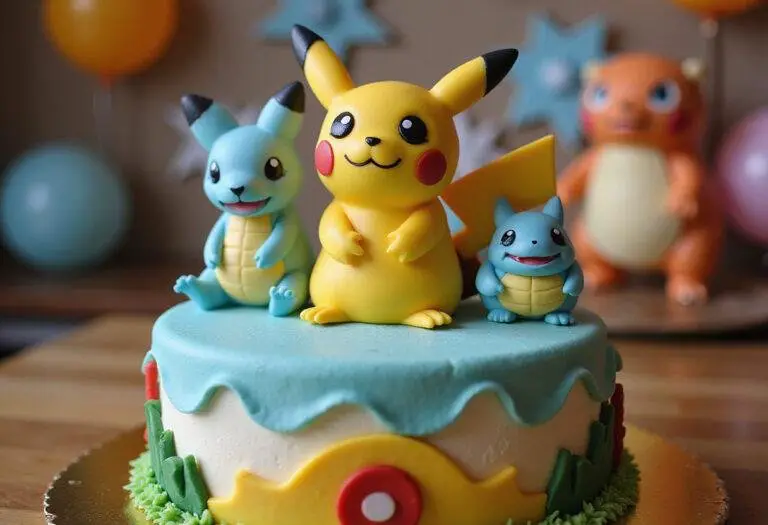
Pokemon Birthday Cake
Celebrate in style with a vibrant Pokémon Birthday Cake that brings joy to every birthday party! This fun and colorful dessert is perfect for Pokémon fans, combining delightful flavors and an eye-catching design.
- Total Time: 1 hour
- Yield: 12 servings 1x
Ingredients
- 2 cups all-purpose flour
- 2 cups granulated sugar
- 1 cup unsalted butter, softened
- 4 large eggs
- 1 cup milk
- 2 ½ tsp baking powder
- 1 tsp vanilla extract
- Food coloring (various colors for decoration)
- 1 batch of buttercream frosting
- Pokémon themed cake toppers
Instructions
- Preheat your oven to 350°F (175°C).
- Cream together the butter and sugar until light and fluffy.
- Add the eggs one by one, mixing well after each addition.
- Alternate adding the flour mixture and milk, finishing with the vanilla extract.
- Divide batter into three 9-inch round cake pans with different food coloring.
- Bake for 25-30 minutes or until a toothpick comes out clean.
- Allow the cake layers to cool completely before frosting.
- Layer and frost the cake with buttercream frosting between each tier.
- Decorate with various colors of frosting and Pokémon themed cake toppers.
Notes
- Store the cake in an airtight container at room temperature for up to 3 days.
- In the refrigerator, it can last about a week.
- Freeze individual slices wrapped in plastic wrap for longer storage.
- For serving, pair with fresh fruit or ice cream.
- Prep Time: 30 minutes
- Cook Time: 30 minutes
- Category: Dessert
- Method: Baking
- Cuisine: American
- Diet: Vegetarian
Nutrition
- Serving Size: 1 slice
- Calories: 350 Kcal
- Sugar: 25g
- Sodium: 150mg
- Fat: 15g
- Saturated Fat: 9g
- Unsaturated Fat: 5g
- Trans Fat: 0g
- Carbohydrates: 50g
- Fiber: 1g
- Protein: 5g
- Cholesterol: 60mg

4 thoughts on “Pokemon Birthday Cake”