
Crunchy, Chewy, & Irresistibly Sweet: The Best Healthy No-Bake Granola Bars You’ll Make in 10 Minutes 🌟
1. Introduction
Craving a wholesome snack that satisfies both kids and adults—in seconds, not hours? These healthy no-bake granola bars are your new kitchen hero. Packed with oats, natural sweetness from honey and almond butter, and a secret boost of protein from chia seeds, they’re the perfect grab-and-go bite for busy mornings, afternoon slumps, or after-school fuel. I’ve made these hundreds of times (my own kids ask for them by name!), and they never fail: the crust holds together perfectly without falling apart, the texture is a dream—crispy at the edges, chewy in the center—and they’re naturally sweetened without refined sugar. Whether you call them kid-friendly snack bars, quick easy granola bars, or just “snack salvation,” this recipe delivers every time—no oven required.
2. Why You’ll Love This Recipe
- ✅ Ready in under 15 minutes—no preheating, no waiting, no cleanup chaos.
- ✅ Kid-friendly & picky-eater approved (they think it’s dessert!
- ✅ Loaded with fiber & protein for lasting energy—no sugar crash.
- ✅ Clean pantry ingredients—no mysterious additives or hidden oils.
- ✅ Versatile & customizable—swap in your favorite nuts, seeds, or dried fruit.
- ✅ Fridge-stable for 2 weeks and freezer-safe for months.
3. Ingredient Notes
Every ingredient here has a purpose—and I’ve optimized the combinations for top-tier flavor and structure.
Rolled oats (not instant!) provide the fiber base and hearty texture. I recommend certified gluten-free if needed.
Maple syrup or raw honey act as natural binders and sweeteners. Honey adds a delicate floral note and helps the bars set firmer; maple syrup gives a deeper, molasses-like warmth. For vegan bars, stick with maple syrup.
Almond butter (or sunflower seed butter for nut-free) is crucial—it adds creaminess and protein. Choose a natural version with only almonds and salt. Stirred oils can separate, so always stir well before using.
Chia seeds are my secret weapon. They swell slightly in the warm mixture, boosting fiber and omega-3s while helping bind everything together—no flaxseed mystery here!
Pure vanilla extract elevates the whole bar—don’t skip it. And for a little texture pop, I love adding mini dark chocolate chips (70% cacao or higher) and chopped toasted almonds for crunch.
4. Kitchen Tools You Need
You likely have most of these on hand—but a few smart tools make this recipe even foolproof:
The Compact 6-in-1 Digital Air Fryer by Amazon Basics is perfect for toasting oats or nuts quickly without burning them—just 3 minutes at 350°F and shake once. (Bonus: it doubles duty for roasted chickpeas or veggie chips!) If you love baking, the KitchenAid Artisan 5-Quart Stand Mixer in Scorched Orange helps whip up the wet blend in seconds—though your hand will do just fine for this simple recipe.
For clean-up bliss, invest in quality bakeware—like the T-fal 14-Piece Hard Anodized Nonstick Cookware Set. Even though this recipe needs no stovetop, those pans make cleanup a breeze when you’re done prepping.
And once your bars are set, store them in the JoyJolt Airtight Glass Food Storage Set—the square containers stack perfectly in the fridge, making snacking effortless all week.
Full Disclosure: Links may earn me a small commission at no extra cost to you—thank you for supporting Serenarecipes!
5. How to Make Healthy No-Bake Granola Bars
Phase 1: Toast & Prep (3 minutes)
Preheat your oven to 325°F (or use an air fryer—see tip below!). Spread 2 cups of rolled oats and ½ cup of slivered almonds on a baking sheet. Toast for 8–10 minutes, stirring halfway, until golden and fragrant. Watch closely—the smell will be warm, nutty and toasty, not bitter. Let cool 5 minutes.
In the meantime, line an 8×8-inch baking dish with parchment paper—leaving an overhang on two sides. This is your lifeline for clean removal later!
Phase 2: Warm the Binder (2 minutes)
In a medium saucepan, combine ½ cup almond butter, ⅓ cup maple syrup (or honey), and 1 tsp vanilla. Heat over low, stirring constantly, until smooth and glossy—about 2 minutes. The mixture should be流动ly (like warm caramel), not stiff. Remove from heat.
Phase 3: Mix & Set (5 minutes)
Stir the toasted oats and almonds into the warm binder until fully coated. Add in 2 tbsp chia seeds, ¼ cup mini chocolate chips, and 2 tbsp shredded coconut (optional). Mix well—everything should look glistening and cohesive, like damp sand in a sandcastle that *almost* holds together.
Transfer to your lined pan. Use a spatula *or the back of a spoon* pressed firmly to compress the mixture evenly. I use a measuring cup to tamp it down—this prevents crumbling. Chill for at least 45 minutes in the fridge (or 15 in the freezer) until rock-solid.
Phase 4: Slice & Store
Lift the entire slab out using the parchment overhang. Place on a cutting board and slice into 12 even bars with a sharp chef’s knife. Wipe the blade between cuts for clean edges. Store in an airtight container in the fridge.
6. Expert Tips for Success
These bars *look* simple—but here’s what separates a crumbly mess from a bar that holds like a pro:
- ✅ Toast your oats & nuts—raw ones make bars taste flat and can cause oil separation.
- ✅ Press, press, PRESS—dense = sturdy. Use a glass or measuring cup to tamp down in the pan.
- ✅ Chill fully—don’t half-step. 45 minutes is the magic number for clean slicing.
- ✅ Use dark chocolate chips, not milk—they melt less and prevent sticking.
- ✅ No substitutes for the binder—honey/maple syrup + nut butter ratio is science. Trying to go oil-free? You can try oat flour paste, but texture suffers.
7. Variations & Substitutions
tailor these bars for allergies, preferences, or what’s in your pantry:
- Nut-Free: Use sunflower seed butter + pumpkin seeds + toasted chickpeas for crunch.
- Chocolate-Covered: Melt 4 oz dark chocolate with 1 tsp coconut oil, dip bar ends, and let set.
- Peanut-Free: Swap almond butter for soy nut butter (or cashew butter for a smoother taste).
- Fruit-Forward: Add ¼ cup freeze-dried raspberries or dried cranberries (avoid sticky raisins—they can make bars too moist).
- Protein Boost: Stir in 1 tbsp unflavored collagen peptides or vanilla whey protein (add *after* removing from heat to avoid clumping).
8. Storage & Reheating
Refrigerator: Store in an airtight container for up to 2 weeks. Place parchment between layers to prevent sticking.
Freezer: Wrap individually in parchment, then in a freezer bag. Keeps for up to 3 months. Thaw 10 minutes at room temp—or eat straight from the freezer for an icy, fudgy treat!
Reheating: None needed—they’re meant to be eaten chill! But if they’ve hardened, pop one in the microwave for 10 seconds. Warning: it’ll melt slightly and taste like a little chocolate bar. (No judgment here.)
9. FAQ
Q: My bars crumbled when I sliced. What went wrong?
A: Most likely, you didn’t press firmly enough—or skipped toasting the oats. Also, ensure your binder was warm enough to coat everything evenly. Chill for a full hour if you’re in a hurry!
Q: Can I make these vegan?
A: Yes—just use pure maple syrup instead of honey, and check your chocolate chips are vegan (many are).
Q: Why do you use chia seeds instead of flax?
A: Ground flax needs liquid to gel, and with no-bake methods, it can turn gummy. Chia seeds bind nicely with minimal liquid and add a nice pop of texture and nutrition.
Q: Can I double the recipe?
A: Absolutely—but use a 9×13 pan, and double the chilling time (1+ hour in fridge). Better yet—make two batches and freeze half!
10. Conclusion
These healthy no-bake granola bars are proof that healthy snacks don’t have to be bland or boring. They’re chewy, crunchy, slightly sweet, and utterly satisfying—plus, they teach your kids how fun (and easy) whole-food snacking can be. Grab a batch before bedtime, and wake up to snack-bar bliss. My family goes through a wholebatch every 3 days—can you blame them? If you try them, snap a pic and tag me—I’d love to see your custom creations!
Want more quick, wholesome recipes? Try our Cheesy Burrito Bake for dinner, Crispy Chicken Caesar Sandwich for lunch, or Refreshing Peach Lemonade to pair with your bars. For a savory option, the Mediterranean Steak Bowl or Easy Big Mac Wraps are family favorites too!
Print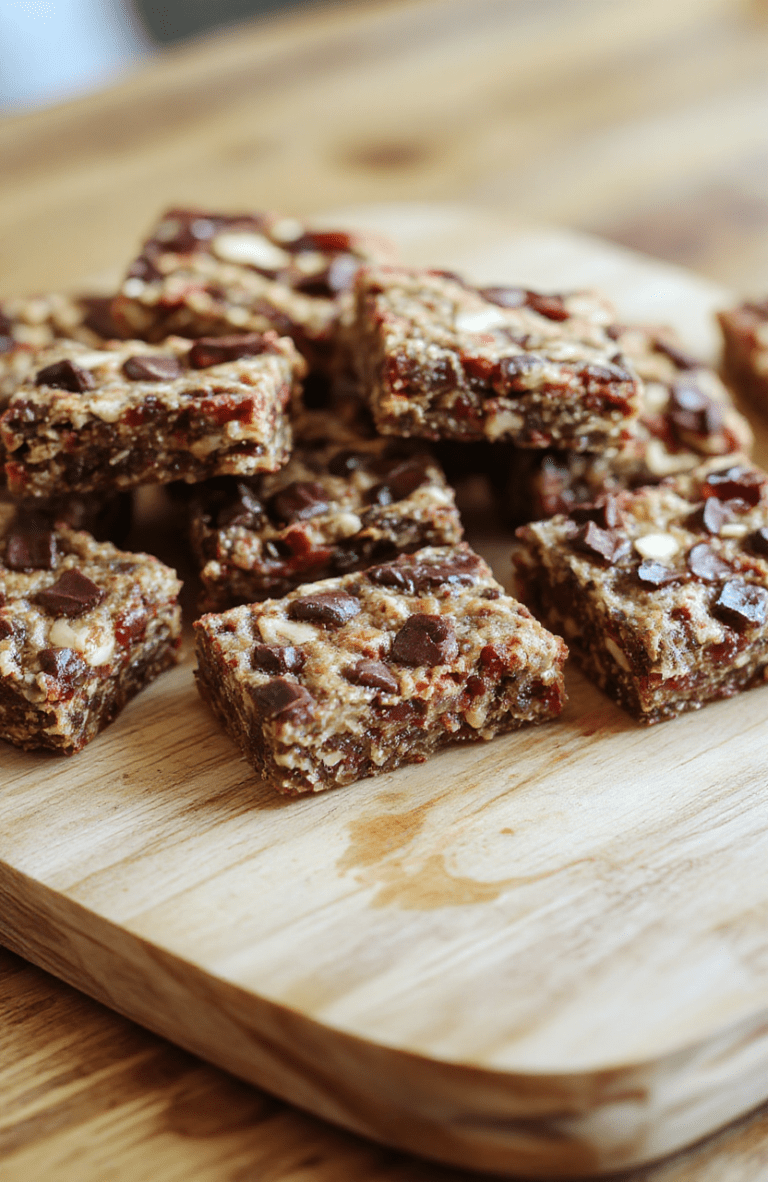
No-Bake Granola Bars
These easy no-bake granola bars are a wholesome, kid-approved snack ready in under 15 minutes with just 7 simple ingredients. No oven required!
- Total Time: 15 minutes
- Yield: 12 bars 1x
Ingredients
- 1 ½ cups old-fashioned rolled oats
- ½ cup honey
- ½ cup all-natural peanut butter (or seed butter)
- ¼ cup coconut oil, melted
- 1 tsp vanilla extract
- ½ cup dried cranberries
- ¼ cup dark chocolate chips
- Pinch of sea salt
Instructions
- Line an 8×8-inch baking dish with parchment paper.
- In a medium saucepan over low heat, warm honey, peanut butter, and coconut oil until smooth and combined (about 2–3 minutes). Remove from heat and stir in vanilla.
- Transfer mixture to a large bowl and stir in oats, dried cranberries, chocolate chips, and salt until fully coated.
- Pour mixture into prepared dish and press firmly with a spatula or hands to compact evenly.
- Refrigerate for at least 2 hours, or until firm. Lift out using parchment, cut into 12 bars, and store in an airtight container.
Notes
- For gluten-free, use certified GF oats.
- Substitute peanut butter with sunflower seed butter for nut-free option.
- Bars keep well in fridge for up to 1 week or freeze for up to 1 month.
- Prep Time: 10 minutes
- Cook Time: 5 minutes
- Method: No-bake
- Cuisine: American
- Diet: Vegetarian
Nutrition
- Serving Size: 1 bar
- Calories: 135 Kcal
- Sugar: 10g
- Sodium: 45mg
- Fat: 7g
- Saturated Fat: 3g
- Unsaturated Fat: 4g
- Trans Fat: 0g
- Carbohydrates: 16g
- Fiber: 2g
- Protein: 3g
- Cholesterol: 0mg
