Magical Happee Birthdae Red Velvet Cake: A Charmed Celebration Delight 🎂❤️✨
1. Introduction to the Magic of Red Velvet Cake
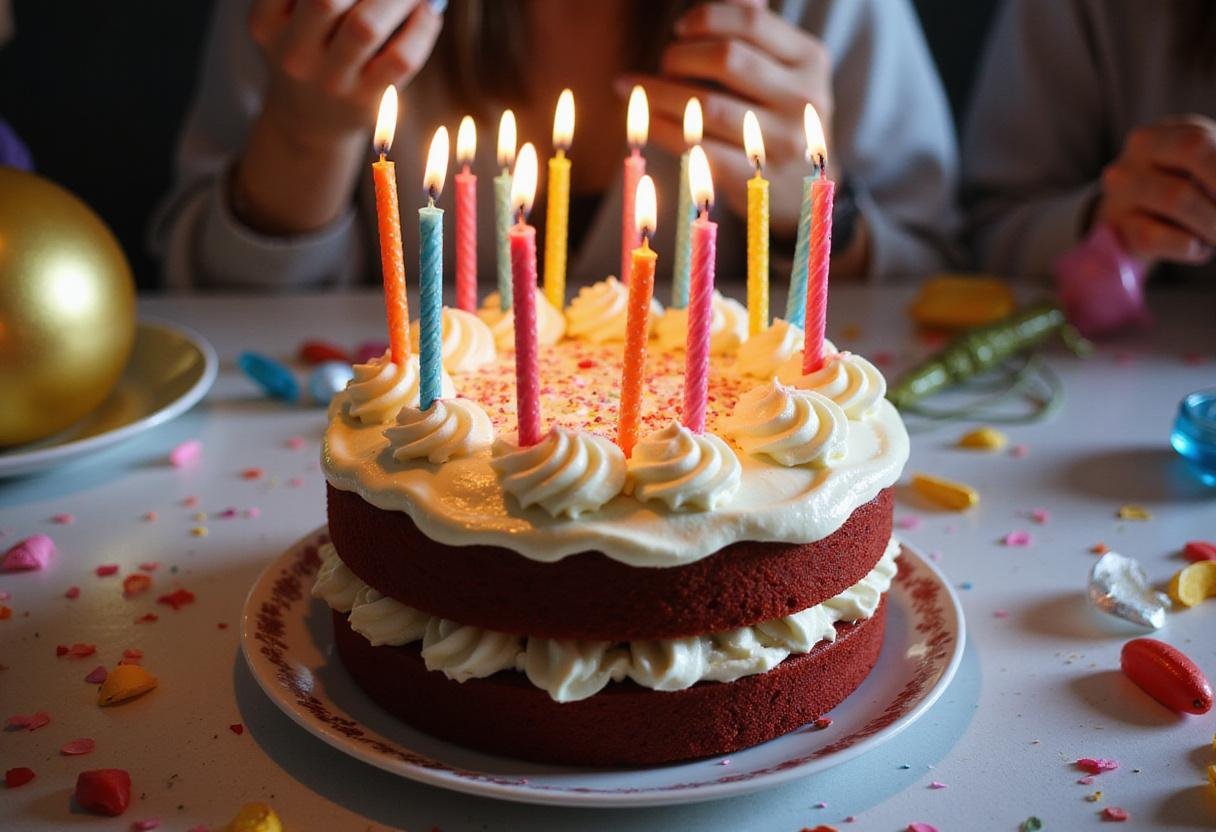
Welcome to the world of culinary magic! The Magical Happee Birthdae Red Velvet Cake is not just a dessert; it’s a celebration in itself! Rich in flavor and adorned with delightful cream cheese frosting, this stunning red velvet cake is perfect for any festive occasion. Whether you’re celebrating a birthday, an anniversary, or simply the joy of good food, this cake will bring smiles and sweet moments to your table. Let’s dive into this delicious journey of making your very own Magical Happee Birthdae Red Velvet Cake! For another magical treat, why not try our Harry Potter Chocolate Chip Cookie Bottom Butterbeer Cheesecake?
2. Ingredients for Your Magical Delight
Before you start creating this beautiful snack, make sure you have all the necessary components for this wonderful Red Velvet Cake!
- 2 ½ cups all-purpose flour
- 1 ½ cups granulated sugar
- 1 teaspoon baking soda
- 1 teaspoon cocoa powder
- 1 cup vegetable oil
- 1 cup buttermilk, at room temperature
- 2 large eggs, at room temperature
- 2 tablespoons red food coloring
- 1 teaspoon vanilla extract
- 1 teaspoon white vinegar
- 1 ½ cups cream cheese, softened (for frosting)
- 3 cups powdered sugar (for frosting)
- 1 teaspoon vanilla extract (for frosting)
3. Step-by-Step Instructions to Bake a Perfect Red Velvet Cake
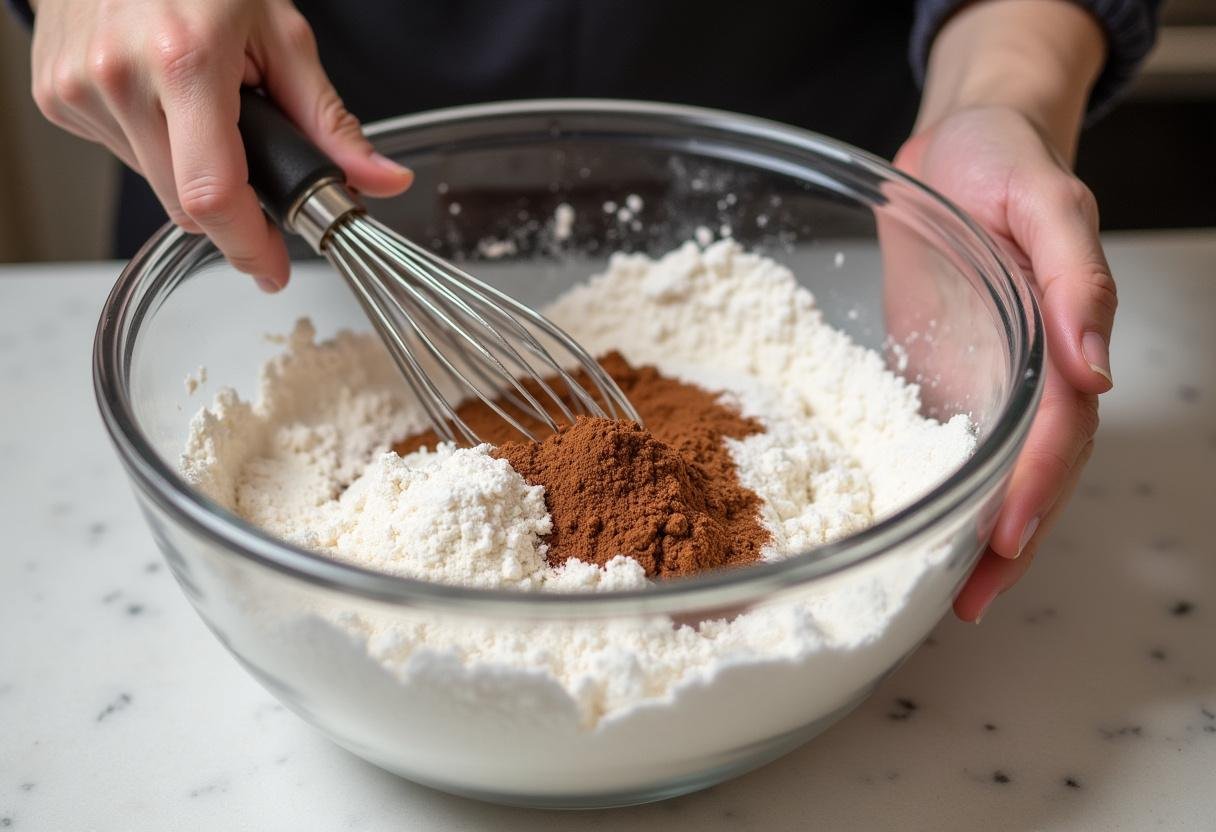
Step 1: Prepping Dry Ingredients for the Red Velvet Cake Batter
Start by preheating your oven to 350°F (175°C) and grease two 9-inch round cake pans. In a large mixing bowl, sift together the flour, granulated sugar, baking soda, and cocoa powder. Whisk these dry ingredients until they’re well combined. Creating those components for our Magical Happee Birthdae! Check out these tips for the best whisking techniques!
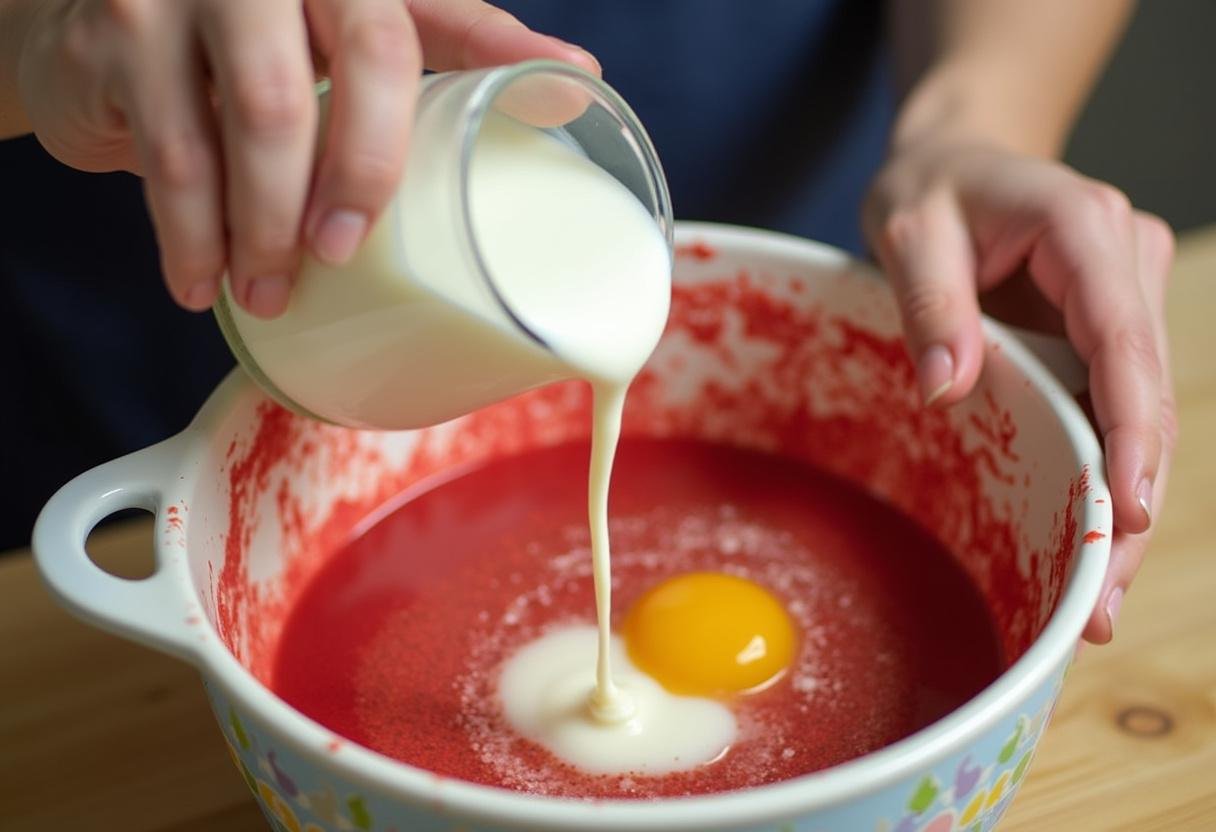
Step 2: Mixing Wet Ingredients for the Ultimate Red Velvet Cake
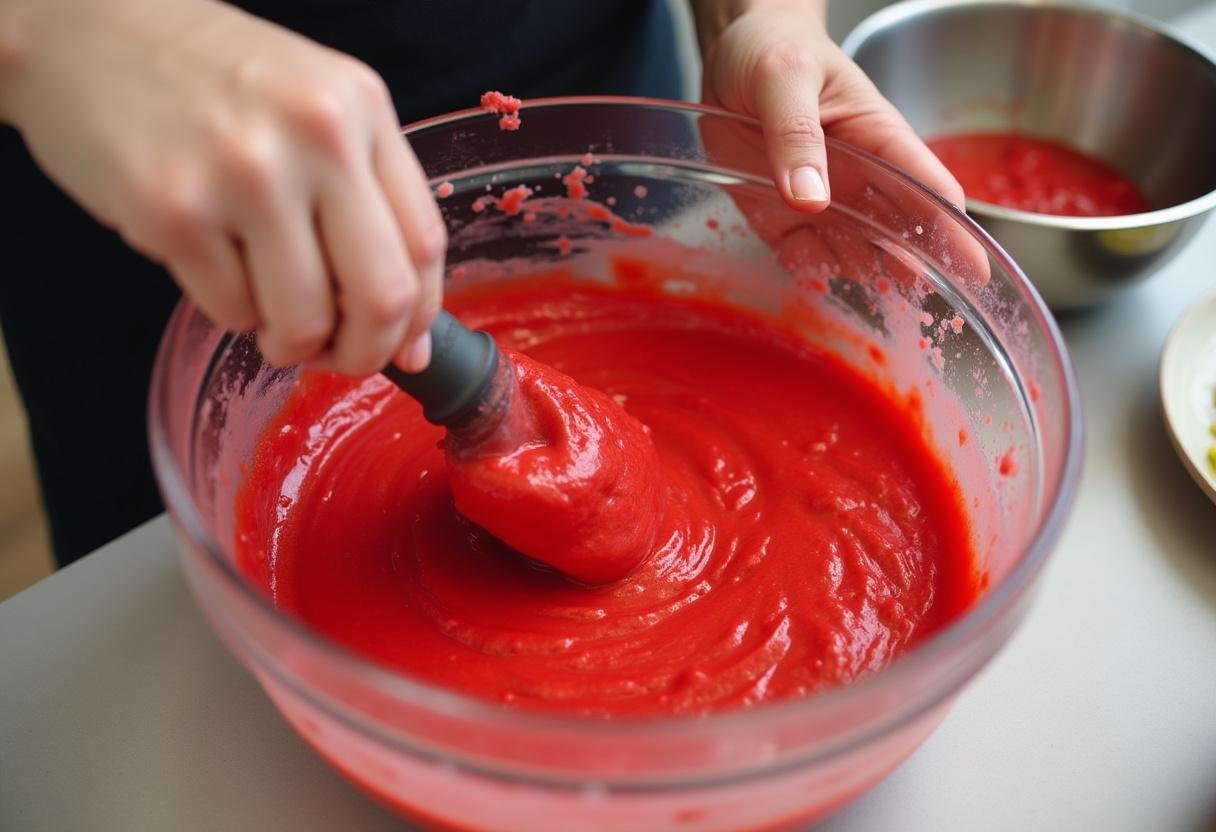
In another bowl, whisk together the vegetable oil, buttermilk, eggs, red food coloring, vanilla extract, and vinegar until smooth. Gradually pour this wet mixture into the bowl of dry ingredients, stirring gently until just combined. Don’t overmix—this will ensure your cake is soft and fluffy! For a spring-inspired flavor, you could also try our Honey Peach Cream Cheese Cupcakes.
Step 3: Achieving the Perfect Red Hue for Your Red Velvet Cake
Now comes the fun part! Fold in the red food coloring carefully to achieve that signature red hue of the red velvet cake batter. Make sure it’s evenly mixed, but remember to be gentle to keep the batter light and airy!
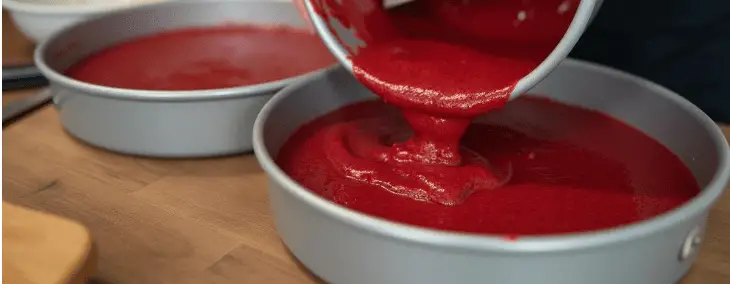
Step 4: Baking Your Amazing Red Velvet Cake Layers
Carefully pour the red velvet cake batter equally into the prepared cake pans. Smooth the tops with a spatula to ensure even baking. Bake in the preheated oven for 25-30 minutes, or until a toothpick inserted into the center comes out clean. Once baked, let the cakes cool in the pans for 10 minutes before transferring them to a wire rack to cool completely. If you’re looking for another magical treat, try our Sorting Hat Caramel Lava Cake!
4. Frosting Your Magical Happee Birthdae Cake
While the cakes are cooling, prepare the cream cheese frosting. In a large bowl, beat the cream cheese until smooth and creamy. Gradually add powdered sugar and vanilla extract. Mix until you achieve a fluffy consistency. Once the cakes have cooled completely, spread the frosting generously between the layers and on top of the cake. Feel free to decorate with sprinkles or fresh berries for an extra touch of magic! For another cream-filled delight, don’t miss our Zesty Spring Lemon Cream Puffs.
5. Storage Tips for Your Red Velvet Cake
The Magical Happee Birthdae Red Velvet Cake can be stored in an airtight container in the refrigerator for up to 5 days. For longer storage, consider freezing the cake layers (wrapped securely) for up to 3 months. Simply thaw overnight in the refrigerator before frosting and serving.
6. Serving Suggestions for the Perfect Red Velvet Cake Experience
This cake is delightful on its own but pairs beautifully with a scoop of vanilla ice cream or fresh whipped cream. If you really want to create a festive atmosphere, serve slices with seasonal fruits or a drizzle of chocolate sauce. You might also enjoy these Harry Potter themed recipes!
7. FAQs About Making Red Velvet Cake
What is the secret to a moist Red Velvet Cake?
The key to a moist Magical Happee Birthdae Red Velvet Cake lies in using buttermilk, which keeps the cake tender. Also, be careful not to overmix the batter.
Can I make this cake ahead of time?
Absolutely! You can bake the cake layers in advance and store them in the refrigerator for a few days or freeze them for later use.
What can I use instead of food coloring?
If you prefer to avoid traditional food coloring, you can use natural beet juice for a similar effect, but the color may be less vibrant.
How do I get my cake layers to be level?
To ensure that your cake layers are even, use a serrated knife to trim any domed tops once they have cooled.
8. Conclusion: Enjoy Your Magical Happee Birthdae Red Velvet Cake
This Magical Happee Birthdae Red Velvet Cake is sure to enchant everyone who takes a bite. Whether you’re baking for a special occasion or just indulging in a sweet treat, this recipe combines richness, flavor, and a touch of magic. So gather your ingredients, follow these steps, and prepare to delight your guests (or your own taste buds) with a slice of this rich, decadent cake! If you liked this recipe you are going to enjoy our Harry Potter Chocolate Bottom Butterbeer Cheesecake as well!
9. Final Thoughts on Your Delightful Red Velvet Cake
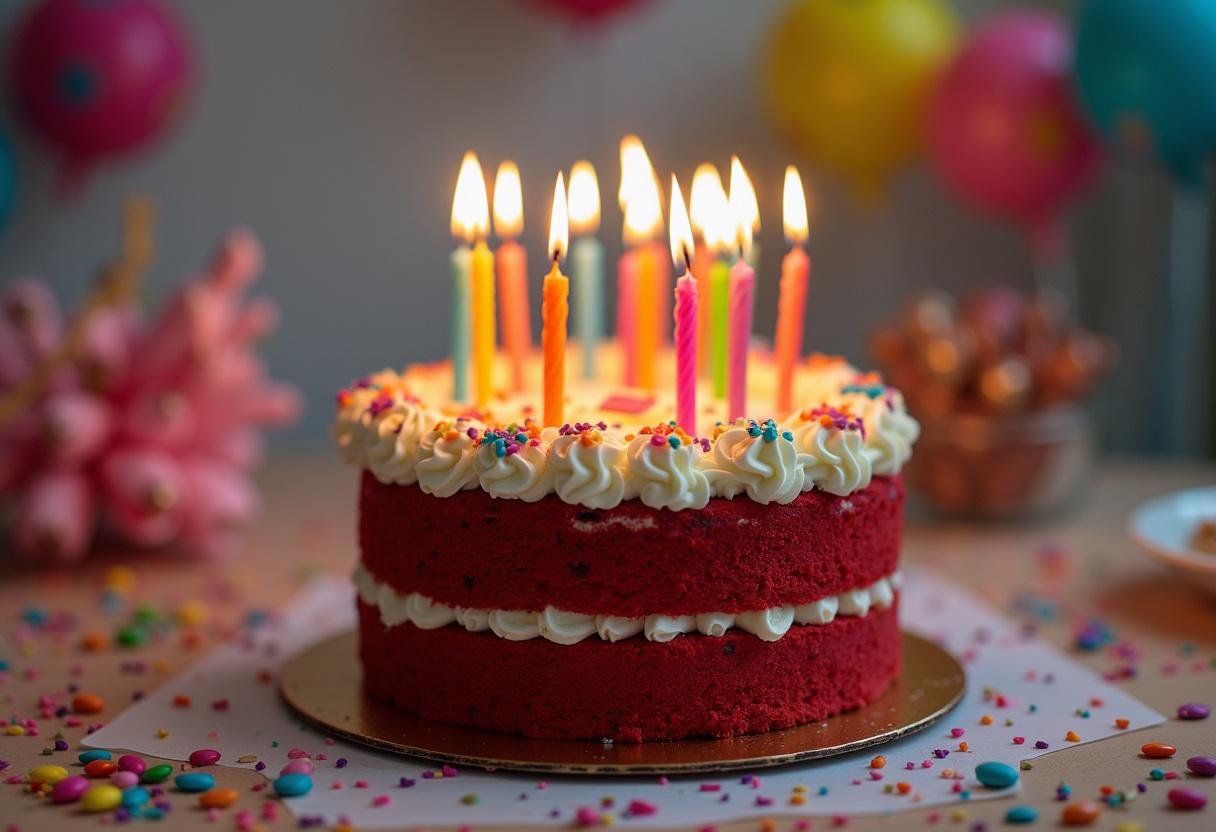
With its vibrant red color and delicious flavor, the Magical Happee Birthdae Red Velvet Cake is a perfect centerpiece for your celebrations. Happy baking, and may each slice be more magical than the last! If you’re in the mood for something different, consider our Creamy Ricotta Pistachio Honey Bites for another delightful experience.
Print
Magical Happee Birthdae Red Velvet Cake
Magical Happee Birthdae Red Velvet Cake is a rich, vibrant dessert perfect for celebrations, featuring cream cheese frosting that adds a delightful sweetness. This cake is ideal for birthdays, anniversaries, or any festive occasion, bringing joy and smiles to the table.
- Total Time: 1 hour
- Yield: 12 servings 1x
Ingredients
- 2 ½ cups all-purpose flour
- 1 ½ cups granulated sugar
- 1 teaspoon baking soda
- 1 teaspoon cocoa powder
- 1 cup vegetable oil
- 1 cup buttermilk, at room temperature
- 2 large eggs, at room temperature
- 2 tablespoons red food coloring
- 1 teaspoon vanilla extract
- 1 teaspoon white vinegar
- 1 ½ cups cream cheese, softened (for frosting)
- 3 cups powdered sugar (for frosting)
- 1 teaspoon vanilla extract (for frosting)
Instructions
- Preheat your oven to 350°F (175°C) and grease two 9-inch round cake pans.
- Sift together flour, granulated sugar, baking soda, and cocoa powder in a large mixing bowl.
- In another bowl, whisk together vegetable oil, buttermilk, eggs, red food coloring, vanilla extract, and vinegar until smooth.
- Gradually add the wet mixture to the dry ingredients, stirring gently until just combined.
- Fold in red food coloring carefully until evenly mixed.
- Pour the batter into the prepared pans and smooth the tops with a spatula.
- Bake for 25-30 minutes or until a toothpick comes out clean. Let cool in pans for 10 minutes before transferring to a wire rack to cool completely.
- Prepare the frosting by beating cream cheese until smooth, then add powdered sugar and vanilla extract until fluffy.
- Once cooled, frost between the layers and on top of the cake, adding sprinkles or fresh berries if desired.
Notes
- Store in an airtight container in the refrigerator for up to 5 days.
- Freeze cake layers (wrapped securely) for up to 3 months.
- Serve with vanilla ice cream or fresh whipped cream for an added treat.
- Prep Time: 30 minutes
- Cook Time: 30 minutes
- Category: Dessert
- Method: Baking
- Cuisine: American
- Diet: Vegetarian
Nutrition
- Serving Size: 1 slice
- Calories: 450 Kcal
- Sugar: 38g
- Sodium: 350mg
- Fat: 22g
- Saturated Fat: 7g
- Unsaturated Fat: 10g
- Trans Fat: 0g
- Carbohydrates: 60g
- Fiber: 2g
- Protein: 6g
- Cholesterol: 50mg

1 thought on “Magical Happee Birthdae Red Velvet Cake”