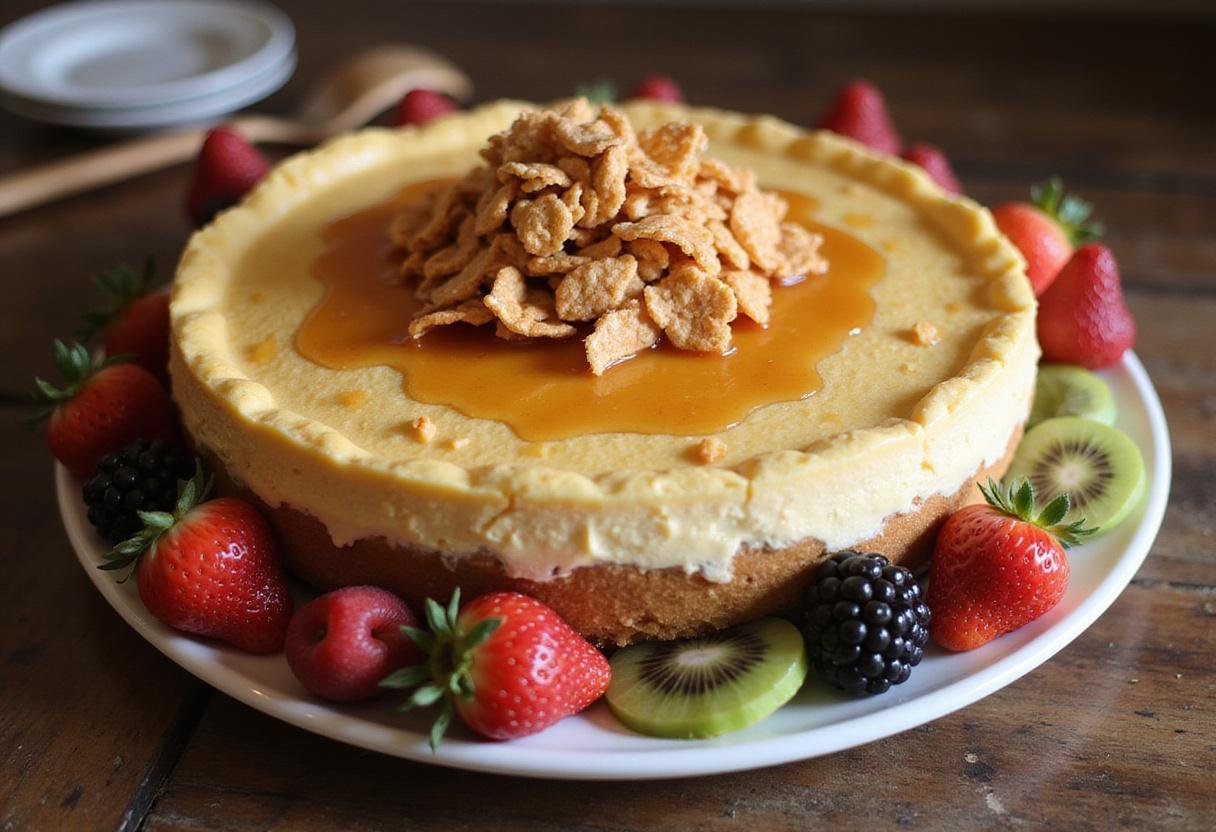
Honey Nut Cornflake Cheesecake: A Sweet, Crunchy Indulgence 🍯🥜🍰
1. Introduction: Discover the Delight of Honey Nut Cornflake Cheesecake
Welcome to the world of delicious desserts with our mouthwatering Honey Nut Cornflake Cheesecake! If you love dave’s hot chicken mac and cheese or even a fantastic chicken bacon ranch mac and cheese, you’ll find that this cheesecake offers a different but equally satisfying indulgence. This delightful cheesecake combines the creamy texture of classic cheesecake with a crunchy honey nut cornflake crust, making it a unique and irresistible treat. Perfect for any occasion, this dessert is sure to leave your guests begging for the recipe. Plus, who can resist the sweet and nutty flavors? Let’s dive into this easy-to-follow recipe and create a dessert that will impress everyone at your next gathering! And if you’re looking for another treat, check out these Chocolate Chip Pecan Cookies!
2. Ingredients: Gathering Your Supplies for Honey Nut Cornflake Cheesecake
To create this exceptional Honey Nut Cornflake Cheesecake, make sure you have the following ingredients ready. High-quality ingredients ensure the best possible flavor and texture for your cheesecake, taking it from good to absolutely divine, much like using fresh ingredients when making buffalo chicken mac and cheese crockpot.
- 2 cups crushed honey nut cornflakes
- ½ cup unsalted butter, melted
- 16 oz cream cheese, softened
- 1 cup granulated sugar
- 1 tsp vanilla extract
- 1 cup heavy whipping cream
- ¼ cup honey, for drizzling
- Pecans or walnuts, for garnish (optional)
3. Step-by-Step Instructions: Crafting Your Honey Nut Cornflake Cheesecake
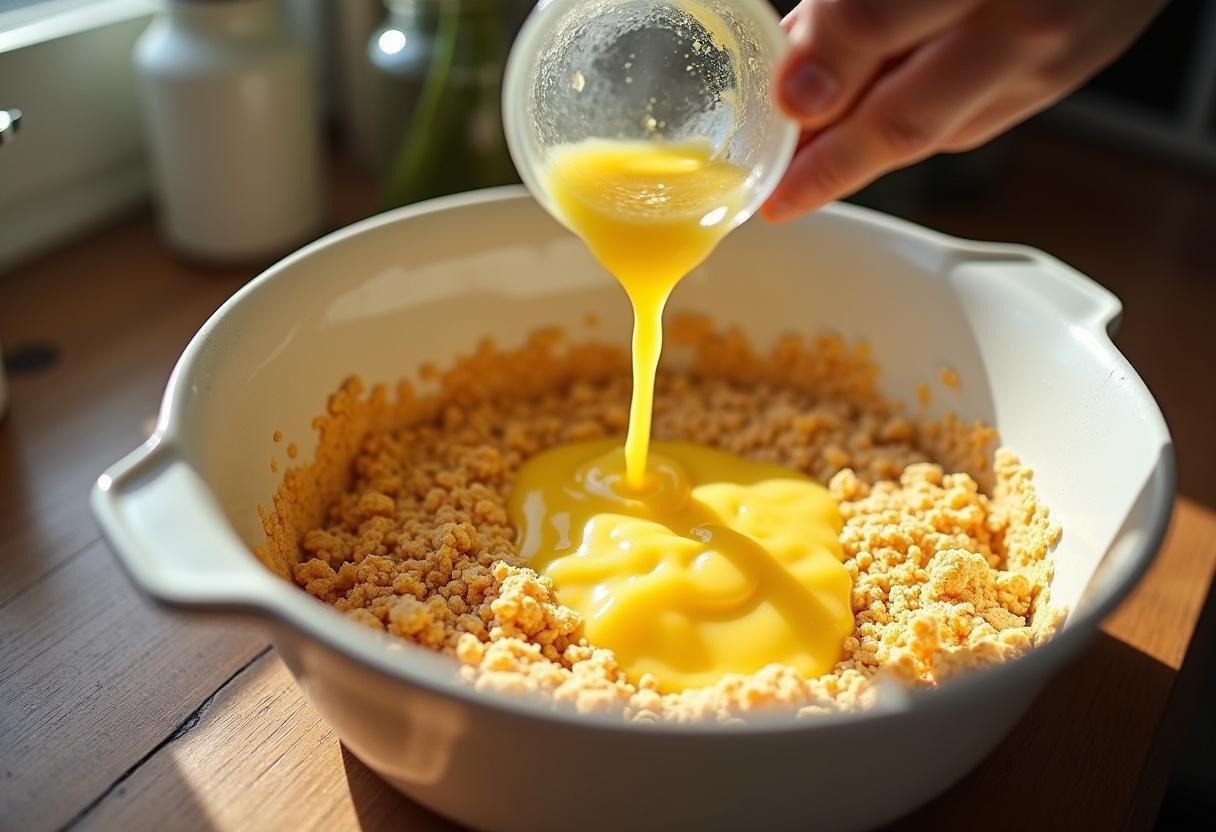
Step 1: Prepare the Crust: A Crunchy Foundation
Begin by preheating your oven to 350°F (175°C). In a bowl, mix the crushed honey nut cornflakes with the melted butter until well combined. Press the mixture firmly into the bottom of a springform pan to create a crust. This crust adds a delightful textural contrast to the creamy filling. Don’t forget, you can find more cookie recipes here!
Step 2: Make the Cream Cheese Mixture: The Heart of the Cheesecake
In a mixing bowl, beat the softened cream cheese and sugar together until smooth and creamy. Add the vanilla extract and mix until combined. This is the foundation of the rich creaminess that defines our Honey Nut Cornflake Cheesecake. Ensuring your cream cheese is properly softened is key to achieving a lump-free mixture. Speaking of mixtures, have you tried our Simple Cake Mix Cookie Recipes?
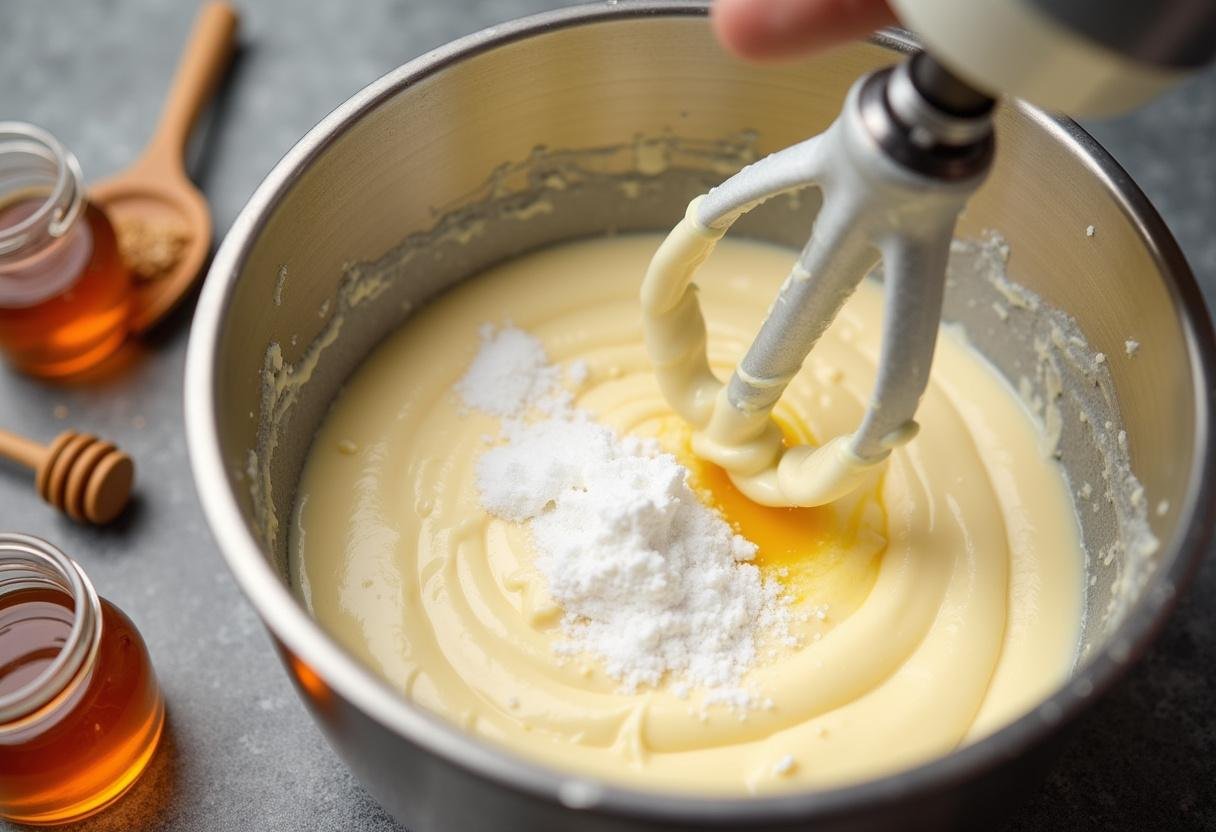
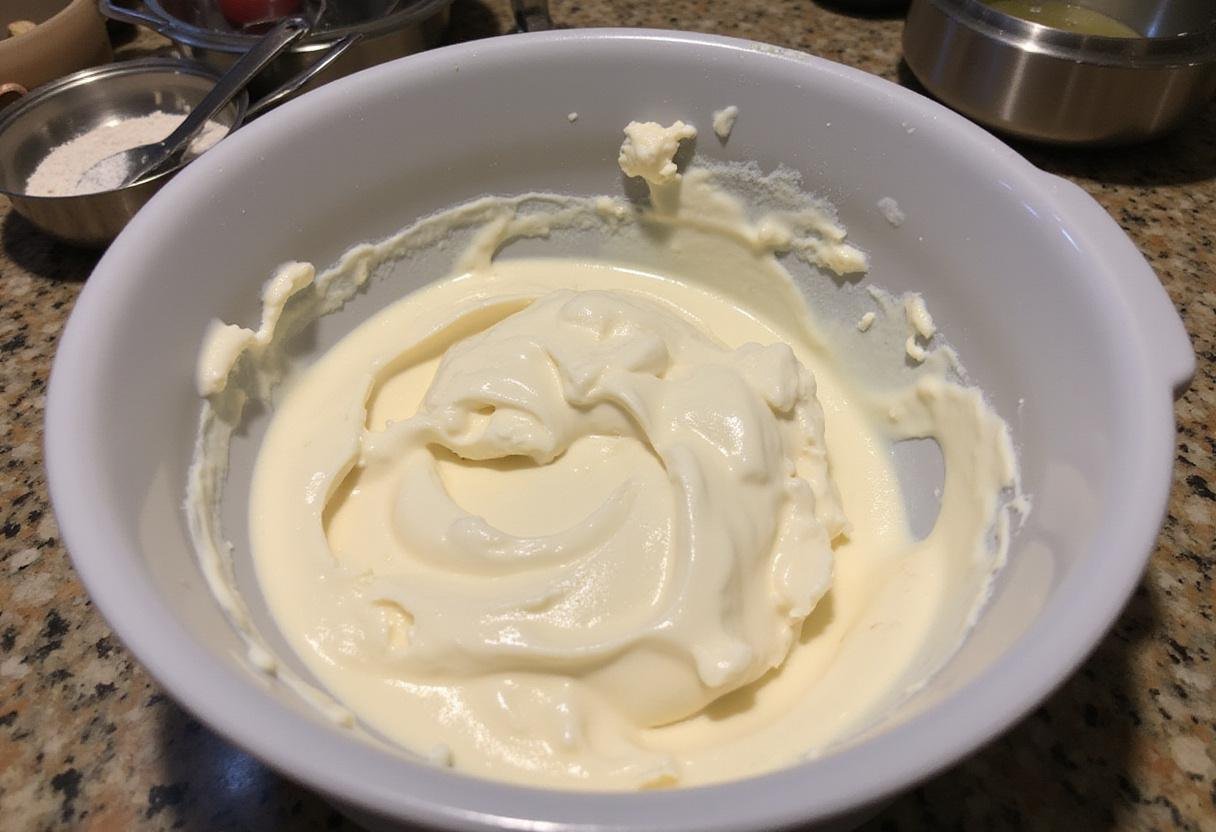
Step 3: Combine Whipped Cream: Adding Lightness and Air
In a separate bowl, whip the heavy cream until soft peaks form. Gradually fold the whipped cream into the cream cheese mixture. This creates a light and airy filling that contrasts beautifully with the crunchy crust. The whipped cream is what gives the Honey Nut Cornflake Cheesecake its delicate texture. Thinking about other cookies? Check out Marshmallow Mint Chocolate Cookies!
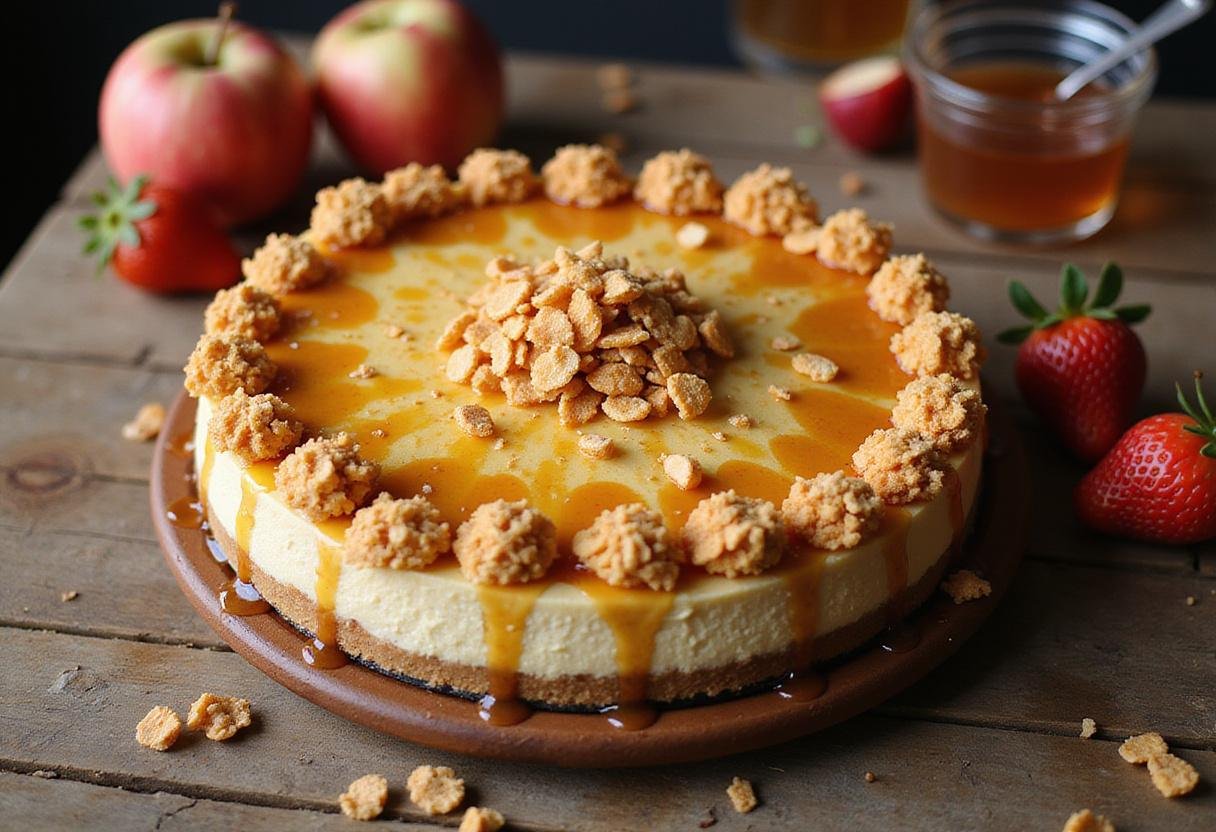
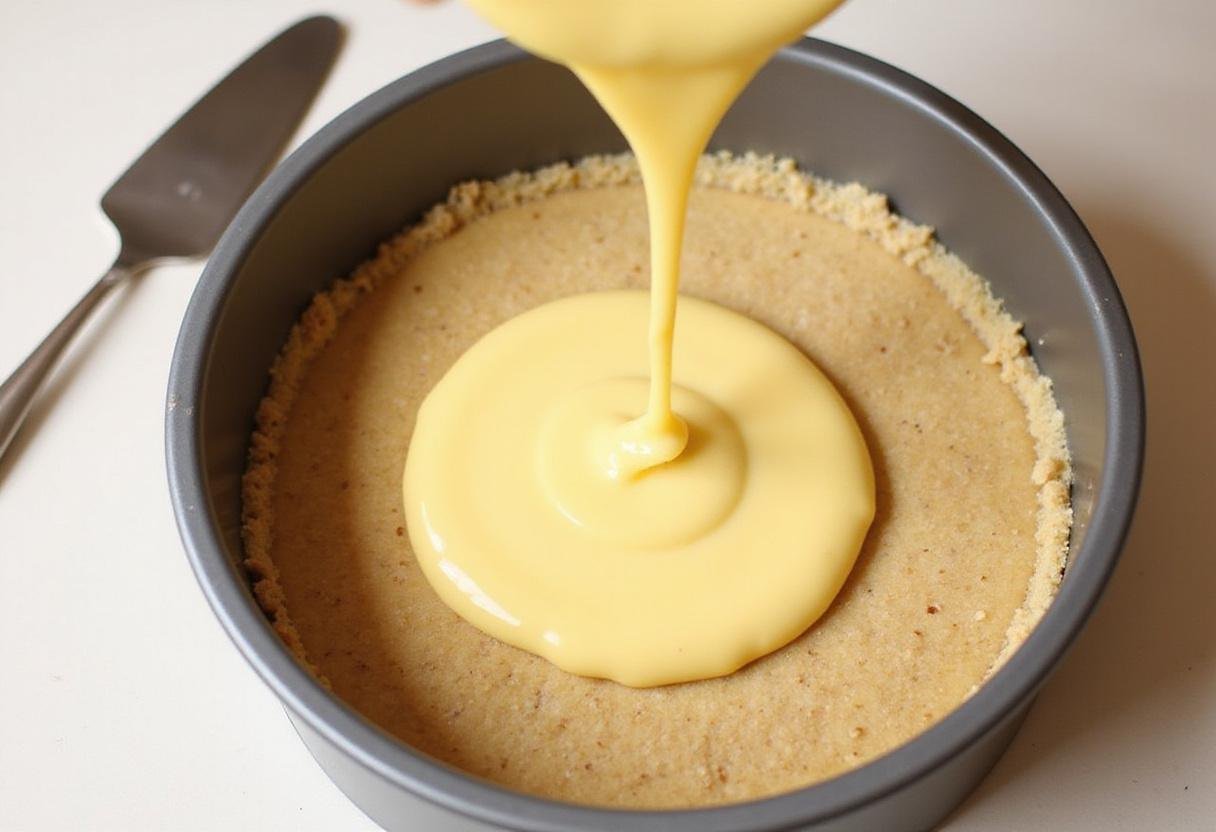
Step 4: Assemble the Cheesecake: Bringing It All Together
Pour the cream cheese filling over the prepared crust in the springform pan. Spread it evenly, then refrigerate for at least 4 hours or until set. Once ready to serve, drizzle honey over the top and garnish with chopped pecans or walnuts for an added crunch. This final assembly is where all your hard work pays off! If you’re a cookie enthusiast, you might also enjoy these Oatmeal Coconut Chocolate Chip Cookies.
4. Storage Tips: Keeping Your Honey Nut Cornflake Cheesecake Fresh
To keep your Honey Nut Cornflake Cheesecake fresh, store it in the refrigerator in an airtight container for up to 5 days. This dessert retains its flavor and texture well, making it perfect for meal prepping or for keeping leftovers to enjoy later! Be sure to keep it well-sealed to prevent any unwanted flavors from seeping in. For further inspiration, why not explore this similar recipe?
5. Serving Suggestions: Ways to Enjoy Your Honey Nut Cornflake Cheesecake
Serve your cheesecake cold, drizzled with additional honey, and topped with fresh fruits or extra nuts for a gourmet touch. This cheesecake pairs wonderfully with a cup of coffee or tea, making it a fantastic dessert for family gatherings or casual get-togethers. Consider adding a dollop of whipped cream or a sprinkle of cinnamon for an extra special treat.. You could even follow things up with a Homemade Ninja Slushie!
6. FAQs: Answering Your Questions About Honey Nut Cornflake Cheesecake
1. Can I make this cheesecake ahead of time?
Yes! The Honey Nut Cornflake Cheesecake can be made a day in advance. Just store it in the refrigerator until you’re ready to serve. This makes it perfect for parties or holidays when you want to get ahead on your baking. It’s far easier than making from scratch dave’s hot chicken mac and cheese!
2. Can I use different nuts?
Absolutely! Feel free to use your favorite nuts such as almonds or hazelnuts for a unique flavor twist. Experiment with different combinations to find your perfect blend.
3. What should I do if I don’t have springform pan?
You can use a regular pie pan, but keep in mind that it may be a bit difficult to remove once set. Line the pie pan with parchment paper for easier removal. Consider our Chocolate Chip Cookie Pie Recipe as an alternative!
7. Conclusion: Enjoying Your Honey Nut Cornflake Cheesecake Creation
Indulging in a slice of Honey Nut Cornflake Cheesecake is a sweet escape that combines richness with delightful crunch. This easy-to-make recipe is great for any dessert lover and is sure to be a hit. We can almost guarantee that once you serve it, you’ll be answering questions about how to make it! And if you’re interested in trying sourdough, why not check out our Rosemary Sourdough Bread Recipe too! Enjoy the delightful taste of this unique cheesecake, and happy baking! For more recipes and baking inspiration, be sure to explore our cookies tag!
Print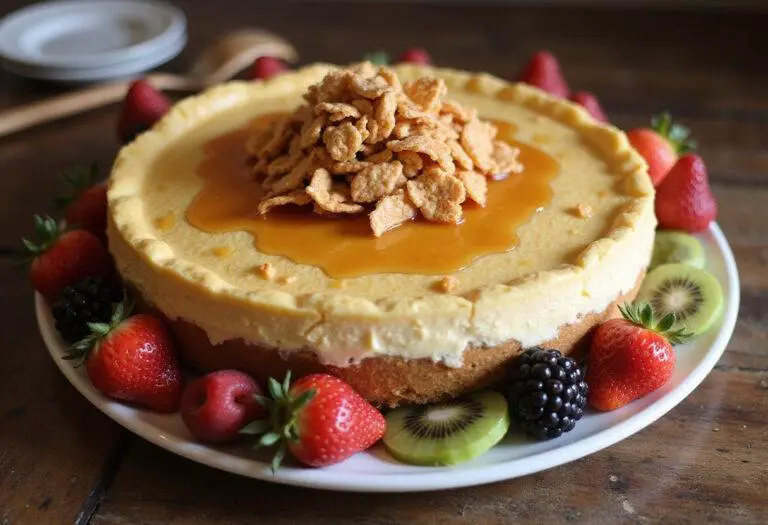
Honey Nut Cornflake Cheesecake
Indulge in the deliciousness of Honey Nut Cornflake Cheesecake, a dessert that combines creamy cheesecake with a crunchy honey nut cornflake crust. This sweet, nutty treat is perfect for any occasion and will impress your guests with its unique flavor.
- Total Time: 4 hours 20 minutes
- Yield: 8 servings
Ingredients
- 2 cups crushed honey nut cornflakes
- ½ cup unsalted butter, melted
- 16 oz cream cheese, softened
- 1 cup granulated sugar
- 1 tsp vanilla extract
- 1 cup heavy whipping cream
- ¼ cup honey, for drizzling
- Pecans or walnuts, for garnish (optional)
Instructions
- Preheat your oven to 350°F (175°C). Combine crushed honey nut cornflakes with melted butter and press into a springform pan for the crust.
- Beat softened cream cheese and sugar together until smooth. Add vanilla extract and mix well.
- Whip heavy cream until soft peaks form and fold into the cream cheese mixture.
- Pour the filling over the crust and refrigerate for at least 4 hours until set. Drizzle honey and garnish with nuts before serving.
Notes
- Store in the refrigerator in an airtight container for up to 5 days.
- Drizzle with additional honey and top with fresh fruits for a gourmet touch.
- This cheesecake can be made a day in advance for convenience.
- Prep Time: 20 minutes
- Cook Time: 0 minutes
- Category: Dessert
- Method: No-bake
- Cuisine: American
- Diet: Vegetarian
Nutrition
- Serving Size: 1 slice
- Calories: 350 Kcal
- Sugar: 20g
- Sodium: 210mg
- Fat: 25g
- Saturated Fat: 15g
- Unsaturated Fat: 5g
- Trans Fat: 0g
- Carbohydrates: 30g
- Fiber: 1g
- Protein: 5g
- Cholesterol: 60mg
