🍯 Honey Garlic Chicken with Sticky Glaze – A Sweet, Savory Weeknight Miracle 🍗✨
1. Introduction
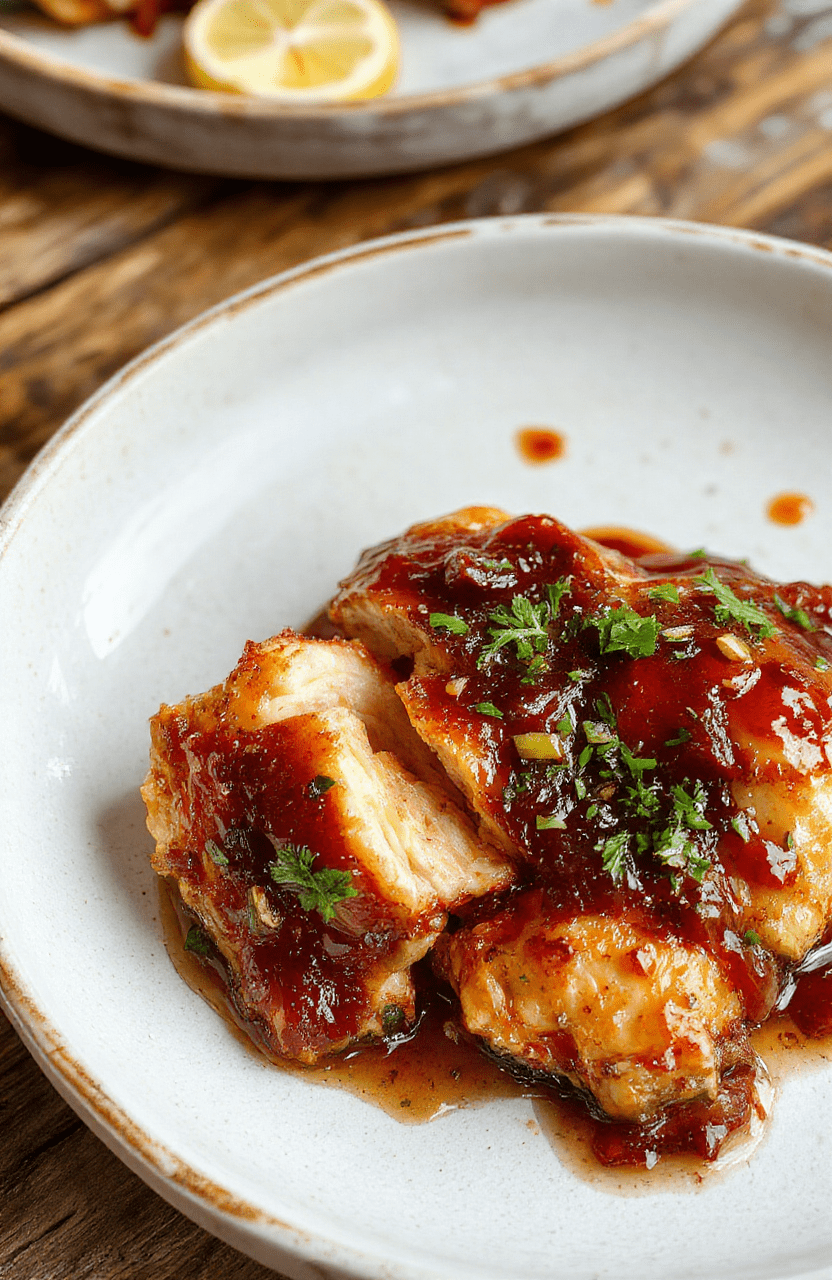
This sticky honey garlic chicken isn’t just dinner—it’s an event. Picture tender chicken tenders seared to golden perfection, then bathed in a glossy, bubbling glaze that clings like liquid gold: rich honey, pungent garlic, tangy soy, and a whisper of red pepper flakes for heat. Every bite delivers that irresistible sweet-salty-umami balance we crave after a long day. It’s the kind of easy weeknight chicken dinner that tastes like it came from your favorite Asian-inspired restaurant—but made in under 30 minutes with pantry staples. If you love bold flavors and minimal cleanup, you’ll adore this recipe.
2. Why You’ll Love This Recipe
- ✅ Ready in 25–30 minutes—perfectly timed for busy weeknights
- ✅ One-pan wonder—minimal dishes, maximum flavor
- ✅ Gut-healthy ingredients—no high-fructose corn syrup or cheap fillers
- ✅ Versatile pairing—serve over rice, noodles, roasted veggies, or even as a taco filling
- ✅ Meal-prep friendly—tastes even better the next day, reheated gently
3. Ingredient Notes
The secret to this honey garlic chicken tenders magic lies in the *quality* of a few key ingredients. Don’t rush here:
- Honey: Raw, local honey adds floral depth and better caramelization. Avoid processed blends—they often contain corn syrup and won’t glaze properly.
- Garlic: Freshly minced, not jarred. Jarred garlic can turn bitter when seared; fresh delivers that aromatic, garlicky punch that clings to your fingertips.
- Soy sauce: Use good-quality light soy or tamari (for gluten-free) for clean saltiness. I prefer Shoyu for its subtle sweetness.
- Rice vinegar: Unseasoned, not sushi vinegar (which is sweetened). It balances the sweetness and brightens the glaze.
- Cornstarch slurry: The unsung hero! This creates the glossy *shininess* and sticky texture—without turning mushy.
Pro tip: If you love umami depth, add 1 tsp of fish sauce (yes, really)—it disappear into the glaze and boost savoriness without tasting “fishy.”
4. Kitchen Tools You Need
You don’t need fancy gear—but smart tools make all the difference. Here’s what makes this recipe effortless:
- Nonstick skillet (12-inch): A premium T-fal 14-Piece Hard Anodized Nonstick Cookware Set ensures perfect browning without sticking—and cleans up in seconds.
- Small mixing bowls: Two bowls (one for the slurry, one for glaze prep) keep the process streamlined. Use glass for easy cleanup and no staining.
- Silicone brush: A premium silicone brush helps you glaze chicken evenly—no more wiping mess.
- Instant-read thermometer: Chicken tenders cook fast! This tool prevents over- or undercooking. I always reach for mine before flipping.
- For meal prep or leftovers: Seal freshness with JoyJolt Airtight Glass Food Storage — keeps food fresh 2x longer.
5. How to Make Honey Garlic Chicken with Sticky Glaze
Phase 1: Prep & Marinate (5 Minutes)
Whisk together 2 tbsp soy sauce, 1 tbsp rice vinegar, 1 tsp sesame oil, and ½ tsp black pepper in a bowl. Add 1 lb boneless, skinless chicken tenders and toss to coat. Let sit for 10 minutes (or up to 30 minutes in the fridge). This step seasons the meat *from the inside out*—don’t skip it!
Phase 2: Sear to Perfection (8 Minutes)
Heat 1 tbsp avocado oil in a large skillet over medium-high heat. Shake off excess marinade from chicken and add in a single layer (work in batches if needed). Sear 3–4 minutes per side until deeply golden and cooked through (internal temp: 165°F). Transfer to a plate—*don’t wipe the pan!* Those browned bits (fond) is flavor gold.
Phase 3: Make the Glaze (4 Minutes)
Reduce heat to medium. Add 3 minced garlic cloves and sauté 30 seconds until fragrant—not browned! Stir in 3 tbsp honey, 2 tbsp soy sauce, and ½ tsp red pepper flakes. Bring to a gentle simmer.
In a separate bowl, mix 1 tbsp cornstarch + 2 tbsp cold water until smooth. Pour into the simmering glaze, whisking constantly. Cook 1–2 minutes until thick, glossy, and coat-back-of-spoon consistency.
Phase 4: Coat & Finish (2 Minutes)
Return chicken and any juices to the skillet. Toss gently until every piece is glistening and lacquered in the glaze. Sprinkle with toasted sesame seeds and sliced green onions. Done! Serve immediately over jasmine rice or steamed broccoli.
6. Expert Tips for Success
Based on dozens of test batches, here’s how to avoid common pitfalls:
- 🔥 Don’t crowd the pan: Overlapping chicken steams instead of sears. Use two skillets if needed.
- Garlic burns easily—add it *after* searing the chicken, not with the oil. Burnt garlic = bitter glaze.
- Cornstarch must be mixed with *cold* water first. Hot water causes clumping.
- For extra sticky results, let the chicken rest in the glaze 2–3 minutes off heat—the glaze will set slightly but soften upon serving.
- Want crunch? Broil 1–2 minutes at the end for a caramelized exterior—but watch carefully!
7. Variations & Substitutions
Vegan? Swap chicken for extra-firm tofu (pressed & cubed) or tempeh. Marinate same time—cook 3–4 min per side.
Low-carb? Replace honey with monk fruit allulose blend + 1 tsp molasses for depth. Serve over cauliflower rice.
Spicier? Add ½ tsp chili garlic sauce or 1 tsp gochujang to the glaze.
Fruity twist? Stir in 2 tbsp pineapple juice + 1 tbsp lime zest with the honey—beautiful brightness!
8. Storage & Reheating
Fridge: Store in an airtight container for up to 4 days. Glaze may thicken—add a splash of water or broth when reheating.
Reheat: Best reheated in a skillet over low heat, stirring gently. Avoid microwaving (can dry out chicken). For re-crisping: air fry at 350°F for 3–4 minutes.
Freeze? Yes—but freeze chicken and glaze separately. Thaw overnight in fridge, then combine and warm.
9. FAQ
Q: Can I use chicken thighs instead of tenders?
A: Absolutely! Boneless, skinless thighs stay juicier and handle longer cooking—stir-fry 5–6 minutes per side until golden.
Q: What if my glaze is too thin?
A: Mix ½ tsp cornstarch + 1 tsp water and whisk into the simmering glaze. Let cook 1 more minute—repeat if needed.
Q: Can I make this in an air fryer?
A: Yes! Air fry chicken at 400°F for 10–12 minutes (shake halfway), then toss in warm glaze. I love using my Compact 6-in-1 Digital Air Fryer by Amazon Basics for smaller batches.
Q: Is this recipe kid-friendly?
A: Yes! Skip the red pepper flakes or reduce to ¼ tsp. Kids adore the sweet, sticky finish—great for picky eaters.
10. Conclusion
This sticky honey garlic chicken delivers big-time: vibrant, glossy, and effortlessly elegant. It’s proof that simple ingredients, treated with care and respect, transform into something truly memorable. Whether it’s your go-to weekday rescue or a last-minute dinner party star, it never disappoints. Pair it with a crisp green salad, and maybe a slice of deep chocolate banana bread from our Ultimate Moist Chocolate Banana Bread for dessert—because sweetness deserves balance.
Print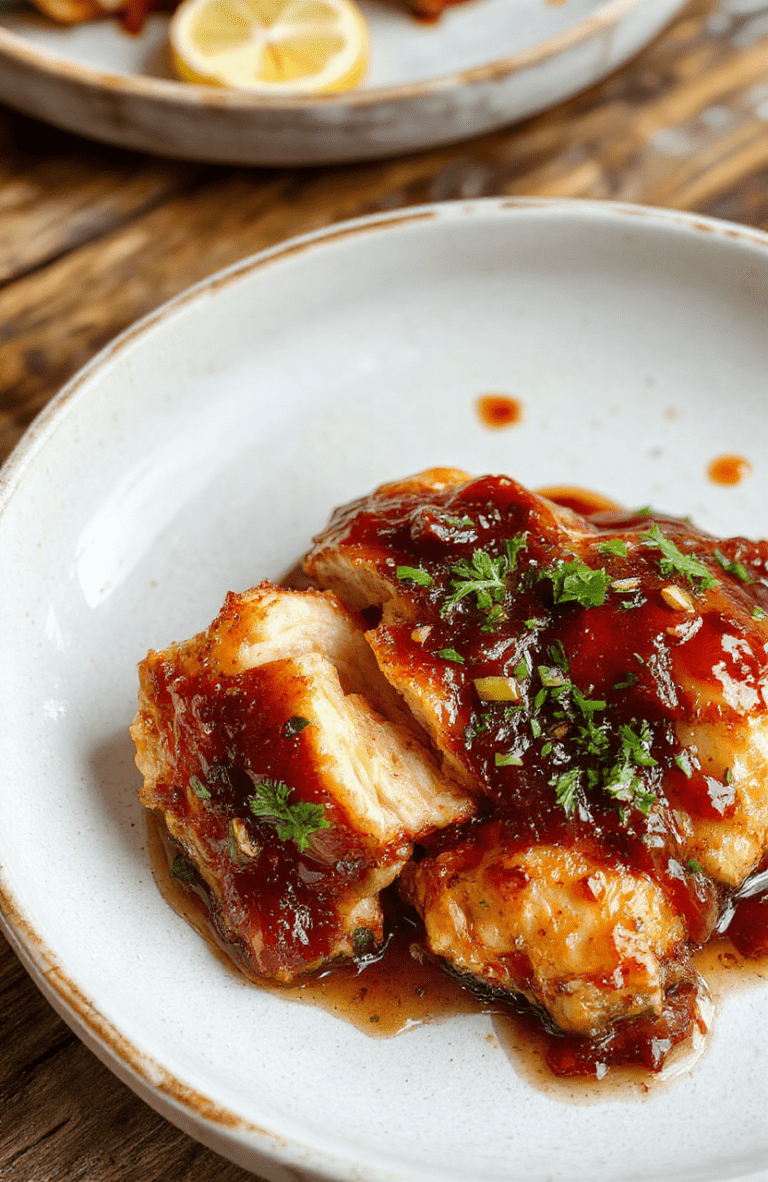
Honey Garlic Chicken with Sticky Glaze
This sticky honey garlic chicken is a flavor-packed, easy weeknight dinner favorite — sweet, savory, and glaze-rich with minimal prep and cleanup.
- Total Time: 25 minutes
- Yield: 4 servings 1x
Ingredients
- 1.5 lbs (680g) boneless, skinless chicken thighs or breast, cut into bite-sized pieces
- 2 tbsp olive oil
- 4 garlic cloves, minced
- 3 tbsp honey
- 2 tbsp soy sauce (or tamari for gluten-free)
- 1 tbsp rice vinegar or apple cider vinegar
- 1 tsp sesame oil
- 1/2 tsp crushed red pepper flakes (optional)
- Sesame seeds and sliced green onions for garnish
Instructions
- Heat olive oil in a large skillet over medium-high heat. Add chicken and cook 5–6 minutes until golden and cooked through. Remove and set aside.
- In the same skillet, add minced garlic and sauté 30 seconds until fragrant.
- Stir in honey, soy sauce, vinegar, sesame oil, and red pepper flakes. Bring to a simmer.
- Return chicken to skillet, toss to coat in glaze, and cook 2–3 minutes more until sauce thickens and coats the chicken.
- Garnish with sesame seeds and green onions before serving.
Notes
- For extra caramelization, broil for 1–2 minutes at the end.
- Serve over steamed rice, quinoa, or roasted vegetables for a complete meal.
- Prep tip: Mince garlic and prep sauces before cooking for a smoother workflow.
- Prep Time: 10 minutes
- Cook Time: 15 minutes
- Method: Stir-fry
- Cuisine: Asian-inspired
- Diet: Gluten-free option
Nutrition
- Serving Size: 1 serving (about 1 cup)
- Calories: 320 Kcal
- Sugar: 18g
- Sodium: 520mg
- Fat: 12g
- Saturated Fat: 2.5g
- Unsaturated Fat: 8g
- Trans Fat: 0g
- Carbohydrates: 26g
- Fiber: 1g
- Protein: 32g
- Cholesterol: 85mg
