
Harry Potter Waffle Cone Crust Butterbeer Cheesecake: A Magical Dessert Experience 🧙♂️🍰✨
1. Introduction
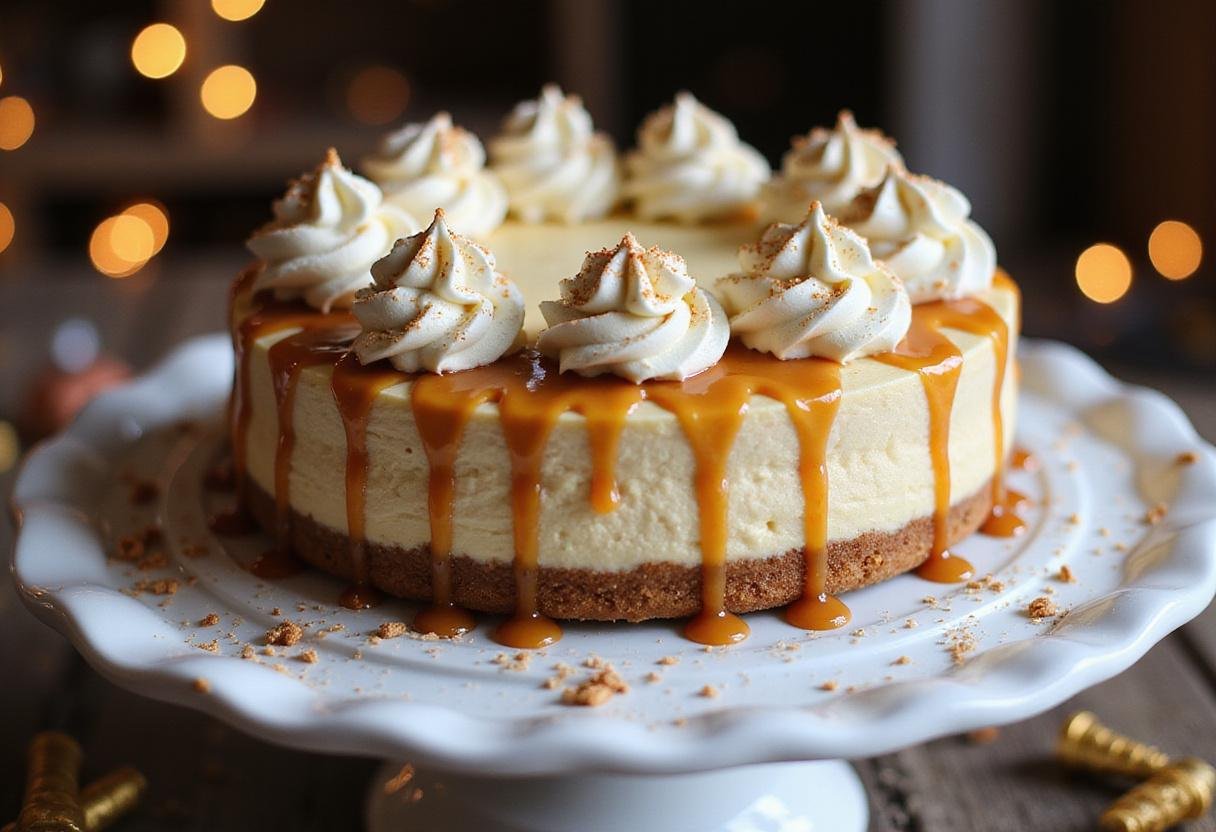
If you’re a fan of the magical world of Harry Potter, you’re in for a treat! This delectable Harry Potter Butterbeer Cheesecake features a delightful waffle cone crust that is sure to enchant your taste buds. Imagine indulging in a creamy cheesecake infused with the sweet, buttery flavors reminiscent of the popular Butterbeer drinks enjoyed at Diagon Alley, perhaps after reading The 2025 Harry Potter Cookbook. With its luscious texture and captivating caramel drizzle, this dessert will transport you straight to the enchanting world of wizards and magic! Looking for more Harry Potter inspired treats? Check out all of our Harry Potter recipes!
2. Ingredients
Before embarking on this magical baking journey, be sure to gather all your ingredients. The quality of your ingredients will significantly impact the final taste and texture of this Harry Potter Butterbeer Cheesecake. Let’s break down what you’ll need for both the waffle cone crust and the creamy cheesecake filling.
- For the Waffle Cone Crust:
- 2 cups waffle cone crumbs
- ½ cup unsalted butter, melted
- ¼ cup sugar
- For the Cheesecake Filling:
- 16 oz cream cheese, softened
- 1 cup caramel sauce
- 1 can (14 oz) sweetened condensed milk
- 1 tsp vanilla extract
- 1 cup heavy whipping cream
- For Topping:
- Whipped cream
- Additional caramel sauce
- Optional: Crushed waffle cones for extra texture and visual appeal
3. Step-by-Step Instructions
Creating this Butterbeer Cheesecake isn’t as complicated as brewing a potion! Follow these detailed steps to achieve a perfect balance of flavors and textures. Each step is designed to ensure your success in recreating this magical dessert.
Step 1: Prepare the Crust
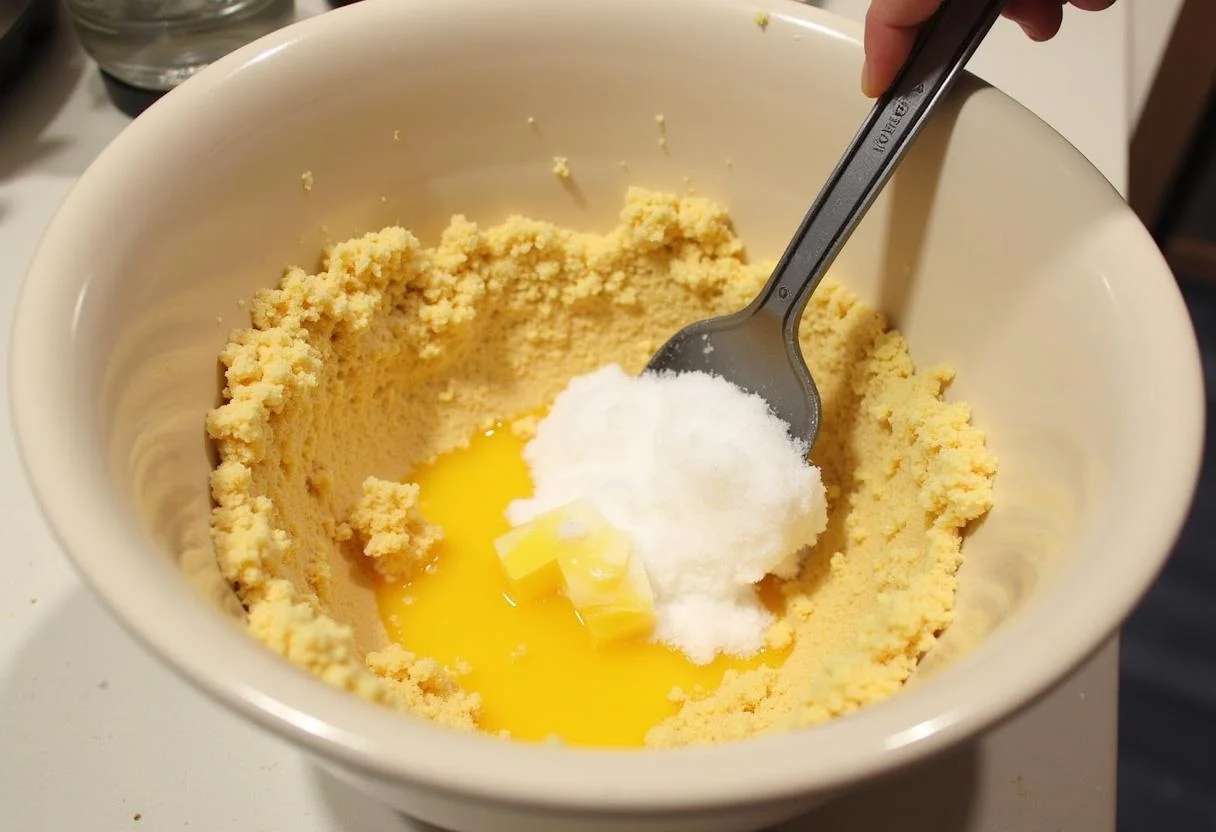
To kick things off, preheat your oven to 350°F (175°C). This is a crucial step to ensure the waffle cone crust sets properly. In a mixing bowl, combine the waffle cone crumbs, melted butter, and sugar. Mix until well combined so that the crumbs are fully coated with butter. This ensures the crust holds together nicely. Check out some more amazing recipes while you wait for the oven to heat up!
Step 2: Create the Crust
Next, press the mixture into the bottom of a 9-inch springform pan, making sure it’s evenly distributed and compacted. This step is crucial for a sturdy base that holds up the creamy filling. Bake the crust for about 10 minutes in the preheated oven to set it. The aroma of the waffle cone crust baking will fill your kitchen with a delightful, inviting scent. Preparing a delicious breakfast like crispy fluffy bangin breakfast potatoes will pair nicely with this recipe
Step 3: Prepare the Filling
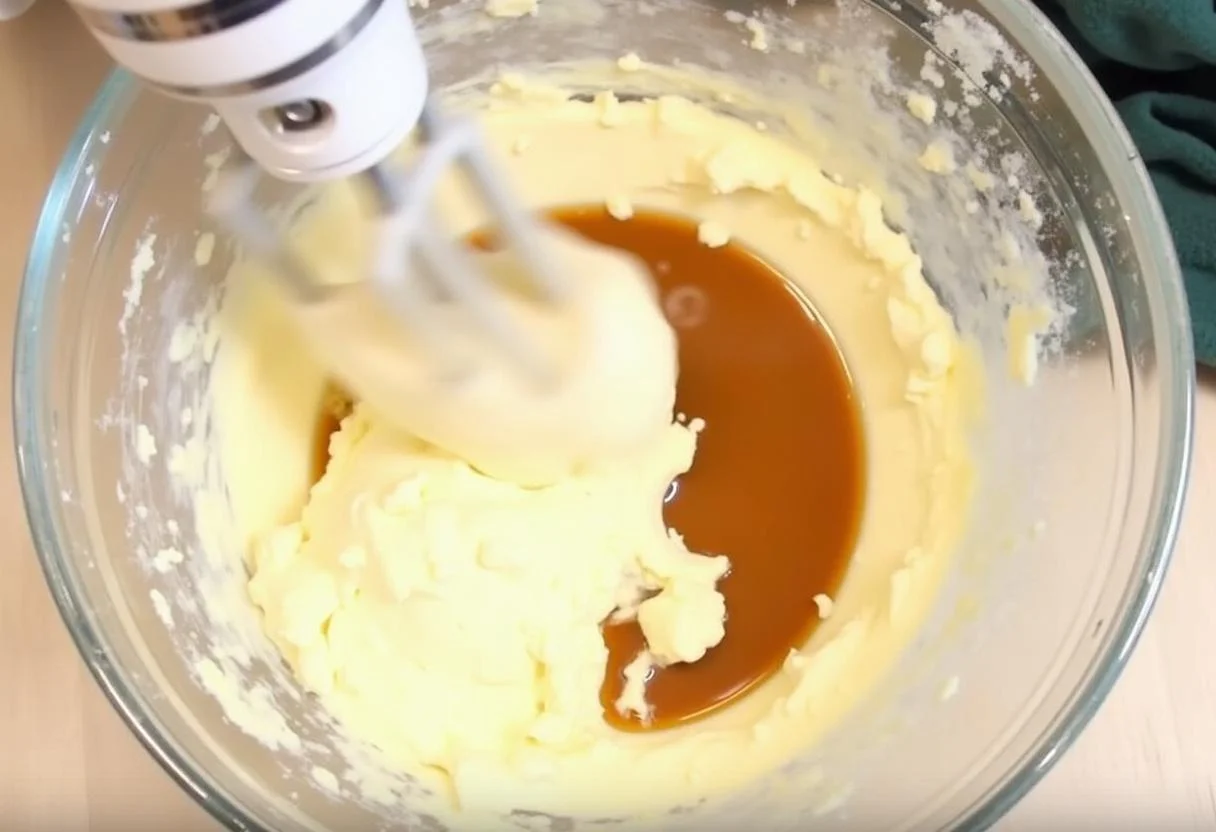
While your crust is cooling, it’s time to whip up the filling! In a large mixing bowl, beat the cream cheese until smooth. This prevents lumps and ensures a silky texture. Gradually add the caramel sauce, sweetened condensed milk, and vanilla extract, mixing until all are fully combined. These ingredients create the signature Butterbeer flavor. In a separate bowl, whip 1 cup of heavy cream until stiff peaks form, then gently fold it into the cheesecake mixture to achieve a light and airy filling. Try other recipes using butterscotch!
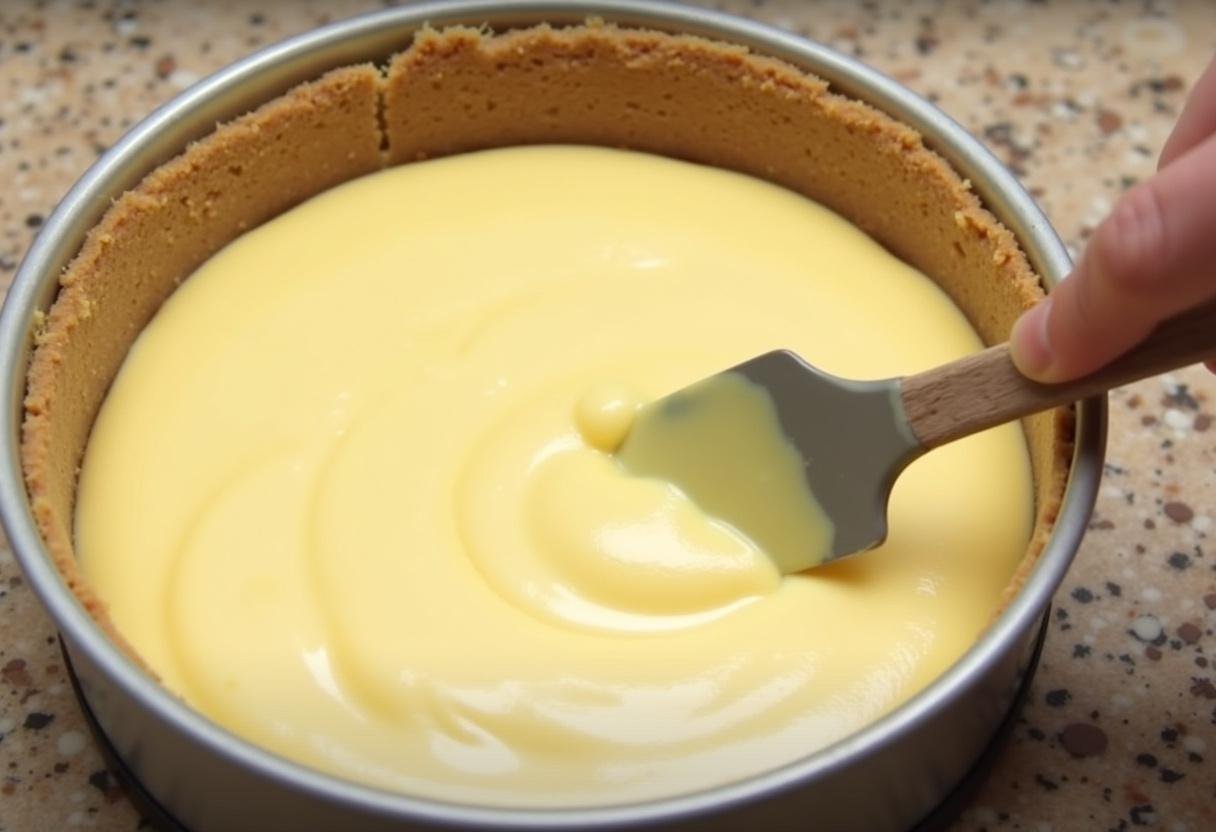
Step 4: Assemble and Chill
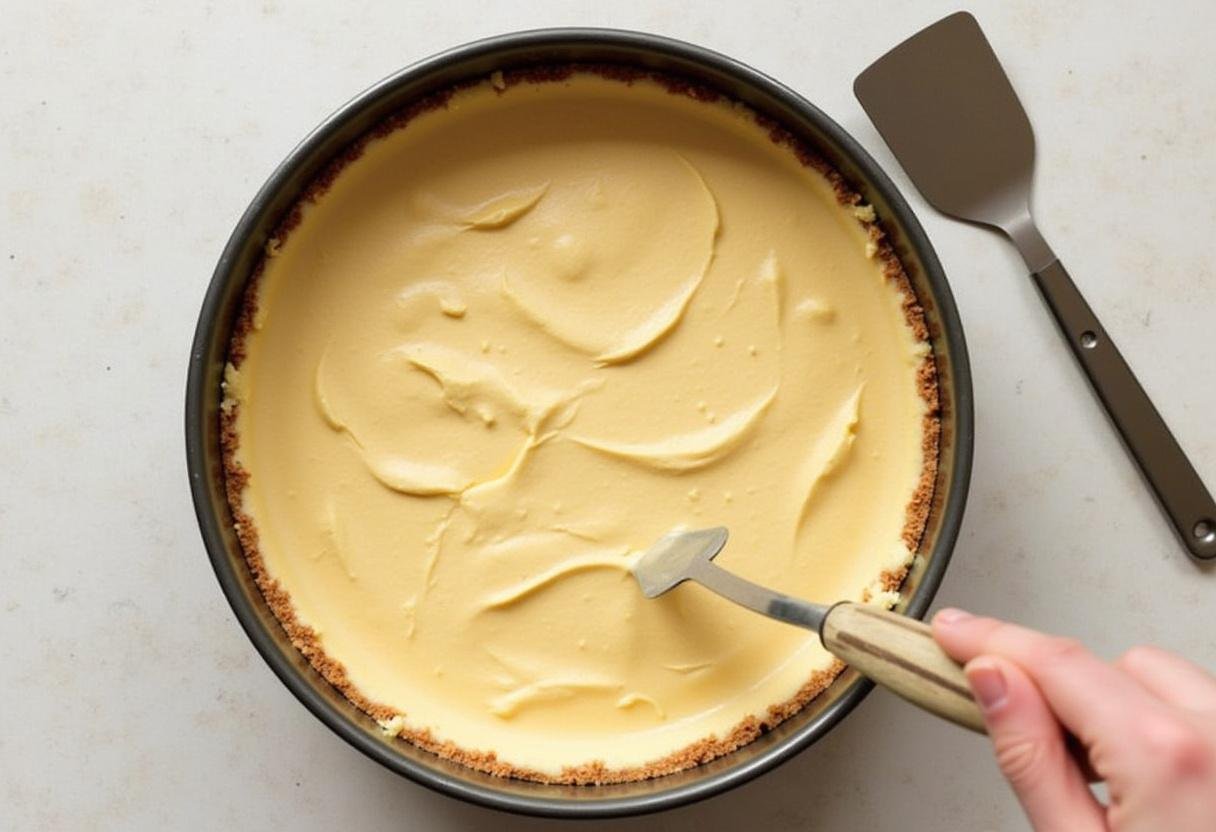
Pour the creamy cheesecake filling into the cooled waffle cone crust, smoothing it out for an even layer. Cover the springform pan with plastic wrap and chill in the refrigerator for at least 4 hours or overnight for best results. This allows the cheesecake to set properly and develop its incredible flavors. Think of Hogsmeade while you wait, maybe bake some recipes using Hogsmeade!
4. Storage Tips
To store your Harry Potter Butterbeer Cheesecake, simply keep it covered in the refrigerator for up to 5 days. You can also freeze it for longer storage. Make sure to wrap it tightly in plastic wrap and place it in an airtight container to prevent freezer burn. Thaw it in the refrigerator when you’re ready to enjoy it again. Proper storage helps maintain the cheesecake’s texture and flavor.
5. Serving Suggestions
When you’re ready to serve this magical cheesecake, slice it into wedges and top each slice with a swirl of whipped cream and a drizzle of caramel sauce. For an extra special touch, sprinkle some crushed waffle cones on top for added crunch and a visual delight that aligns perfectly with the waffle cone crust. Share your creation on Facebook and let us know how it turned out!
6. FAQs about Harry Potter Butterbeer Cheesecake
Here are some frequently asked questions to help you perfect your Harry Potter Butterbeer Cheesecake.
Q1: Can I make this cheesecake gluten-free?
A1: Yes! Use gluten-free waffle cones to create a scrumptious gluten-free version of this Harry Potter Butterbeer Cheesecake. This accommodation ensures everyone can enjoy a slice of magic. You can also try other cheesecake recipes
Q2: Can I substitute ingredients?
A2: Absolutely! You can use any flavored caramel sauce and substitute mascarpone cheese for cream cheese if desired. Feel free to experiment with different variations to tailor the recipe to your preferences. This recipe is as flexible as kid-friendly chocolate spinach hidden veggie muffins .
Q3: How long does this cheesecake need to set?
A3: It is recommended to chill the cheesecake for at least 4 hours, but overnight is ideal for the best results. This extended chilling period allows the flavors to meld together beautifully.
7. Final Thoughts
This Harry Potter Waffle Cone Crust Butterbeer Cheesecake is not just a dessert; it’s a magical experience that brings the joy of the wizarding world to your kitchen. With its unique waffle cone crust and rich, creamy filling, it’s sure to impress both die-hard fans and cheesecake lovers alike. Enjoy this enchanting treat at your next gathering, and watch as it disappears faster than a spell from the wand! Maybe make a nostalgic creamy peaches and cream fluff salad to eat alongside it!
8. Related Recipes
If you enjoyed this Harry Potter Butterbeer Cheesecake, you might also like these other magical recipes:
- Butterbeer Cookies: A chewy, buttery delight that captures the essence of Butterbeer in cookie form.
- Hogwarts Chocolate Frogs: A fun and whimsical treat that’s perfect for themed parties.
- Magical Pumpkin Pasties: A savory and sweet pastry filled with pumpkin spice, ideal for autumn gatherings.
9. Conclusion
By following this recipe, you’ll create a show-stopping Harry Potter Butterbeer Cheesecake that will transport you to the world of magic and wonder. Perfect for themed parties, celebrations, or simply a sweet indulgence, this cheesecake is destined to be a favorite. Don’t forget to share your creations with friends and family; after all, magic is better when it’s shared! This Waffle Cone Crust dessert is guaranteed to bring smiles and create lasting memories. Take a look to our butterbeer collection to inspire you!
Print
Harry Potter Waffle Cone Crust Butterbeer Cheesecake
Experience the magic of the wizarding world with this Harry Potter Waffle Cone Crust Butterbeer Cheesecake, featuring a delightful waffle cone crust and creamy filling inspired by the beloved Butterbeer drink.
- Total Time: 4 hours 40 minutes
- Yield: 8 servings 1x
Ingredients
- For the Waffle Cone Crust:
- 2 cups waffle cone crumbs
- ½ cup unsalted butter, melted
- ¼ cup sugar
- For the Cheesecake Filling:
- 16 oz cream cheese, softened
- 1 cup caramel sauce
- 1 can (14 oz) sweetened condensed milk
- 1 tsp vanilla extract
- 1 cup heavy whipping cream
- For Topping:
- Whipped cream
- Additional caramel sauce
Instructions
- Preheat your oven to 350°F (175°C). Combine waffle cone crumbs, melted butter, and sugar in a mixing bowl until well mixed.
- Press the mixture into the bottom of a 9-inch springform pan and bake for 10 minutes.
- Beat cream cheese until smooth, then gradually mix in caramel sauce, sweetened condensed milk, and vanilla extract. In a separate bowl, whip heavy cream until stiff peaks form and fold into the cheesecake mixture.
- Pour the filling into the cooled crust, smooth the top, cover, and chill for at least 4 hours or overnight.
Notes
- Store leftovers covered in the refrigerator for up to 5 days.
- Can freeze for longer storage; wrap tightly in plastic wrap before placing in an airtight container.
- Top with whipped cream and crushed waffle cones for added texture when serving.
- Prep Time: 30 minutes
- Cook Time: 10 minutes
- Category: Dessert
- Method: Baking
- Cuisine: American
- Diet: Vegetarian
Nutrition
- Serving Size: 1 slice
- Calories: 450 Kcal
- Sugar: 30g
- Sodium: 200mg
- Fat: 30g
- Saturated Fat: 18g
- Unsaturated Fat: 8g
- Trans Fat: 0g
- Carbohydrates: 40g
- Fiber: 1g
- Protein: 6g
- Cholesterol: 70mg
