© Original Recipe By Serena Recipes ©
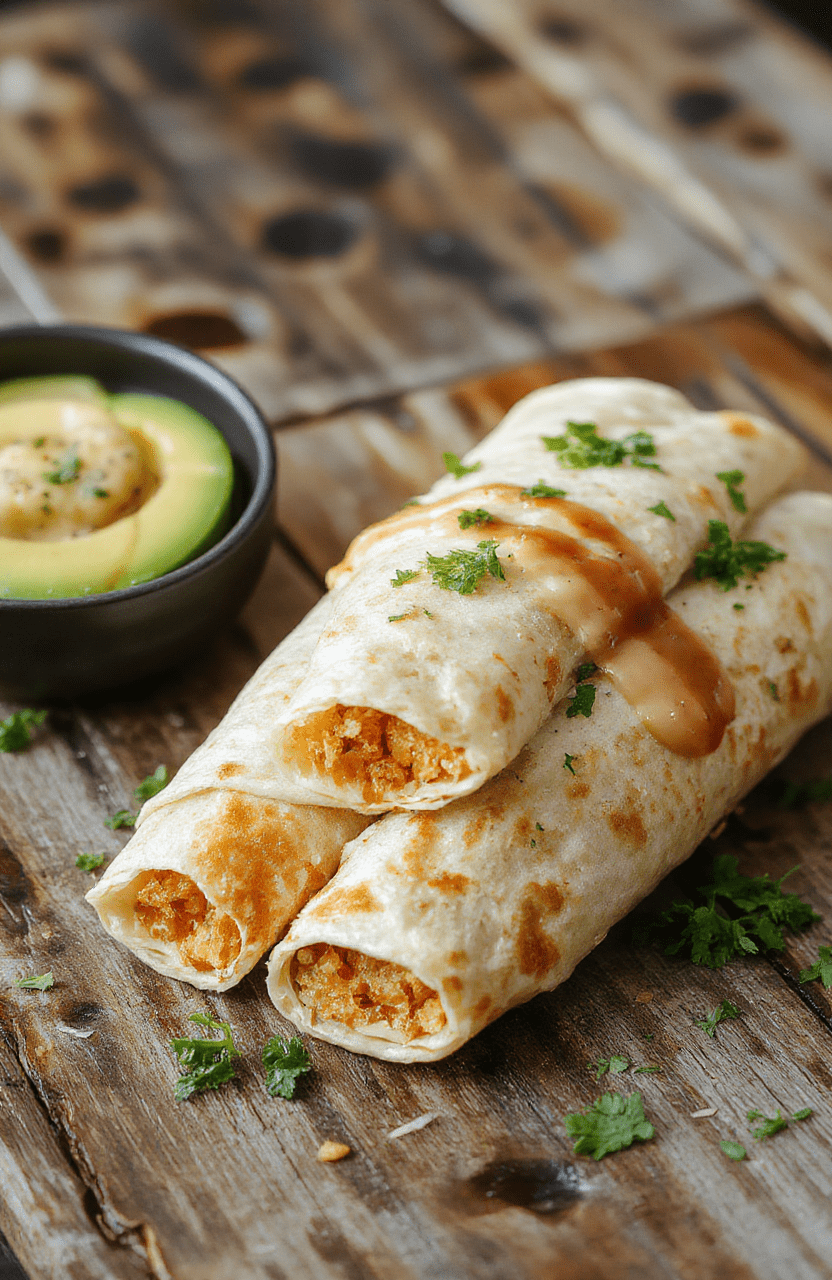
🔥🥑 Golden Crunchy Taquitos for Busy Weeknights 🥑🔥
1. Introduction
If you’re craving a snack that combines crispy texture with irresistible flavor, then making taquitos at home is a game-changer. These crispy taquitos are perfect for busy weeknights—quick to prepare, deeply satisfying, and so much better than takeout. With their golden exterior and seasoned filling, they evoke the comforting aroma of street food while still being easy enough for your weeknight dinner. Today, I’ll guide you through crafting flavorful taquitos that will leave everyone asking for seconds.
2. Why You’ll Love This Recipe
- Ready in 30 minutes — Perfect for busy schedules without sacrificing taste.
- One-pan simplicity — Fewer dishes, less cleanup.
- Customizable fillings — Veggie, chicken, beef, or even seafood—make it your own.
- Vegan & gluten-free options — Easily adaptable for dietary needs.
- Purely flavorful and crunchy — Achieve that irresistible golden crunch with no deep-frying required.
3. Ingredient Notes
Choosing the right ingredients makes all the difference in crafting perfect crispy taquitos. For the tortillas, opt for small corn tortillas, which provide an authentic crunch and flavor. Look for high-quality tortillas that are pliable but sturdy, such as fresh corn tortillas. For the filling, seasoned shredded chicken, beef, or beans work beautifully. Use fresh spices—paprika, cumin, chili powder—to develop that smoky, flavorful profile.
For toppings and accompaniments, fresh herbs like cilantro and squeeze of lime elevate the flavors. And for a crispy finish, a light coating of oil before baking will help turn the tortillas golden and crispy without deep frying.
4. Kitchen Tools You Need
To streamline your cooking process, these tools are essentials:
- Compact 6-in-1 Digital Air Fryer — Achieve that perfect crispy texture with less oil and fuss.
- T-fal 14-Piece Hard Anodized Nonstick Cookware Set — Perfect for cooking and preparing your fillings without sticking.
- Ninja Foodi Smart XL Indoor Grill & Air Fryer Combo — A versatile device to cook fillings and illuminate your crispy goal.
5. How to Make Golden Crunchy Taquitos
Prepare the Filling
Start by cooking your choice of protein—shredded chicken or beef— seasoned with cumin, chili powder, garlic, and a touch of lime juice. Cook until fragrant, and then shred or chop. If you prefer vegetarian, beans or roasted vegetables work beautifully as fillings. The filling should be moist but not watery—think of it as a flavorful, textured spread that will stay inside the tortilla without spilling out.
Assemble the Taquitos
Warm your tortillas to make them pliable. Spoon a generous amount of filling onto each tortilla and roll tightly. Secure with toothpicks if needed. Lay them seam side down in a lightly oiled baking dish. Brush with a little oil or spray for a golden finish.
Baking & Crunching
Bake the taquitos in a preheated oven at 400°F (200°C) for about 15-20 minutes, flipping halfway through. You’ll notice the tortillas turn a beautiful golden brown, crispy around the edges. The aroma of seasoned tortillas toasting is simply irresistible!
6. Expert Tips for Success
- Use fresh, soft tortillas—this prevents cracking when rolling.
- Don’t overfill; a small amount of filling prevents spillage and keeps each bite neat.
- Brush with oil before baking to mimic fried crunchiness without deep-frying.
- For extra crispiness, broil for an additional 2-3 minutes at the end—watch carefully!
- Allow baked taquitos to rest a few minutes before serving; this helps set the crunch.
7. Variations & Substitutions
Make these your own with options like:
- Vegetarian fillings such as cheese, roasted peppers, and spinach.
- Vegan versions using plant-based proteins and vegan tortillas.
- Adding spices like smoked paprika or cayenne for heat.
- Replacing chicken with cooked shrimp or fish for a seafood twist.
8. Storage & Reheating
If leftovers are in order, store cooled taquitos in an airtight container in the refrigerator for up to 3 days. Reheat in the air fryer or oven at 375°F (190°C) for 5-7 minutes until hot and crispy again. Avoid microwaving, as it will soften the crunch you worked so hard to achieve.
9. FAQ
What’s the best way to keep taquitos crispy?
Reheat in an air fryer or oven, not microwave, to preserve that crunchy texture. Light brushing with oil before baking or broiling helps mimic fried crispiness.
Can I make taquitos ahead of time?
Yes! Assemble, bake, and then store in the fridge. When ready to serve, reheat in the oven or air fryer until golden and crispy.
Are taquitos suitable for freezing?
Absolutely. Fully cooked and cooled taquitos freeze well for up to 2 months. Reheat directly from frozen in the air fryer or oven for best results.
10. Conclusion
These golden crunchy taquitos are the perfect quick snack or weeknight dinner that pairs flavor with texture effortlessly. Whether you choose chicken, beans, or a mixture of the two, they promise an irresistible crunch in every bite. Try them tonight and enjoy the authentic taste of crispy taquitos made right at home. For more delicious ideas, visit this wizarding brunch menu or explore cozy weeknight soups. Happy cooking!
Print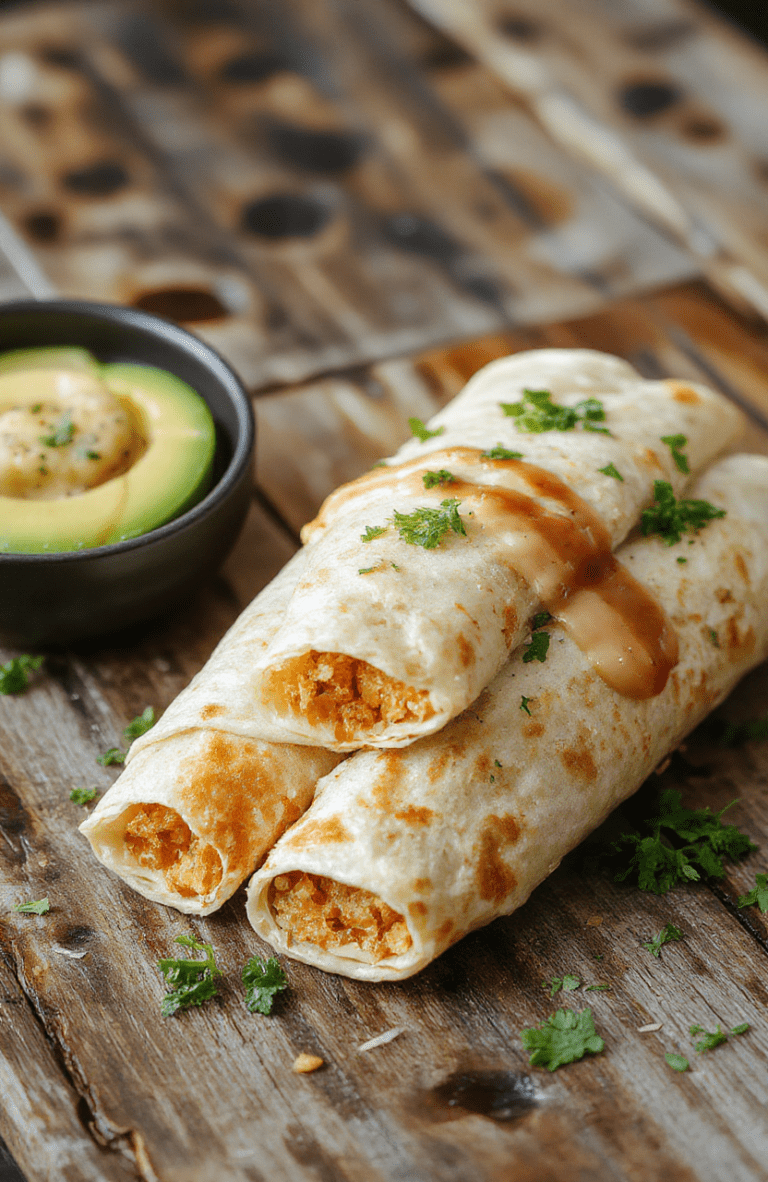
Golden Crunchy Taquitos for Busy Weeknights
A quick and flavorful recipe for crispy taquitos filled with seasoned beef and cheese, baked until golden, served with lime and cilantro.
- Total Time: 30 minutes
- Yield: 12 taquitos 1x
Ingredients
- 12 small corn tortillas
- 1 lb ground beef
- 1 cup shredded cheddar cheese
- 1 small onion, chopped
- 2 cloves garlic, minced
- 1 teaspoon cumin
- Salt and pepper to taste
- 2 tablespoons vegetable oil
- Fresh cilantro, chopped (for garnish)
- Lime wedges (for serving)
Instructions
- Preheat oven to 400°F (200°C).
- Cook ground beef with onion, garlic, cumin, salt, and pepper in a skillet until browned. Drain excess fat.
- Warm tortillas to make them pliable. Place a spoonful of beef and cheese in the center of each tortilla.
- Roll up tightly, securing with a toothpick if necessary.
- Brush taquitos with vegetable oil and place on a baking sheet lined with parchment paper.
- Bake for 15-20 minutes until crispy and golden brown.
- Remove toothpicks, garnish with cilantro, and serve with lime wedges.
Notes
- For extra flavor, add a dash of hot sauce or salsa inside the taquitos before rolling.
- Prep Time: 10 minutes
- Cook Time: 20 minutes
- Method: Baking
- Cuisine: Mexican-inspired
- Diet: Dairy, Gluten-Free (with gluten-free tortillas)
Nutrition
- Serving Size: 1 taquito
- Calories: 150 Kcal
- Sugar: 2g
- Sodium: 300mg
- Fat: 8g
- Saturated Fat: 2g
- Unsaturated Fat: 5g
- Trans Fat: 0g
- Carbohydrates: 15g
- Fiber: 2g
- Protein: 8g
- Cholesterol: 30mg
