© Original Recipe By Serena Recipes ©
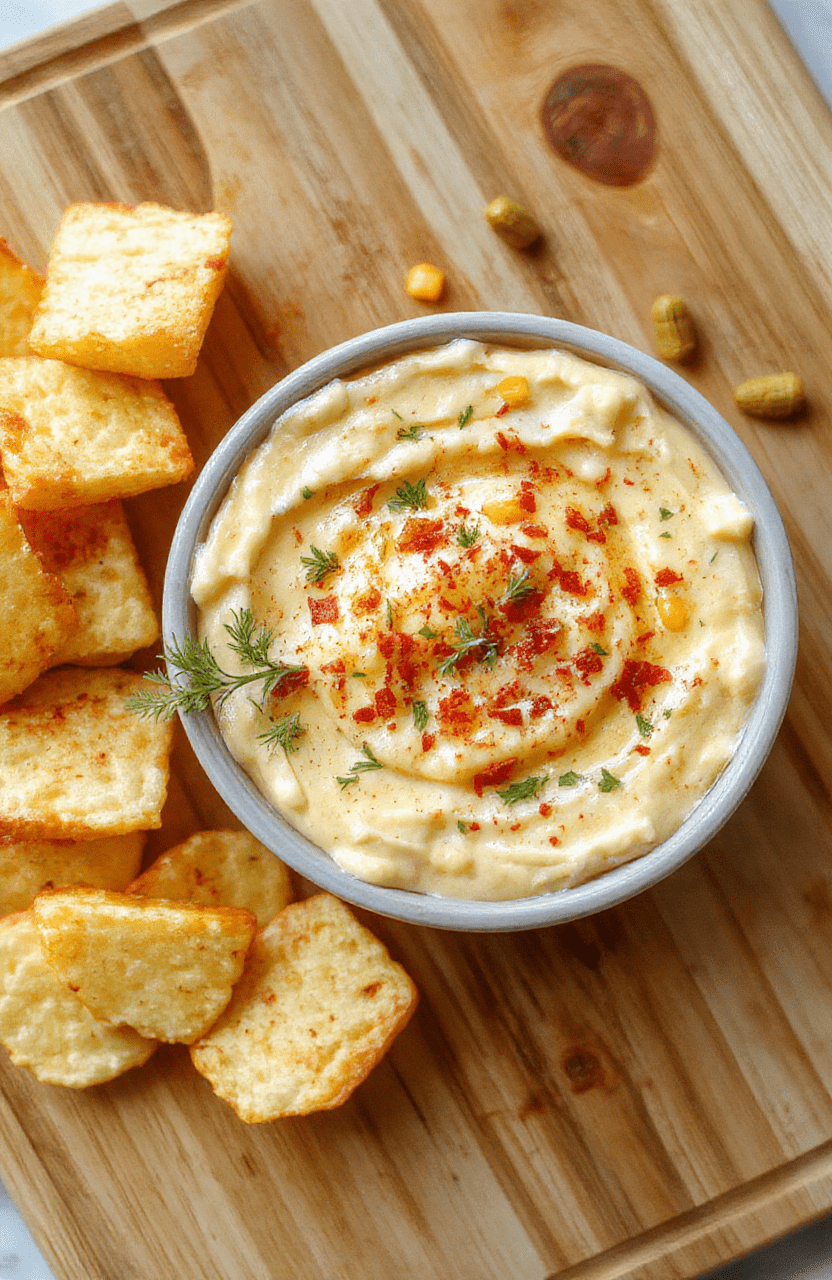
🧀 The Legendary Cheesy Corn Dip That Vanishes at Every Party!
1. Introduction
Let’s get real—life’s too short for bland dips. This cheesy corn dip is the kind of recipe that gets whispered about across potlucks, copied by friends, and often begged for by lingering guests. It’s creamy, tangy, subtly sweet from fresh or roasted corn, and layered with layers of melty, golden cheese browning under the broiler. As soon as it hits the table, it’s gone—in minutes. And the best part? You probably already have everything in your pantry. It’s the ultimate easy corn dip that rivals store-bought, and it’s so crowd-pleasing, it’ll become your go-to for game day, family gatherings, or even a quick weeknight snack with tortilla chips.
2. Why You’ll Love This Recipe
- Ready in under 20 minutes—no marinating, no waiting
- One-bowl simplicity—mix, bake, serve
- Versatile base—easy to customize spice levels, add protein, or make it vegetarian-friendly
- Budget-friendly—uses pantry staples and frozen or canned corn
- Great for meal prep—stores well for 3–4 days and reheats beautifully
3. Ingredient Notes
Here’s where expertise makes all the difference—these aren’t just ingredients; they’re the *secret sauce* behind the depth of flavor:
- Corn: I recommend frozen corn, thawed and drained (or fire-roasted canned corn for extra smokiness). Fresh corn works in summer, but it needs to be charred briefly in a skillet to deepen the flavor.
- Crema or sour cream: Mexican crema gives a bright, tangy balance. If you don’t have it, full-fat sour cream works—but add a splash of lime juice to brighten it.
- Cheese blend: Use a mix of sharp cheddar (for bite) and Monterey Jack (for stretch)—add a sprinkle of queso fresco orcotija on top *after baking* for authenticity. Pre-shredded cheese is fine, but freshly shredded melts more smoothly.
- Aromatics: Minced garlic and shallot are non-negotiable. Sauté them gently in butter or oil until translucent—never browned—to avoid bitterness.
- Seasonings: A pinch of cumin adds warmth; smoked paprika gives a gentle char without a grill. Finish with cilantro (optional) and a squeeze of lime at the end.
4. Kitchen Tools You Need
You don’t need a fancy setup, but these tools elevate the process—and trust me, they’re worth the investment:
- Ninja Air Fryer Pro Crisp & Roast 4-in-1: Perfect for quickly charring corn kernels or reheating leftovers with that crisp-topped finish—no broiler needed!
- Deluxe 33-Piece Silicone Utensil Set: Heat-resistant, non-scratch spoons and spatulas let you stir hot cheese without fear of warping or scratching your favorite ceramic baking dish.
- CAROTE Premium 16pc Nonstick Cookware Set: A good 10-inch nonstick skillet makes pre-cooking garlic and onions effortless—and cleanup? Minimal.
- JoyJolt Airtight Glass Food Storage Set: Store leftovers (if there are any!) without worrying about cheese stains or odors. Glass is microwave-safe and pantry-tidy.
5. How to Make Famous Cheesy Corn Dip
Phase 1: Sauté & Sizzle
Heat 1 tablespoon of butter or olive oil in a skillet over medium heat. Add ½ finely diced shallot and 2 minced garlic cloves. Cook 2–3 minutes until fragrant and soft—*don’t rush this*. You want sweetness, not browning. Stir in 1 cup corn (thawed if frozen), ½ teaspoon cumin, and ¼ teaspoon smoked paprika. Cook another 2 minutes until corn edges get a light char.
Phase 2: Creamy Blend
Transfer the corn mixture to a mixing bowl. Add ½ cup full-fat sour cream (or Mexican crema), ½ cup shredded sharp cheddar, ½ cup shredded Monterey Jack, and a big pinch of salt and black pepper. Mix until just combined. *Pro tip: Taste before adding salt—cheese can be salty!* Fold in 2 tablespoons of finely chopped cilantro (if using) and 1 teaspoon lime zest.
Phase 3: Bake & Broil
Spoon the mixture into a lightly greased 8×8-inch baking dish (or into an oven-safe ramekin). Sprinkle the top with extra sharp cheddar and a pinch of paprika. Bake at 375°F (190°C) for 15 minutes. Then, switch to broil on high for 2–3 minutes until the top is golden and bubbling at the edges. Watch closely—broilers vary!
Phase 4: Garnish & Devour
Let rest 5 minutes (yes, patience pays off!). Top with sliced jalapeños, a drizzle of crema, and extra cilantro. Serve warm with tortilla chips, pita crisps, or even sliced baguette.
6. Expert Tips for Success
From trial-and-error to kitchen disasters turned triumphs, here’s what makes this dip *iconic*:
- Drain your corn well. Excess moisture = soggy dip. Use a fine-mesh sieve and press gently with a spoon.
- Don’t overbake. Cheese solidifies as it cools. Remove it when the center still wobbles slightly—it’ll firm up in 5 minutes rest time.
- Make it ahead. Assemble (without the final cheese topping), cover, and refrigerate up to 24 hours. Add 5–7 minutes to bake time if starting cold.
- Adjust thickness. Too thick? Add 1–2 tablespoons of milk or cream cheese. Too thin? Add a splash of cornstarch slurry (1 tsp cornstarch + 1 tbsp water) and bake 2 extra minutes.
7. Variations & Substitutions
Got dietary needs or cravings? No problem:
- Vegan: Swap dairy cheese for sharp nutritional yeast + 1 cup cooked cashew cream. Use coconut-based sour cream.
- Spicy升级: Add 1 minced chipotle in adobo or ½ teaspoon cayenne. Top with pickled jalapeños.
- Protein boost: Stir in ½ cup cooked, crumbled chorizo or shreddedrotisserie chicken.
- Lighter version: Use 2% sour cream and reduce cheese by ¼ cup—add roasted red peppers for depth.
8. Storage & Reheating
Cool completely, then store in an airtight glass container for up to 4 days. Reheat in the microwave in 30-second intervals, stirring in between, or bake at 350°F for 15–20 minutes until hot through. For a refreshed top, broil 2 minutes at the end.
Note: Freezing isn’t recommended—the dairy can separate and become grainy.
9. FAQ
Can I make this dip ahead for a party?
Absolutely! Bake it fully, let cool, refrigerate, then reheat and broil just before serving. It tastes even better the next day as flavors meld.
My dip turned out runny—what went wrong?
Corn wasn’t drained well, or too much sour cream/crema was used. Next time, press corn between paper towels. Also, reduce sour cream to ⅓ cup and add 2 tbsp mayonnaise for stability.
How do I make it gluten-free?
This dip is naturally gluten-free—but always double-check labels on canned corn and seasonings. Serve with GF tortilla chips or veggie sticks.
Can I use canned corn instead of frozen?
Yes—choose no-salt-added whole kernel or fire-roasted corn. Drain *thoroughly*, and pat dry with a towel if needed.
10. Conclusion
There you have it: the cheesy corn dip that’s as reliable as it is irresistible. It’s comfort food magic in a bowl—easy enough for beginners, flavorful enough for foodies. Whether you’re hosting or just treating yourself, this dip delivers. Pair it with a glass of crisp cider or a citrusy IPA, and enjoy the nods of approval from your nearest and dearest.
Want more crowd favorites? Dive into our Easy Comforting Bread Pudding or get cozy with our High-Protein Honey BBQ Chicken Mac & Cheese. Happy cooking—and happy dipping!
Print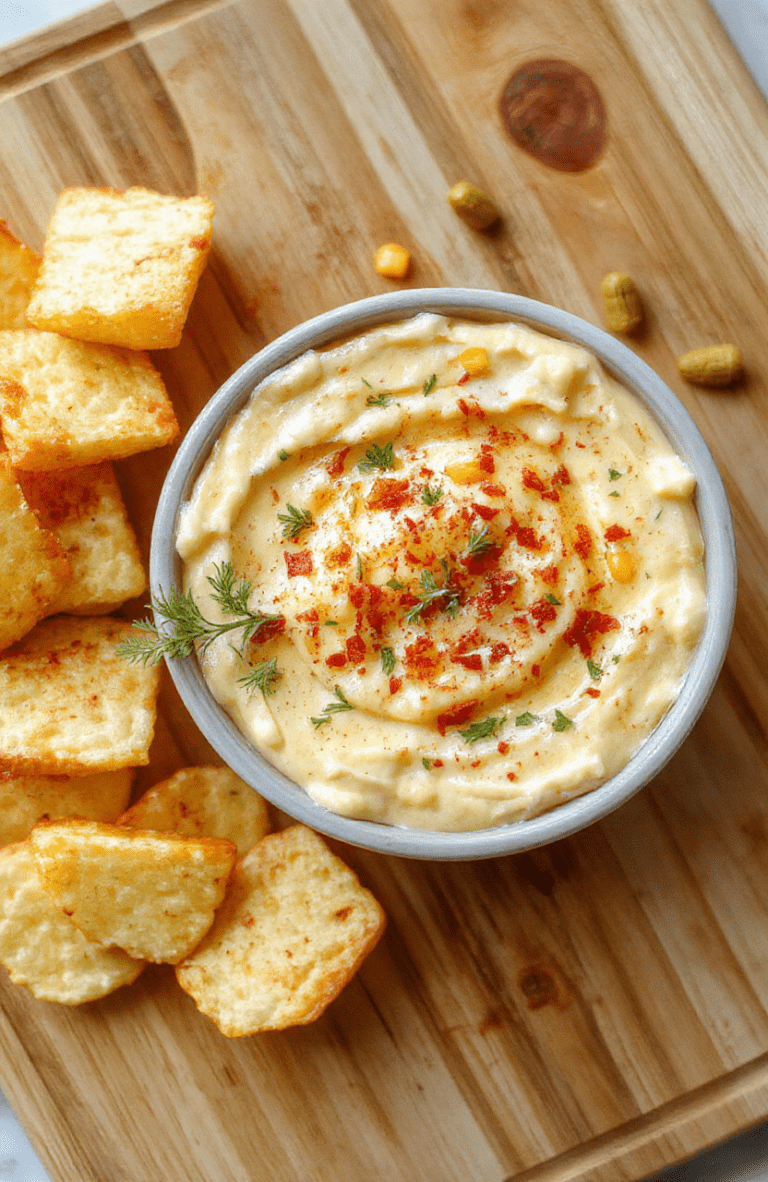
Famous Cheesy Corn Dip
A beloved, ultra-easy dip made with cream cheese, sour cream, corn, and cheddar—baked until bubbly and golden. Ideal for parties, game days, or last-minute snacks.
- Total Time: 32 minutes
- Yield: 6–8 servings 1x
Ingredients
- 1 (8 oz) block cream cheese, softened
- 1 cup sour cream
- 1 (15 oz) can whole kernel corn, drained
- 1 (4 oz) can diced green chiles, drained
- 1 cup shredded sharp cheddar cheese
- ½ cup shredded Monterey Jack cheese
- ½ tsp garlic powder
- ¼ tsp salt
- Pinch of cayenne (optional)
- Fresh cilantro, for garnish
Instructions
- Preheat oven to 350°F (175°C). Grease a 9-inch pie dish or baking dish.
- In a bowl, mix cream cheese and sour cream until smooth.
- Stir in corn, green chiles, cheddar, Monterey Jack, garlic powder, salt, and cayenne (if using).
- Spoon into prepared dish and smooth top.
- Bake 20–22 minutes, until bubbly and lightly golden on top.
- Garnish with fresh cilantro and serve warm with tortilla chips, crackers, or veggies.
Notes
- For extra flavor, add ½ cup crumbled cooked bacon or 1 tsp smoked paprika.
- Serve warm or at room temperature—great made ahead and reheated.
- Prep Time: 10 minutes
- Cook Time: 22 minutes
- Method: Baking
- Cuisine: American
- Diet: Vegetarian
Nutrition
- Serving Size: ¼ recipe
- Calories: 210 Kcal
- Sugar: 4 g
- Sodium: 380 mg
- Fat: 15 g
- Saturated Fat: 8 g
- Unsaturated Fat: 6 g
- Trans Fat: 0.5 g
- Carbohydrates: 12 g
- Fiber: 1 g
- Protein: 9 g
- Cholesterol: 40 mg
