
🍣 DIY Sushi Maker: Effortless Homemade Rolls in Minutes (Yes, Really!)
1. Introduction
Imagine slicing into a perfectly rolled homemade sushi roll—crisp nori, seasoned rice, fresh fillings, and a glossy sheen of soy glaze—without the stress of expensive takeout or hours of trial-and-error. Even better: you can做到 this *today*, right in your own kitchen. With the rise of DIY sushi maker tools and smarter prep methods, crafting restaurant-quality maki, nigiri, and temaki has never been more accessible—or delicious. I’ve tested dozens of easy sushi hacks over the years, and once you master a few foundational techniques (and pick up one or two game-changing kitchen tools), you’ll be rolling like a Tokyo-trained sushi chef in under 20 minutes.
2. Why You’ll Love This Recipe
- Ready in under 20 minutes—no rice vinegar simmer stations or overnight prep required
- No specialEquipment needed—just a bamboo mat (or even紧-wrapped towel) and a sharp knife
- Fully customizable: spicy mayo rolls, vegan cucumber tataki, or spicy tuna—your kitchen, your rules
- Cost-effective—a $15 salmon tray at the grocery store yields 8 rolls vs. $28+ for delivery
- Family-friendlyfun—set up a sushi bar night and let everyone assemble their own creations
3. Ingredient Notes
Secrets to flawless homemade sushi start long before the rolling stage. Each ingredient plays a precise role:
Japonica rice (short-grain) is non-negotiable. Its high starch content creates that essential sticky-yet-separate texture. Look for brands like Kasama or Koshihikari—they absorb seasoning beautifully.
Seasoned rice vinegar should be *unfiltered* with natural sediment. You can make your own mix: 1/4 cup rice vinegar + 2 tbsp sugar + 1 tsp salt, warmed gently until dissolved. Cool before mixing with rice.
Nori (seaweed sheets) must be fresh and jet-black—not faded green. Buy vacuum-sealed packs and store them with a silica packet in an airtight container. Damp nori = soggy rolls.
Fish & fillings should be *sashimi-grade*. Trusted sources include Vital Choice or local Japanese fishmongers. For veggie-roll lovers, try marinated shiitake, pickled daikon, or avocado with a squeeze of yuzu.
Soy sauce tip: Use tamari or usukuchi for richer depth without overpowering saltiness. Pair with wasabi pearls for a gentle heat lift.
4. Kitchen Tools You Need
You don’t need a fleet of gadgets to make great DIY sushi, but a few smart tools dramatically improve speed, precision, and enjoyment:
Compact 6-in-1 Digital Air Fryer by Amazon Basics is perfect for crisping tempura shrimp fast—no oil splatter, no waiting 30 minutes for the oil to heat. Just blast at 375°F for 8 minutes, shake, and you’re done.
T-fal 14-Piece Hard Anodized Nonstick Cookware Set ensures your rice pot heats evenly and cleans in seconds. Nonstick = no sticky rice stuck to the bottom—a total game-changer.
Fullstar Ultimate Veggie Prep Master slices cucumbers, carrots, and radishes into perfect sushi-width matchsticks in seconds flat. No more uneven cuts or sore fingers.
Deluxe 33-Piece Silicone Utensil Set keeps your rice-cooling bowl spot-free and lets you fold Nori seamlessly without cross-contamination.
JoyJolt Airtight Glass Food Storage Set keeps prepped fillings fresh, odor-free, and organized forassembly. Ideal for meal-prepping sushi components ahead.
5. How to Make DIY Sushi Rolls
Phase 1: Perfect Sushi Rice (15 minutes active + 15 minutes rest)
Rinse 1 cup sushi rice under cold water until water runs clear—this removes excess starch. Cook with 1⅓ cups water in your rice cooker or pot. Once done, transfer to a heatproof bowl, cover with a damp towel, and let steam 10 minutes.
Gently fold in 3 tbsp seasoned vinegar with a rice paddle (or wooden spoon). Use a folding motion—don’t mash! Let cool to room temp (you’ll smell a delicate, slightly sweet aroma—this is your cue to proceed).
Phase 2: Prep Fillings (10 minutes)
Slice 1 Avocado into thin ribbons. Pat 4 oz sashimi-grade salmon or tamago (sweet omelet) dry. Thinly slice cucumber in lengthwise strips, julienne carrots, and prep your soy-ginger dipping sauce (2 tbsp soy, 1 tsp sesame oil, ½ tsp rice vinegar, grated ginger).
Phase 3: Roll Assembly (8 minutes)
Place a sheet of nori *shiny side down* on a bamboo mat (or tightly wrapped plastic wrap over a cutting board). With wet hands, spread ¾ cup rice evenly, leaving a ½-inch border at the top. Flip nori so rice faces down (you’llnow be rolling on bare nori).
Add fillings in a line: 3 avocado slices, a line of salmon, cucumber, and a drizzle of spicy mayo (mix 2 tbsp mayo + 1 tsp sriracha). Use the mat to lift, fold, and press gently—no squeezing! Seal the edge with a splash of water and roll forward in one smooth motion.
Phase 4: Slice with Precision
Dip a *serrated* knife in water between cuts. Start from the center, saw gently—don’t press down. You’ll get 8 clean, glossy pieces. Wipe the blade between cuts to prevent sticking.
6. Expert Tips for Success
1. Rice should be warm, not hot, when rolling—hot rice steams the nori and causes tears. Cool it just enough (touch it—you should feel warmth, not pain).
2. Nori won’t stick? Use vinegar water. Lightly mist the edge with rice vinegar (not plain water)—it activates the seaweed’s natural glue.
3. The “no-squeeze” rolling rule. Tight rolling compresses rice too much. Think “cozy cocoon,” not “fist grip.”
4. Freeze ginger for easy ribbons. Grated fresh ginger turns viscous fast. Freeze it in a thin layer, then slice with a chef’s knife for delicate threads.
5. Press the roll gently for 30 seconds after sealing. This firms it up and ensures clean cuts later.
7. Variations & Substitutions
Vegan roll: Swap salmon for tamari-marinated tempeh strips (pan-seared) and roasted sweet potato.
Spicy salmon crunch roll: Add tempura flakes and a spicy mayodrizzle inside + outside.
Cucumber-wrapped roll (kale option): Use large butter lettuce or blanched kale leaves for a grain-free twist (reduce rice to ½ cup).
Nutrition boost: Sprinkle toasted sesame seeds, microgreens, or nori furikake *inside* the roll for extra umami and crunch.
8. Storage & Reheating
Best eaten fresh—rice turns chewy after 2 hours. But if needed, wrap each roll in parchment + plastic, refrigerate up to 12 hours.
For reheating: Air fry at 300°F for 2 minutes to crisp the outside *without* overcooking fillings. Never microwave—rice becomes gummy.
Freezing isn’t recommended—raw fish suffers, andnoridries out. But you *can* freeze cooked fillings (like spam musubi blocks) separately for future assemblies.
9. FAQ
Q: Can I make sushi without a bamboo mat?
A: Yes! Lay plastic wrap over a cutting board, place nori on top, and roll using the wrap as a “sleeve.” Remove wrap after sealing.
Q: Why is my sushi rice sticking to my hands or tools?
A: Keep a bowl of vinegar water (1 tbsp rice vinegar per cup of cold water) nearby. Dip hands and tools between touches—it’s the pro secret.
Q: What if my nori tears?
A: Repair it with a bit of rice paste or overlap a second small nori sheet over the tear—works just as well, and looks rustic-chic.
Q: How do I make nigiri that holds its shape?
A: Moisten palms, grab ~30g rice, and squeeze *lightly* into an oval. Flip into your palm and press gently—a slight indent on top makes it feel “alive,” not stiff.
10. Conclusion
Making homemade sushi isn’t about perfection—it’s about possibility. With a few simple steps, reliable prep, and the right kitchen allies, your dinner table transforms into a cozy omakase bar. Don’t overthink the first roll: embrace the wobbly ones, savor the crisp bites, and soon you’ll be innovating with fillings only you would dream up. Ready to roll? Your first bite awaits.
P.S. Love this recipe? Try our Crispy Chicken Caesar Sandwich for a heartier lunch, or pair with Refreshing Peach Lemonade to balance the umami-rich sushi.
Print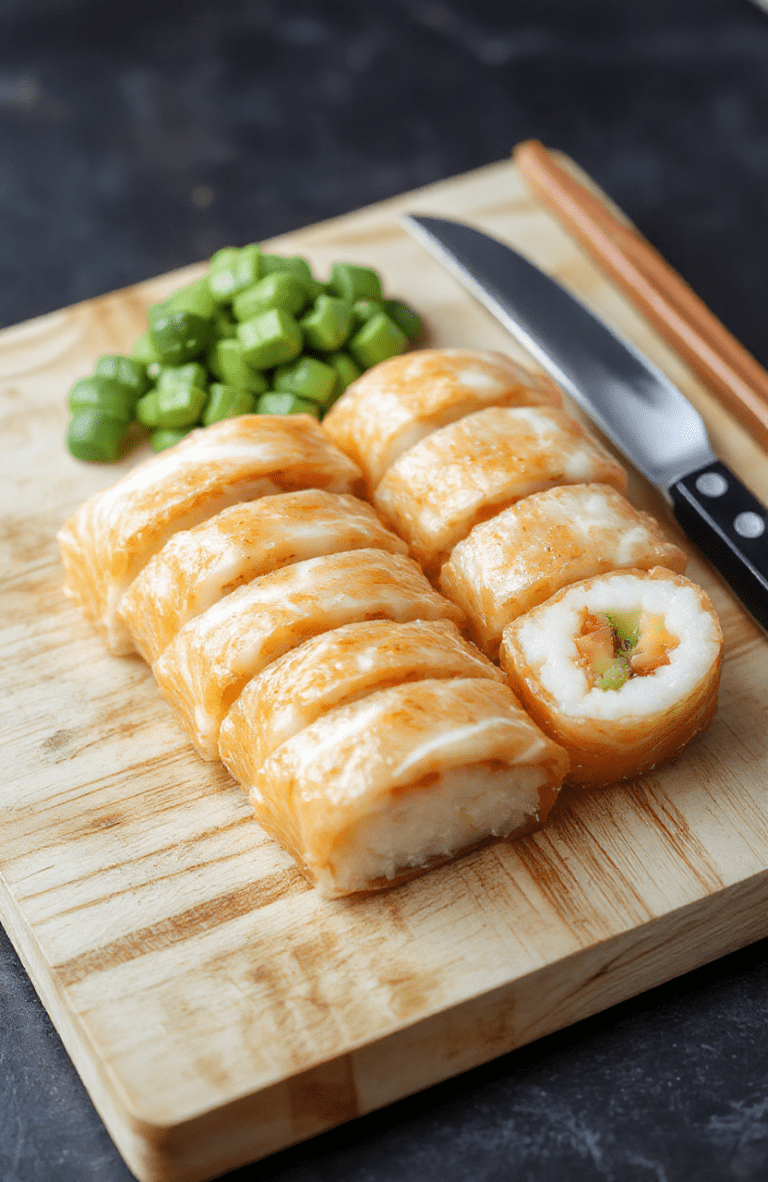
DIY Sushi Maker: Effortless Homemade Rolls in Minutes
This easy DIY sushi maker recipe simplifies homemade sushi into a fun, no-fuss process using common kitchen tools. Perfect for beginners and busy weeknights, it yields fresh, healthy rolls in under 30 minutes.
- Total Time: 30 minutes
- Yield: 4 rolls (24 pieces) 1x
Ingredients
- 1 cup sushi rice, cooked and seasoned with rice vinegar, sugar, and salt
- 4 sheet nori (seaweed)
- 1/2 cup sushi-grade salmon, thinly sliced
- 1/2 avocado, sliced
- 1/2 cucumber, julienned
- 2 tbsp cream cheese (optional)
- 1 tbsp sesame seeds (optional)
- Furikake or spicy mayo (for topping)
- Soy sauce, pickled ginger, wasabi (for serving)
Instructions
- Place a bamboo sushi mat on a clean surface. Lay one sheet of nori shiny side down.
- Spread a thin, even layer of sushi rice over the nori, leaving a 1-inch border at the top edge.
- Arrange fillings horizontally across the center: salmon, avocado, cucumber, and cream cheese if using.
- Lift the edge of the mat closest to you and roll it tightly over the filling, tucking in as you go.
- Seal the roll with a dab of water on the nori edge. Repeat for remaining sheets.
- Cut each roll into 6 pieces with a wet, sharp knife. Serve with soy sauce, ginger, and wasabi.
Notes
- Keep the sushi rice covered with a damp towel to prevent drying.
- Use sharp, wet knives for clean cuts—don’t saw, just press gently.
- For vegetarian rolls, swap salmon for mango, bell pepper, or baked tofu.
- For easier handling, chill rice for 10 minutes before spreading.
- Prep Time: 15 minutes
- Cook Time: 15 minutes
- Method: Hand-rolled
- Cuisine: Japanese
- Diet: Contains seafood and gluten (soy sauce); can be made vegetarian or vegan with swaps
Nutrition
- Serving Size: 6 pieces
- Calories: 280 Kcal
- Sugar: 5g
- Sodium: 310mg
- Fat: 8g
- Saturated Fat: 3g
- Unsaturated Fat: 4g
- Trans Fat: 0g
- Carbohydrates: 45g
- Fiber: 3g
- Protein: 9g
- Cholesterol: 12mg
